Arcane Sanctum: Mage tips for Hellbreach and Halls of Blood
Now that we have some new raid content to tackle, it seems appropriate to look at it from a Mage perspective. So far I’m really enjoying this raid! It has some nostalgic callbacks to Burning Crusade, while still presenting encounters that feel fresh and unique.
Hellfire Citadel contains thirteen boss encounters, organized into four wings and one final boss. We’ll be looking at the first two, Hellbreach and Halls of Blood. This article is specific to Mages, with Mage tips, and is not a comprehensive guide to boss strategy. If you want more info about these encounters, check out our patch 6.2 guide. We’re considering these encounters on LFR, normal, and heroic difficulty.
Hellbreach
Hellfire Assault
Hellfire Assault is the first encounter in Hellfire Citadel. You’ll initially face the mini-boss Siegemaster Mar’tak, but the majority of the fight unfolds as you face various adds and siege machines while your Hellfire Cannons attempt to break down the door. The key to this fight is add priority. You might think that cleave and incidental AOE are desirable, but in fact they can be detrimental. If you’re a Frost or Fire mage, be careful where you’re cleaving. The Gorebound Felcasters transform at 40% health into Gorebound Terrors that pummel your raid with AOE damage. Targeted burst damage is most effective here.
Time Warp is usually used at the very beginning of the fight to burn down Siegemaster Mar’tak. Once her health reaches 50%, she retreats. The majority of the fight afterwards is relatively stationary and so you can use talents such as Prismatic Crystal and Rune of Power. This is not true if you are assigned to run Felfire Munitions over to your cannons. In that case, consider using Glyph of Rapid Displacement to get back to the action as quickly as possible. Felfire Crushers/Demolishers (on Heroic only) are your top add priority and need to die very quickly. Try to Counterspell the Contracted Engineers when they are casting Conducted Shock Pulse.
Iron Reaver
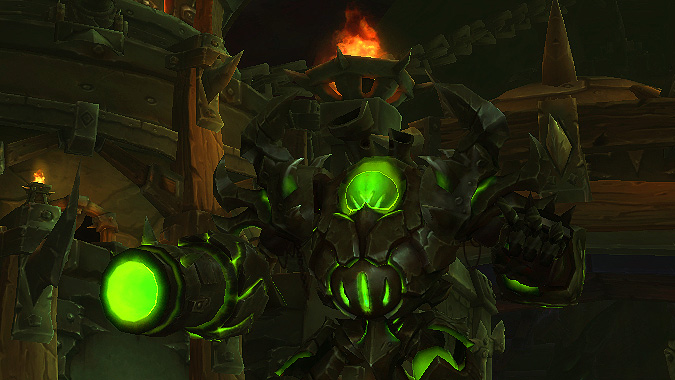
This fight is for anyone who has ever wanted to fight a Gundam. You’ll be facing off against Siegemaster Mar’tak, except this time in the Iron Reaver suit.
This is an extremely mobile fight. Take whatever talents you need in order to keep moving out of all the fire. Ice Floes is recommended, as is Incanter’s Flow rather than Rune of Power, etc. The boss herself is stationary for periods of time, so Prismatic Crystal isn’t a problem. It’s just you that needs to be able to keep on the move.
You’ll probably use Time Warp at the beginning of the fight. Iron Reaver has two phases, ground and air. When she is up in the air, she takes 95% reduced damage and you shouldn’t bother DPSing her. Glyph of Rapid Displacement is again useful in all phases here, as you’ll want to blink out of: Fuel Patches, if you are targeted with Artillery, if she is targeting you with Blitz or Barrage, and to get out of the giant circle of death she spawns when landing from her air phase. If you take damage from an Unstable Orb, you can use Greater Invisibility or Ice Block to deal with it.
Kormrok
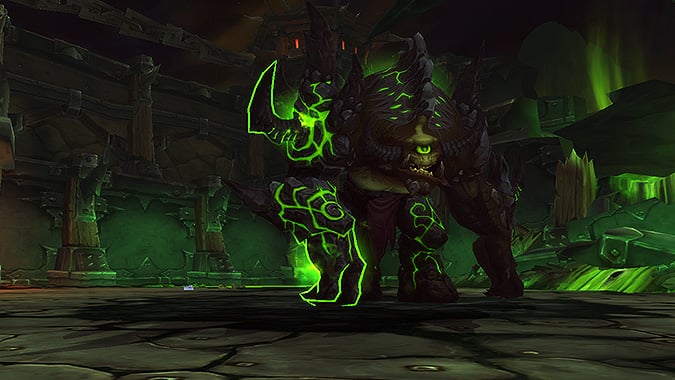
Kormrok has five main abilities that you’ll need to react to. Although there are periods of time when you have to dodge many things, much of the fight is fairly stationary for us. You must ensure that you have sufficient AOE DPS to deal with Kormrok’s Grasping Hands (think back to Kromogg in Blackrock Foundry). You’ll also want mitigating talents for soaking Explosive Runes, especially the empowered versions. Greater Invisibility or Evanesce will work well for this.
Remain spread out for Kormrok’s Pound ability, as it does splash damage to anyone within eight yards. Use Ice Floes to keep casting on the move while you’re dodging Shadow Waves. When Grasping Hands are going to spawn, the more your group stacks up the better things will go. If you’re Fire, save a Combustion/Inferno Blast for this phase if possible. If you’re Arcane, consider using Nether Tempest or else timing your Supernovas very carefully.
Time Warp is used when he reaches 30% health, during which any of his empowered abilities become permanent and must be dealt with.
Halls of Blood
Kilrogg Deadeye
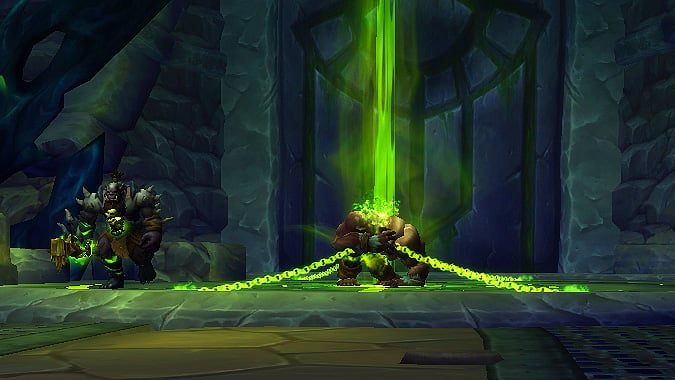
This encounter requires both strong AOE as well as targeted burst DPS for specific adds. Salivating Bloodthirsters will spawn and try to run their way to the fel blood at the front of the room. These can and should be slowed by any means as you are DPSing them — Glyph of Slow or Glyph of Ignite can help Arcane and Fire Mages here. If Bloodthirsters drink the blood, they become Hulking Terrors. Even if you DPS Salivating Bloodthirsters in time, you’ll still get one Hulking Terror add to handle periodically. These should also be DPSed down and their Rending Howl Counterspelled if possible.
The third type of adds that need to be dealt with are Blood Globules. When Kilrogg targets a player with Heartseeker (indicated by a red arrow pointing towards the player), it spawns a Blood Globule when it hits. If you’re targeted by this ability, Blink to the back of the room as far away from him as possible. Quickly DPS the Blood Globules when they spawn.
Mages are likely to be sent to deal with a Visions of Death phase. You’ll be in a room with Khadgar facing three types of adds. Counterspell Felblaze when Hellblaze Imps cast it. When Hellblaze Fiends die they explode, so Blink away from them, and use Ice Floes to strafe out of the Hellblaze Mistress’ frontal cone attack. This is where your AOE comes into play. The more of these adds you’re able to kill before you either 1) die or 2) Khadgar dies will grant you additional stacks of a buff called Undying Resolve. You want this. Lots of it. It will allow you to quickly DPS both Kilrogg himself and any adds when you return to the fight itself.
Time Warp should be used at the beginning of the encounter.
Hellfire High Council
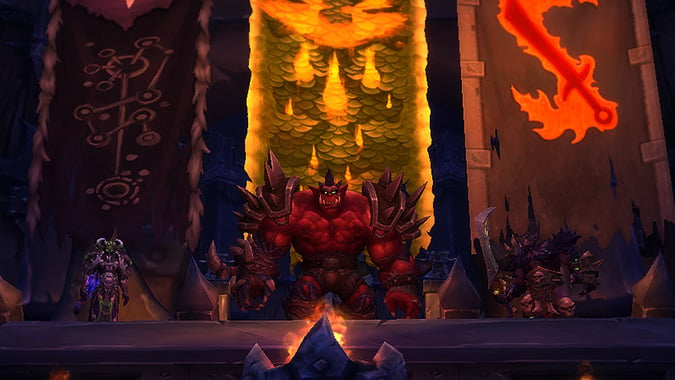
Here, you’ll face off against three bosses: Gurtogg Bloodboil, Blademaster Jubei’thos, and Dia Darkwhisper. This fight is similar to Iron Maidens: the bosses do not share health pools and gain special abilities when pushed below 30%. For this reason, while cleave/multidotting will be useful in this fight overall, you have to be cautious about how you apply it so that the bosses are still having their health dropped in the order your raid desires.
You’ll want to Blink out of the way of Wailing Horrors when Dia summons them, as well as avoiding Jubei’thos’ blade when he throws it. At the point where Jubei’thos summons mirror versions of himself (I thought that was our trick) you must burn them all down as quickly as possible. Damage done to the doubles during this phase will apply to the boss when he returns.
Gurtogg’s most notable special ability is Fel Rage. It can target any random player and if targeted you will tank him for 25 seconds while also gaining increased damage. Make that damage count and blow available cooldowns, but be prepared to use personal cooldowns — Greater Invisibility, Evanesce or Flameglow — towards the end of the 25 seconds because the damage he’s doing will ramp up. Blink away from his jump circles during Fel Leap — they will do less damage to you the further away you are.
Time Warp is usually used when pushing one of the three bosses beyond 30%, depending on your raid.
Gorefiend
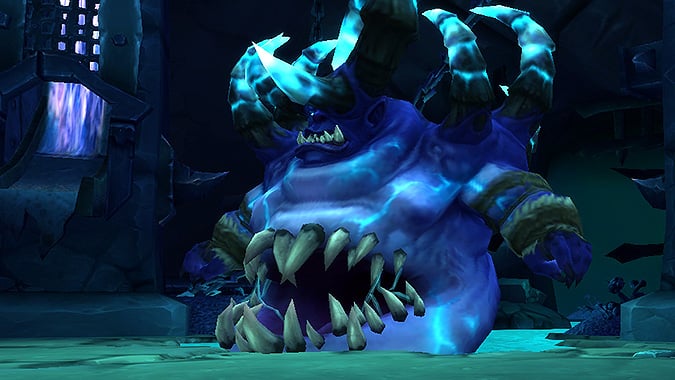
Gorefiend is best defeated with a focus on strong single target and burst DPS. During his initial phase, you may get the debuff Shadow of Death and be transported inside the stomach. Once here, DPS the Trapped Souls and Enraged Spirit. These adds can be rooted and slowed. Ice Nova works well here, as well as any other instant damage abilities such as Supernova. Blink to the center of the stomach “room” to get out when you’re about to be digested.
If you aren’t transported to the stomach, you’ll be on the outside dealing with adds as they spawn. If you are targeted by a Gorebound Construct, use Blink to kite it around while DPSing it and make sure it never reaches you. Glyph of Rapid Displacement is nice for dealing with Touch of Doom so you can get to the edges of the room quickly. Likewise, depending on where your raid is spread out, Blink can bring you the perfect distance to meet up with a Shared Fate target. Basically, Blink is especially great for this fight.
When Gorefiend starts his Feast of Souls phase, he takes increased damage and you’ll be using all of your cooldowns to DPS him as much as possible. Time Warp is usually used for the first Feast of Souls phase.
That’s it for the first two wings of Hellfire Citadel! Good luck as you DPS your way through these first six bosses. We’ll check out the remaining seven in a future article.
Please consider supporting our Patreon!
Join the Discussion
Blizzard Watch is a safe space for all readers. By leaving comments on this site you agree to follow our commenting and community guidelines.