Druid strategies for clearing Hellfire Citadel’s Hellbreach
Greetings, fellow Druids! Hellfire Citadel is upon us, so it’s time to strategize our way through! Like we did with Blackrock Foundry, I’ll be working through each wing of the new instance, providing tips and strategy for all flavors of Druid play. We’ll be starting with the first wing, Hellbreach.
Hellfire Assault
 Movement: Depending on your role, there’s either a good bit of movement or almost none. Guardians will be running all over the place, picking up the Reinforcements as they spawn; similarly, Ferals will be running around quite a bit just trying to stay in melee range. Balance and Restoration has things much easier here; typically, all you’ll need to do is mind your spacing to avoid taking splash damage from Howling Axe or Conducted Shock Pulse, and dodge the bombs and other infrequent ground effects. Ferals are excellent choices for running Felfire Munitions; Displacer Beast can be used for each one to quickly get the ammo where it needs to go, or Dash, or Stampeding Roar… take your pick.
DPS: Balance will do quite well here; the multiplicity of targets means there’s always something new you can DoT, and your Starfall will never go to waste. It’s important to keep an eye on your timers, however; you don’t want to trigger an early Metamorphosis from a Gorebound Felcaster, and you don’t want to be out of position to hit a siege vehicle when they spawn.
Feral is another story altogether. The vast majority of the adds are going to die too fast for your bleeds to do any significant damage, so your DPS for this fight is going to be…underwhelming. Ideally, you should volunteer for all the utility tasks – running ammo to the cannons, interrupts, you name it. Save your cooldowns for siege weapons (normal/heroic) or minibosses (mythic) and don’t fret – a much better fight is coming up.
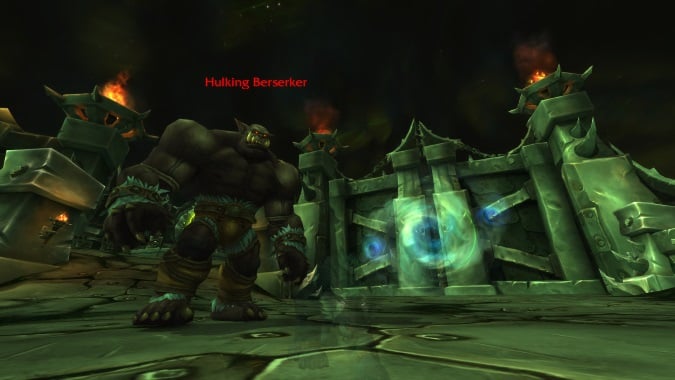
Tanking: Unless you’re a new tank, this fight’s nothing you haven’t seen before. The Hulking Berserkers will Slam you, forcing a periodic tank swap; otherwise, just Thrash a lot to make sure you don’t lose aggro on new spawns, watch for bombs because your melee DPS probably won’t, and help out on interrupts when you can. If you get to 3 Slam stacks, you’ll want to pop cooldowns.
Healing: The only real threatening damage in this fight is tanks taking too many Slam stacks; otherwise, just heal as normal. Observant healers will want to watch the health of the Felcasters — if it looks like you’ll get multiples going into Metamorphosis, that’s a good time to use Tranquility.
Notable Loot: Both Balance and Feral love Crit and Mastery, so the Rangefinder’s Spaulders are great for both. The two ring drops are both very good: Guardians will like the bonus armor on Mar’tak’s Rugged Seal, while the Sootstained Felsworn Signet is perfect for Balance. Finally, there’s a decent Restoration trinket in the Flickering Felspark.
Iron Reaver
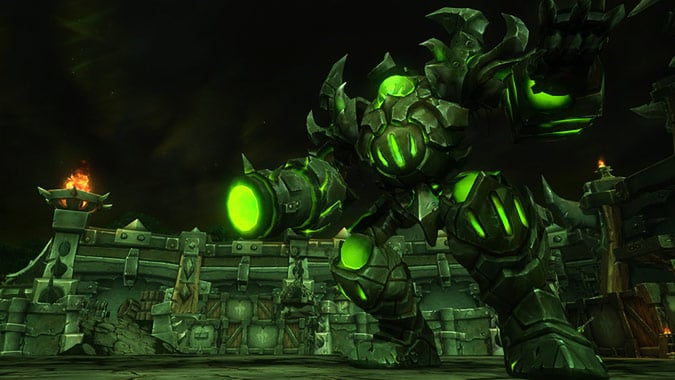 Movement: During the ground phase, the movement is very structured. If the boss turns your direction, you’re either going to get Barrage or Blitz — get out of the way. Each Blitz will be followed by another Blitz heading the other direction, so don’t chase — just wait. The air phase is much more freeform, with scattered bombs that will be taken down. Artillery can target anyone in this phase, so I recommend Displacer Beast for all specs to help you get away if you’re hemmed in by fires.
DPS: The ground phase works like any other single-target boss, which means Feral does very well here. If you pop your cooldowns on the pull, you should get full uptime before the boss uses Blitz, and they should be back up right around the time the air phase is ending. Balance will have a bit more work to do with dodging Barrages and spacing out for Unstable Orbs, but not much.
During the air phase, you’ll have three waves of five Firebombs to deal with. Feral should use movement cooldowns to try to get a Rake on each, while Balance will simply multi-DoT/Starfall. As mentioned above, pay attention to your surroundings to avoid fire and have a way to escape if you get targeted with Artillery.
Tanking: During the ground phase, your main concern is communicating well with your co-tank for Artillery management. The debuffs can overlap quite a bit, so you may need to taunt earlier or later as needed and use Displacer Beast to get out/get in quickly. Glyph Survival Instincts here, the reduced cooldown will help soak an extra Artillery.
Healing: Your main challenge is Pounding, which will happen 3 times during the ground phase (roughly every 45 seconds). Coordinate with your other healers to set up a cooldown rotation, as you’ll only be able to use Tranquility for one. As always, a Soul of the Forest-buffed Wild Growth and a Wild Mushroom will be your go-to spells when not using Tranquility.
Notable Loot: Much of the available gear has Versatility, which isn’t an ideal stat for any raiding spec. There’s a few gems, however: the Spiked Irontoe Slippers are a good off-set choice for Feral, the Voltage Regulation Diode is perfect for Restoration, and Guardians will like the Ironthread Greatcloak. The Fel-Spring Coil and Iron Reaver Piston are decent trinkets for Feral and Balance, but much better is available later.
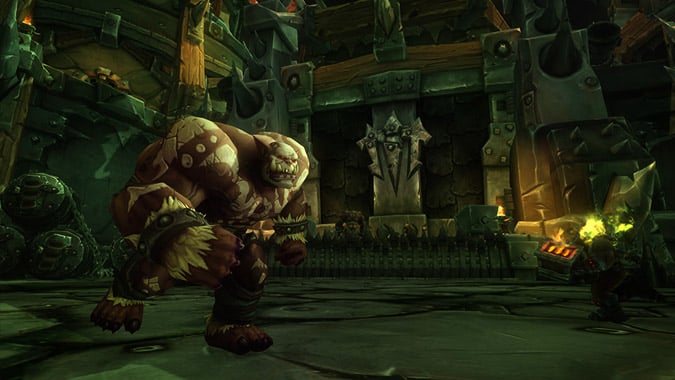
Kormrok
 Movement: For most specs, the only moving you’ll be doing is dodging Fel Outpouring, so Feline Swiftness is a good choice. Guardians, however, and Ferals assigned to Explosive Rune duty will likely want Displacer Beast to get back into melee range. Stampeding Roar is helpful during Explosive Burst.
DPS: Mechanically, this fight is similar to Kromog in Blast Furnace, so your strategy will be mostly the same. Ferals should focus on their strong single-target DPS. You’ll want to use cooldowns immediately after the first leap to the pool, unless you’re starting with the Explosive pool; in that case, use it after dealing with the first set of Runes. During the Grasping Hands, Thrash/Swipe, but don’t use any single-target bleeds as things will just die too quickly for them to be useful. Balance has the opposite approach. You’ll want to save your cooldowns for Hands to get your raid out and back to killing the boss quicker.
Tanking: Explosive Burst, Foul Crush, and Swat are the things to be conscious of here. Kormrok will use each one while he’s empowered by his respective pool, and that will force the tank switch. For Burst, if you’re not currently tanking, be prepared to taunt quickly and drag the boss away. For Crush, have a Savage Defense and Survival Instincts ready to survive it. Finally, for Swat, check your flight path (you do not want to be swatted into a pool or a wall) and use Survival Instincts right before you go flying; you’ll mitigate the initial damage, the falling damage, and any damage from a Fel Outpouring pool.
Healing: The main ability you have to handle is Pound (yes, this is a pound-heavy raid). There will be two Pounds per pool to handle, which can be covered with Wild Growth and Wind Mushroom. Past that, the type of healing you’ll need to do is linked to the boss ability that’s currently empowered. During the Fiery pool, you’ll want to keep Rejuvenations rolling on all the Rune soakers, who will frequently need to hit them twice. During the Foul pool, the Hands will add an additional source of AoE damage; use your healing cooldowns here, especially when Hands overlaps Pound. I recommend Heart of the Wild there. For the Shadowy pool, you’ll primarily have to deal with people taking extra damage randomly from Empowered Fel Outpouring pools; react as best you can with Regrowth.
Please consider supporting our Patreon!
Join the Discussion
Blizzard Watch is a safe space for all readers. By leaving comments on this site you agree to follow our commenting and community guidelines.