Navigating your Druid through Hellfire Citadel’s Halls of Blood
In our last installment, we breached the gates of Hellfire Citadel (thankfully, they lent our cannons some ammo because we forgot ours), took down a Gundam reject, and made a quick side trip to defeat Kromog’s hipster brother. This week, we slide through the Halls of Blood, intent on keeping it in our friends bodies’ or spilling it from our enemies. Onward!
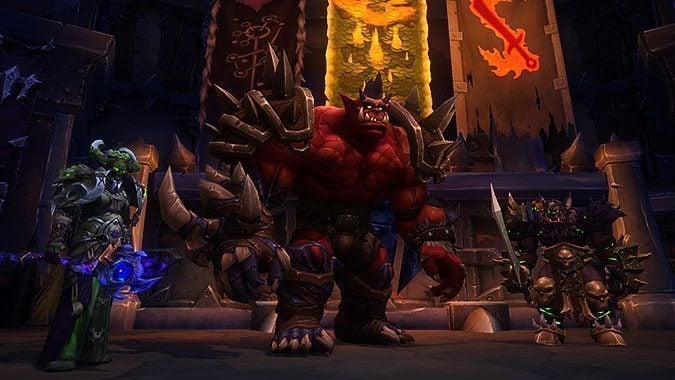 Hellfire High Council
Movement/Dispels: Every minute or so, Dia will cast Reap, giving you four seconds to get away before you drop a void zone (if afflicted by Mark of the Necromancer). Displacer Beast is amazing here for getting your void zone out farther than others. I usually use DB then use a glyphed Stampeding Roar to help the raid get back into position quickly and reduce Reap damage.
Second, buried somewhere in the back of your spellbook, you have this spell called Soothe. Dust it off, because Gurtogg will gain stacks of Fury during Fel Rage, that you can remove with one cast (other dispels will only remove a single stack, I believe). It’s best used by caster Druids because it shifts Feral and Guardian out of form, but if you’re the only one in your raid with an enrage dispel? Suck it up, princess.
DPS: This is not a cleave fight. This is not a cleave fight. This is…okay, you get the point. It’s easy to think “oh, three targets, time to multi-DOT all the things!” and you can do a little of that, certainly. The key to this fight, though, is not making the healers work harder than they have to. That means saving cooldowns to burst each boss down when they get to 30%, choosing single-target talents (Euphoria/Bloodtalons), and focusing on paying attention to your surroundings to avoid damage. Yes, it’s tempting to pop all your cooldowns when you get Fel Rage to have LEET DPS…resist. Remember the 5 D’s: Dead DPS Don’t Do Damage. Save at least one damage-reduction cooldown for Reap; running for the same drop spot as someone else will happen sometimes, and can be fatal.
Tanking: You’ll be doing one of two things in this fight: tanking Gurtogg or Dia. (The Gurtogg tank gets Jubei’thos also, but his damage is mostly raidwide.) If you’re on Gurtogg, which I recommend, your primary thing to manage is Acidic Wound. You have to avoid your stack carrying over through the Fel Rage phase, because if this happens, the damage will become rapidly unhealable. Make sure to use Savage Defense 4-5 seconds before Rage starts to try to avoid him refreshing it immediately before the phase. If he still gets one through, plan to use Savage Defense when the Rage phase ends to prevent the stacks from refreshing.
Tanking Dia is much simpler. Pull her away from the raid, interrupt her spell-casting when you can (her melee damage is much lower) and save Savage Defense charges and all damage reduction cooldowns for her Nightmare Visage phase.
Healing: Above all, work out with your healing team how you’re managing Mark of the Necromancer. Tanks who get it should be dispelled quickly; for other players, allow it to sit until it turns red. If Reap is coming soon, heal through instead of dispelling. Keep a Rejuvenation on each Mark target if you can. During Fel Rage, Rejuv the target as well, and add Ironbark. Finally, your heal team will need a cooldown for each Wailing Horror phase; I recommend Tranquility here.
Notable Loot: Balance has a very good trinket in the Desecrated Shadowmoon Insignia, and that’s about it. Ferals can get some very situational use out of Mirror of the Blademaster.
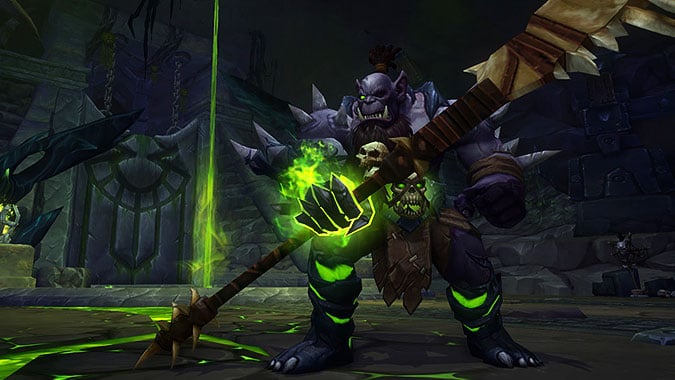 Kilrogg Deadeye
Movement: Very little. The Vision team (V-Team for short) has to run in to stand in the pretty green circles; tanks pull Hulking Terrors out of melee; ranged dodge Heart Seeker; everyone stays out of Death Throes. Feline Swiftness is the way to go, though depending on your strategy, ranged may want to take Displacer Beast to get the Blood Globule farther away.
DPS: Either you’re on a V-Team (yeah!) or you’re not (boo!). If you’re not on the V-Team, this fight is pretty boring. Ferals will just stay on Kilrogg, swapping to Hulking Terrors when they spawn and helping interrupt Rending Howl. Balance will focus down Salivating Bloodthirsters and Blood Globules to prevent them from spawning Terrors or healing Kilrogg, respectively. Ursol’s Vortex or Faerie Swarm works well on the Bloodthirsters.
The V-Team gets to go blow up a ton of adds to get huge DPS buffs (woo!). Save your cooldowns; you’ll want them when you get back up top to burn Kilrogg. Balance is going to Starfall/Sunfire all the adds and do their best to stay alive; try to single-target a few Imps to start to get a few stacks of the damage buff quickly. Feral has a definite advantage, though, with the ability to switch into Bear Form. Use Heart of the Wild + Survival Instincts and tank all the things! It helps if you keep all the adds in the hallway; you can use Typhoon to give yourself a breather.
Tanking: You’re either on Kilrogg or the Hulking Terror, and there’s not much to either. If you have Kilrogg, you just need to leave a Savage Defense charge unused to avoid Shred Armor. If you have the Terrors, just keep them interrupted (with melee help) and drag them out of melee right before they die to avoid splash damage from Fel Rupture. You many need to swap with your co-tank once or twice, depending on Fel Corruption stacks, but that’s all there is to it.
Healing: The biggest damage that you’ll have to deal with is from Death Throes, which happens every 40 seconds or so. You’ll want to work out a healing rotation to cover them, especially the later ones as they hit harder every time. Use a Tranquility to cover two (buff the second one with Heart of the Wild); for the rest, rely on a Soul of the Forest-buffed Wild Growth for the ranged, a Wild Mushroom for the melee, and Ironbark for the tank.
Notable Loot: There’s a very nice weapon for Feral/Guardian in Bite of the Bleeding Hollow. Intuition’s Gift is a good to average Restoration trinket, depending on how you value Spirit. I’m not sold on Warlord’s Unseeing Eye; it’s not terrible, but there are better options for Guardians.
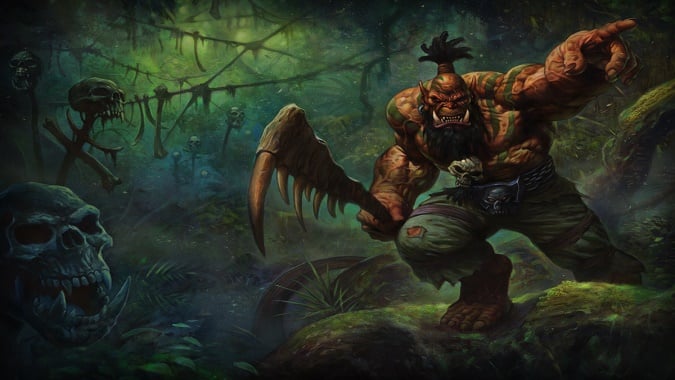
 Gorefiend
Movement: It’s time to run your furry (or leafy) butt off. You’ll be moving about quite a bit in this fight, so Feline Swiftness is very good here. You can also use Displacer to end Shared Fate faster, but be cautions with it as blinking off the platform (or into Gorefiend) will kill you instantly. Run Touch of Doom out to the edges. Avoid stacking up to minimize Surging Shadows damage and stay out of Crushing Darkness swirls. Above all, don’t let a Construct get to you or fail to exit the stomach in time; both are instant death.
DPS: Feral, this is your fight! Feral’s DPS cooldowns come back up every 3 minutes, which lines up perfectly with the Feast of Souls increased damage phases. Balance isn’t shabby either. That said, it’s what you do outside the Feast phases that makes or breaks the fight. Feral will want to swap to Gorebound Spirits when they spawn, and cleave to any nearby Constructs or Essences. Balance should just multidot everything. If you’re sent to the stomach, use speed boosts to help find the Constructs and Spirits to DPS. Remember that DOTs will persist once they leave, so don’t tunnel one target too much.
Tanking: During Phase 1, you’ll be taking turns tanking Gorefiend and Gorebound Spirits. Fel Flames will stack up, forcing you to swap the Spirit periodically. When sent to the stomach, you’ll focus on the Enraged version of the Spirit; damage it as much as possible, as you need to push it under 70% before you leave the stomach. For both versions of Spirit, interrupt Bellowing Shouts. During the Feast phases, you’ll be running around and soaking Unstable Souls. Talk to your healers to see if they prefer you using cooldowns for Spirit tanking or for Soul soaking, as I’ve seen it done both ways.
Healing: There’s lot of random damage going out; thankfully, much of it’s predictable. Use Rejuvenation on players marked with Touch of Doom to make sure they’re full for the explosion + tick of Doom Well damage. Ironbark is best saved for a tank with high stacks of Fel Flames. If pulled into the stomach, use burst healing to heal up Essences before they reach the center: Nature’s Swiftness + Healing Touch and Regrowth + Swiftmend are good combos. During feast phases, you’ll want to establish a cooldown rotation with your other healers, during which Tranquility will play a large part.
Notable Loot: Tier legs! Also, a good caster staff in Spur of the Great Devourer, though drops from later bosses will overshadow it quickly.
Please consider supporting our Patreon!
Join the Discussion
Blizzard Watch is a safe space for all readers. By leaving comments on this site you agree to follow our commenting and community guidelines.