Totem Talk: Archimonde is a perfect Restoration Shaman encounter
As a healer, there are fights that are just no fun. Some can be very boring and not really challenge you or keep your interest, while others can be so frustratingly difficult they aren’t fun but stress-inducing. In my opinion, Restoration Shaman tend to swing between the two fairly rapidly largely due to how our healing kit construction plays into encounters. I was recently having a discussion about this with our very own Mike Eng, who despite being a Holy Paladin is a really cool dude.
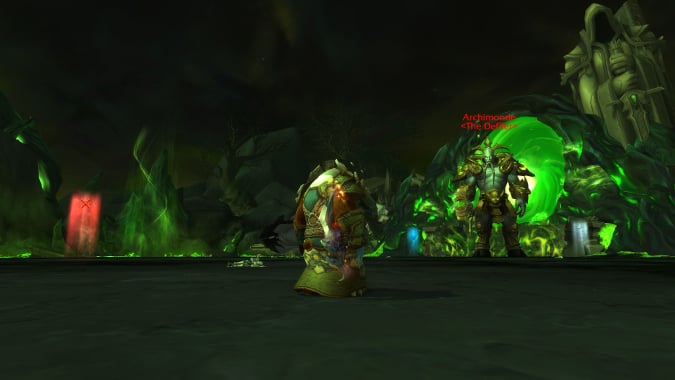
It’s always been the case where some fights just play better with Resto Shaman than others, and Hellfire Citadel is no exception even though I’ve not found a bad fight in the zone, and in truth find it enjoyable. That’s a rare thing for me to say, and as we were discussing the various encounters of the zone I realized how much I truly love healing Archimonde. I absolutely loathed the original encounter in The Burning Crusade to the point of it having the distinction of being the only fight in which I’ve completely lost my cool on while raiding. To be able to say that I really love working my way through the new Archimonde encounter caught me off guard.
The encounter is an interesting mix of new mechanics combined with elements from and nostalgia for the original, frustrating, encounter. To say I dreaded when my guild started putting in time with the big blue demon may be a bit of an understatement. Healing him all those years ago in Mount Hyjal was a nightmare, and I expected the fight to sap my will to live. As pulls progressed, I discovered that not only did I not hate the encounter, but I was actually having quite a bit of fun healing the fight.
Remember how I said that all healers have a fight where they just shine as the brightest light? I think that the Hellfire Citadel version of Archimonde is one of those fights for Resto Shaman. It’s one of the few encounters in which we have an answer for pretty much all of the troublesome mechanics in the fight. I just love being able to say that.
During the fight, Doomfire Spirits cast Doomfire, which sends homing fire after a random player in the raid, leaving behind a trail of green fire that will persist for the entire encounter. If you are chosen as the target, Ghost Wolf can help you kite the fire away easily without danger of it catching up to you. Anyone who is caught or runs through the flame gets a stacking damage debuff that deals fire damage every second for 8 seconds. Simple enough, I know, but worth noting. The faster you can kite it away, the faster you can take a position up and keep healing.
After a while, Archimonde will cast Allure of Flames which will take all of the existing Doomfire on the ground and re-form it on the players in the raid group. It will still give the stacking debuff if it touches you and you’ll be on the move as a group to get away from the fires. Spiritwalker’s Grace combined with Chain Heal and the talent High Tide can be incredibly useful here. This is especially true as the encounter goes on and the amount of fire on the ground continues to grow. Your raid will thank you for the additional heals while on the move, as sometimes you can have quite a distance to run to your new position.
Shadowfel Burst is among my favorite abilities in phase 1. Archimonde will target a player in the raid and fire them and anyone within 8 yards into the sky like a rocket. The raid group then needs to run to catch the player as they fall to share the damage. Spirit Link Totem is amazing here, and if you have players in an odd spot that only so many players can reach the damage reduction is incredibly nice. If multiple players get knocked up, this helps to lessen the damage. Since SLT’s effect is larger than the Shadowfel Burst effect, if someone is a little late getting to the catch spot, you have the added benefit of distributing their health totals to those that got launched or did the catching.
Echo of the Elements is perfect here as well, letting you double dip into SLT and to make sure you have it in case of emergencies where multiple people get knocked into the air all at once. This will also help with letting you have an additional Riptide to throw out to help control the extra bounces of Chain Heal and an extra Unleash Life is never something to scoff at.
Phase 2 will see your raid grouping up to deal with the constant raid damage, and that is perfect for Shaman-style healing. Healing Rain and Healing Stream Totem are fantastic here, because you can set it down and be able to do healing while you have to move away from the various mechanics. This is important because in phase 2 there are a number of demons to contend with. Dreadstalkers — dog-like demon creatures — will teleport to a player and cast an area of effect spell interrupt, Consume Magic.
Since you and the rest of your raid will be constantly moving to get out of the circles, having a source of ongoing healing can help make all of the difference in the world. Taking Rushing Streams is a great idea for the 15% increased healing as well as the ability to heal two targets at once. Every little bit of healing you can do while on the move in this phase helps, and between Riptide, Healing Rain, and Healing Stream Totem, we have a solid core of healing that will keep pumping while we’re on the move and offer a little breathing room while repositioning.

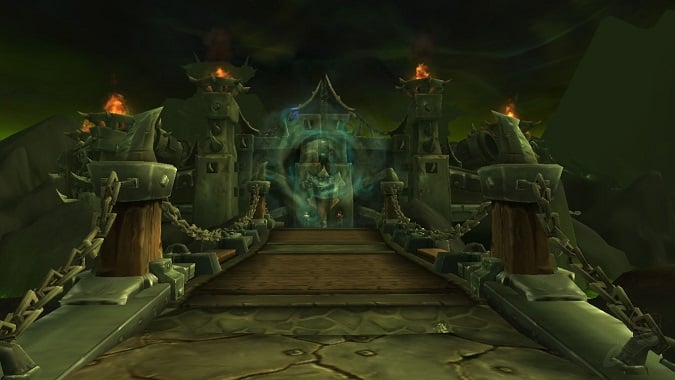
Phase 3 is probably my favorite phase of the entire fight — and not only because Archimonde loses access to Allure of Flames and gains access to Nether Banish. Roughly every minute this ability is cast on the current tank, and after several seconds everyone within 8 yards is dragged through a portal to an island in the middle of the Twisting Nether. Not only is it a cool visual effect, it is also something that seems tailor-made for a Shaman healer.
While inside, players must kill a Shadowed Netherwalker while dodging Nether Storms. Players receive a stacking damaging debuff called Nether Corruption that deals damage over time as well as increasing damage taken by the effect for each stack. While this is terrible in terms of health, it is great in terms of Shaman healing. It is a constant source of damage that is unavoidable, and it means that players health totals will take consistent dips which means we can take advantage of our Mastery, Deep Healing. We tend to have an easier time keeping the nether group alive as a result of this. The debuff lasts for a minute after you defeat the Netherwalker, so even when you escape the Twisting Nether there is still damage to contend with and heal people through.
While you’re busy healing and dodging nether storms, there is something else you need to watch out for: Void Star Fixate will target and chase a single player in the Twisting Nether. If it hits the player before it’s killed, it will knock them and anyone within 8 yards off the platform and into oblivion. Terrible as that is, there is good news Shaman friends! The void stars can be slowed by spells and effects, and we have the perfect tool for just such an occasion: Earthbind Totem, even though it only has a 10 yard radius, can be positioned towards the center of the platform allowing players to move through it or put it between them and the void star. We can also use Call of the Elements to fast reset it as necessary.
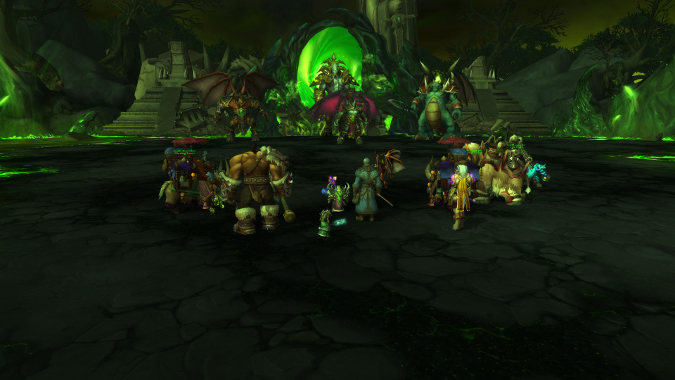
It seems like a lot, and it is for sure, but what this lengthy rundown of Archimonde strategies means is that we have an answer for pretty much everything this boss has to throw at us. It’s a long fight that benefits from calculated healing and smart spell usage. There is constant damage, but nothing can’t be handled, and we have counters for both the big damage dealers and the instant kill abilities. This is a perfect fight for Shaman healers, with something for us to do in every phase. It is, without a doubt, the most fun I have had healing on my shaman throughout the entire Warlords of Draenor expansion — and that’s something I never thought I would say in regards to Archimonde.
Please consider supporting our Patreon!
Join the Discussion
Blizzard Watch is a safe space for all readers. By leaving comments on this site you agree to follow our commenting and community guidelines.