Spiritual Guidance: Priest healing in upper Nighthold
Welcome back to Spiritual Guidance. We’ll be picking up today with the remaining two wings in Nighthold: Nightspire and Betrayer’s Rise. You can find the first two wings here.
The upper reaches of Nighthold are just as beautiful as the rest. Tichondrius is tucked away in an alcove, directly above a room laden with desserts of all kinds. Krosus is hanging out by a bridge, as “K” bosses are wont to do, and Elisande is in the spire, directly above her scandalous secret quarters. In the final wing, Gul’dan alone is at the very heights of the palace, trying to bring back Sargeras.
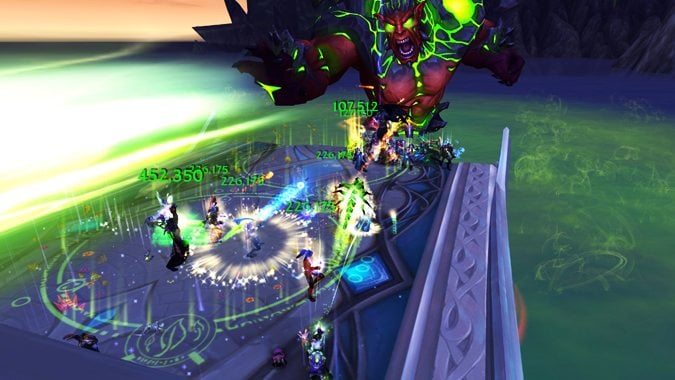
Tichondrius
Tichondrius is all about control. The fight is mostly dependent on your DPS to kill adds and tanks to manage the adds and the boss. Tichondrius will start by putting out Carrion Plague on random players. If you get this, spread away from others. LFR tends to just spread everywhere, while organized groups will designate sides of the room to stand on. Spot heal the affected players as needed, depending on what kind of healing comp your raid has.
When Seeker Swarm is cast, it ramps up the damage on the affected players. If the damage here is intense, use your cooldowns. If not, top off the players with burst healing and save your cooldowns for Echoes of the Void.
When Echoes of the Void is cast, hide behind the pillars that pop up. The pillars will soak damage for each player behind it, so you don’t want to all stack on the same one. Melee will often ignore this mechanic, especially in LFR, so focus them with your burst and/or AOE healing if you don’t have a cooldown up. Divine Hymn or Barrier will work well here, since there are groups stacked up. The timing between Echoes is just a little under 3 minutes so you can’t catch all of them with your 3 minute cooldowns, but Discipline will be able to alternate Barrier and Rapture to cover them.
On Heroic and Mythic difficulty, Tichondrius will put Brand of Argus on several ranged players — usually two. The rest of the ranged must stack in order to remove it. It will explode, but it spreads the damage between the stacked players. You’ll want to set them off separately, unless your healing team can handle both. If there aren’t enough people to stack due to spreading out with Carrion Plague, the targeted players will have to individually run into melee to clear it. Holy Word Sanctify is great for this, with Prayer of Healing during Divinity to burst heal.
When Tichondrius puts the raid to sleep, your DPS players will focus on killing the bats. There’s not much damage during this other than splash AOE, and unfortunate people who get stuck in the giant green laser. Grab one of the purple circles that spawn on the ground — it’ll give you Essence of Night, which increases your healing during the illusion and regenerates your mana for 30 seconds after you exit it. There’s enough to go around, and in Mythic difficulty it’s actually fatal if you don’t grab one.
The last part of the fight is just a repeat of phase 1, but it adds Burning Soul to the mix. You’ll want to dispel this as fast as possible, since it drains mana but also explodes on anyone in range. Stay spread out, and position yourself on the edge so you can dispel immediately if it goes on you.
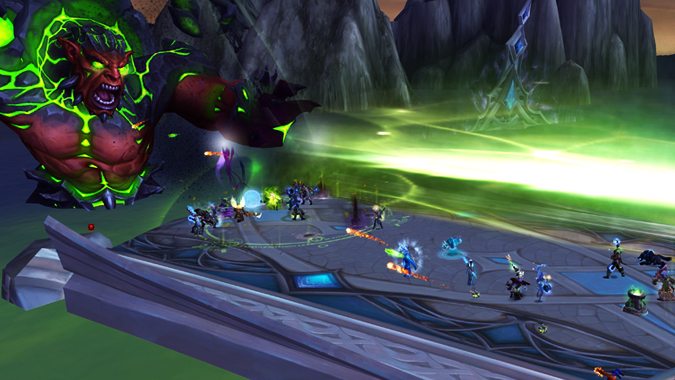
Krosus
Krosus is relatively simple as far as mechanics: avoid the beam, get out with orb, soak green circles. He periodically shoots Fel Beam, an enormous green laser, down one side of the bridge. While the side of the bridge he chooses first is random, the order after that is not. He will always alternate between sides, so you can immediately move to the other side as soon as the laser ends. It’s very obvious which side he picks, since his arm will rear back to shoot.
Your burst healing is most heavily needed when Krosus slams the bridge and drops the orb on players. That is where you’ll want to use your healing cooldowns (ideally early in the fight and late near the end) and whatever burst healing you have available. Krosus will cast Slam on the bridge every 30 seconds, and completely break the closest section every third slam. The melee are most vulnerable to Slam due to their proximity to his giant fists, but everyone will take damage. The breaking of the bridge can be particularly dangerous due to Isolated Rage, if the melee are running out and there is briefly no one in range.
Krosus will target one player with Orb of Destruction, and they need to scram out of the raid and as far to the back of the bridge as possible before it goes off. If they get to the back in time, the raid will take minimal damage. If not, there’s going to be a lot of damage. This becomes more dangerous the longer the fight goes on, since the surface area of the bridge becomes smaller. This is the ideal time for your cooldowns, as it becomes harder for the entire raid to avoid a lot of the damage. The enrage is when you run out of bridge.
Periodically, Krosus will also throw Burning Pitch onto the bridge, which must be soaked as much as possible. Any unsoaked puddles will turn into Burning Embers, which can devastate the raid if there are too many. Throughout all this, you’ll need to keep an eye on the tanks as you’re running around soaking or running orb out. They’ll be taking heavy damage from Searing Brand, especially right after a taunt swap when the high stacks are ticking down. Be prepared to use Guardian Spirit or Pain Suppression if necessary.
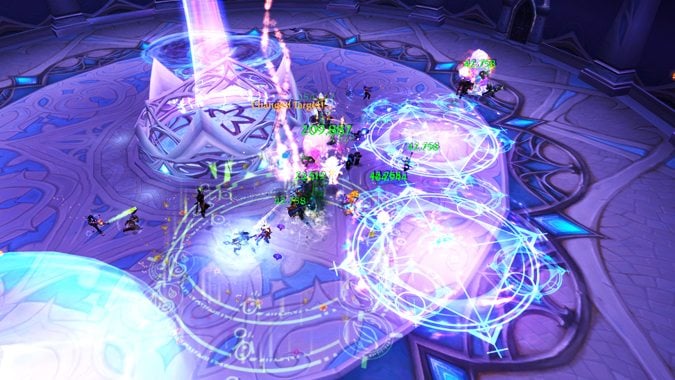
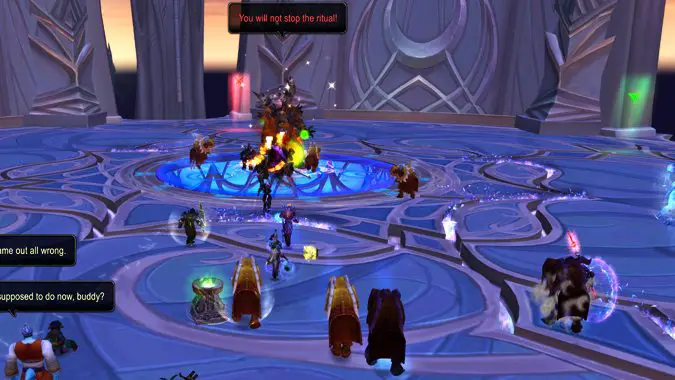
Grand Magistrix Elisande
This fight is basically the same fight repeated three times. Elisande has control of the timeways, which she uses to her advantage, resetting your progress twice each time at 10% until she loses control in the third attempt. The elemental adds drop bubbles when they die — a Fast Time pink bubble for the pink add and a Slow Time blue bubble for the blue add. Try to avoid running through the blue bubble because it’ll slow your spells, although the pink one will remove the slow debuff. Get into the pink one as soon as possible for the speed increase. It’ll stay up long enough for you to get the buff twice if you’re quick enough.
The blue bubbles serve a purpose when Elisande calls Arcanetic Rings. The rings will circle in from the outside, causing damage to anyone who touches them. In LFR the damage is negligible, in other difficulties it can be fatal. The blue bubbles will cause a break in the ring, slowing down whatever rings pass through it and giving an opening for your raid to run through. One tip is to watch which way the rings are moving, and run toward that side of the blue bubble.

The other mechanics to watch out for, and heal players through, are Spanning Singularity, where players will need to soak pools to shrink them, Epocheric Orbs, which also need to be soaked, and Dephuric Beams, which will shoot a small laser in the direction of the target. Aim these away from others. In the third phase, Conflexive Burst will target 2-3 people, and they’ll need to stagger the timing of the explosions by picking up a fast or slow debuff. If they all explode at the same time, you better have a cooldown handy.
Most of this fight consists of AOE damage, and managing the fast or slow bubbles. Save your cooldowns for any missed mechanics, depending on what your raid can manage. In LFR, you’ll be able to use your cooldowns in the first and second phase each, with the third phase consisting of less damage. In other difficulties it will be the opposite. The first phase will likely need moderate healing, with the second phase and third phase needing cooldowns, especially if too many Conflexive Bursts explode at once.
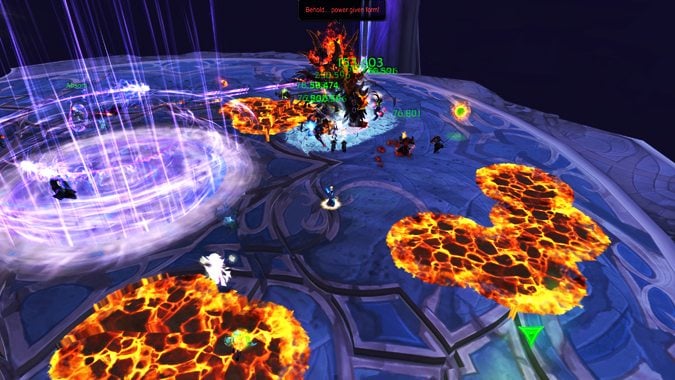
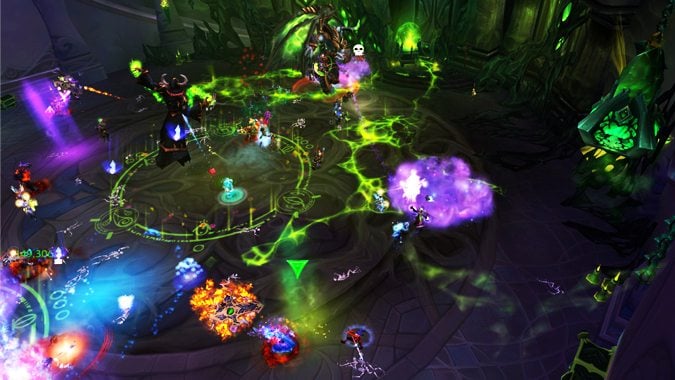
Gul’dan
The first thing you might notice is that you have a spell on your extra action button. When you use it, Scattering Field will absorb fire damage — much of what makes up Guldan’s abilities. In the first phase, Gul’dan will cast Liquid Hellfire and Fel Efflux. Your healers will want to alternate using the bubble on Liquid Hellfire, which does more damage the closer you are to it. Avoid the giant green Fel Efflux laser that alternates with Liquid Hellfire. Gul’dan will then close himself in his little hamster ball and leave you to the adds.
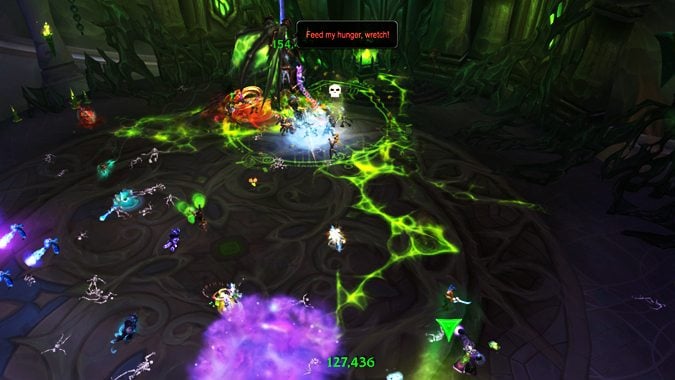
Once the adds are dead, Gul’dan will come out of his hamster ball in phase two to toy with you. He still casts Liquid Hellfire, but drops Fel Efflux in favor of Bonds of Fel and Eye of Gul’dan. The bonds will shoot two players to the edge of the room, so you want to be close the middle and ideally all facing the same direction to ensure the bonds are close to each other. Similar to Tichondrius’ Brand of Argus, each bond needs to be soaked to break it, or else the target will die. You can use your extra action bubble to negate some of this damage, or keep saving it for Liquid Hellfire.
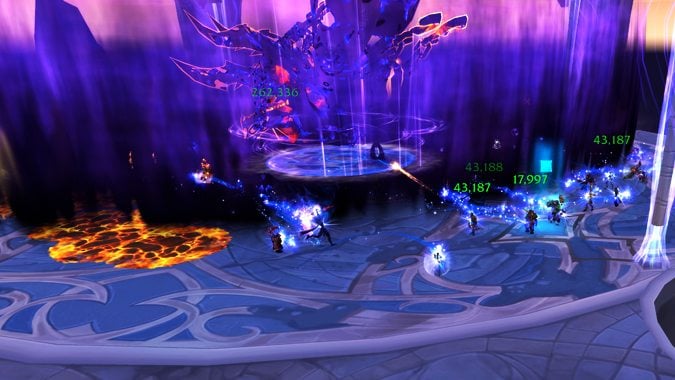
Eye of Gul’dan will target ranged players and do AOE damage, so you want to spread out to prevent friendly fire until your DPS can kill them. Gul’dan also empowers all these abilities, adding so much fun to the fight. Empowered Liquid Hellfire will now leave fire on the ground after it lands, so you want to bait it if you can. Empowered Bonds of Fel and Empowered Eye of Gul’dan do way more damage.
Gul’dan eventually gets tired of messing with you and remembers he has a job to do. He goes back into his hamster bubble in phase three and causes winds that try to push you off the platform. Have your feathers handy. He empowers himself, keeping Empowered Eye of Gul’dan, and dropping Liquid Hellfire and Bonds of Fel for Black Harvest and Storm of the Destroyer. Oh, and he’s also trying to take your souls for Illidan, so your raid needs to soak them in the bubble. Use a cooldown during Black Harvest, especially if your raid didn’t soak many souls, and book it to the opposite side of the platform when he summons Storm of the Destroyer. It’ll kill you if you’re inside it. Run Flames of Sargeras out of the raid to the edge of the platform so you don’t drop annoying fire puddles everywhere. Rinse and repeat until he’s dead — and congratulations on clearing Nighthold!
Please consider supporting our Patreon!
Join the Discussion
Blizzard Watch is a safe space for all readers. By leaving comments on this site you agree to follow our commenting and community guidelines.