The Warrior’s Charge: The Trial of Rage scenario and your new class mount
The new class mounts tend to work in a certain way: You finish the long campaign to open the Tomb of Sargeras, you are challenged to complete some sort of event, and when you’re done you attain a mount. All very fine. My wife did her Hunter quest and was very excited to share how it went, how she bonded with this majestic spirit and became friends with it.
Then she asked me, “How did you tame your mount?”
And well, that seemed to me to be worth a column.
The Trial of Rage
Okay, first up — all of these fights are much less difficult than the solo Artifact Challenge to unlock a new Artifact appearance. They’re not cakewalks — I’ve never actually been to a cakewalk but it is my understanding that they are extremely easy and that cake is distributed freely — and you will have to pay attention to what you’re doing. However, you’re likely going to be able to complete it in a couple of attempts once you get the hang of what the enemies are dishing out.
Some general pointers for the scenario:
First off, mobility is key here. Every single one of your opponents does something you’re going to want to avoid. If you have Timeless Strategem, this is the time to use it. If you don’t, and if you are attempting this as Fury or Protection, I recommend Bounding Stride, as it will let you run faster after you Heroic Leap. I do not recommend Bounding Stride for Arms Warriors. Also make sure to stick with Second Wind. The amount of healing you’ll get while your opponent does their thing half way across the room will make up for mobility issues.
Secondly, you can buy some potions for Order Resources from your follower if you have one. In my case, I was buying them from Darius Crowley — that guy is really my Murtaugh at this point. I found the healing potions useful. If you can get a Warlock friend to give you a Healthstone beforehand, it certainly couldn’t hurt. And you can eat buff food and use elixirs or flasks if you’re having trouble. I did the scenario on an item level 897 Warrior in Arms spec, to give you a baseline idea of the difficulty you should expect.
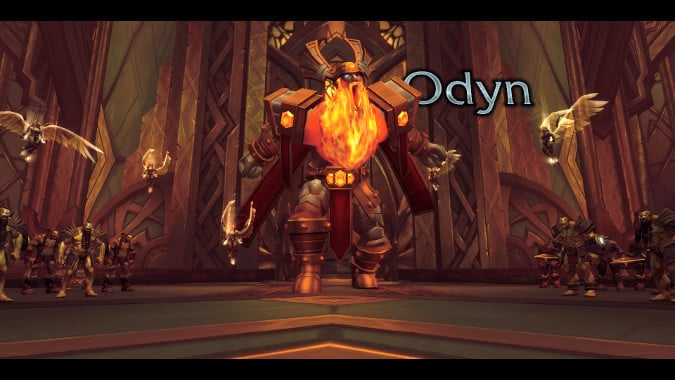
In order to complete the scenario, you first have to start the scenario. The quest chain starts after you complete the Breaching the Tomb achievement on the Broken Shore. Then, there will be a breadcrumb quest giver near the Command Center who will give you a quest to go see Odyn. When you arrive at Skyhold in the usual way, you’ll be greeted by Odyn — remember, you can jump right up there from the Broken Shore, and don’t need to fly to Dalaran…not that I did that, because that would be embarrassing. Odyn greets you in his usual manner — that is, he wants you to prove your worthiness to him.
I mean, sure, you’re already his appointed Battlelord, and you’ve already completed so many challenges he’s put forth. And sure, you did the Warrior Class Campaign, which means you actually went to a Legion world to free some of his oldest allies. Heck, maybe you even killed Helya for him in the Trial of Valor. After all those measly things, why wouldn’t you have to prove yourself again? I swear sometimes that Odyn would make you prove your worth to borrow the key to the lav.
Entering The Trial
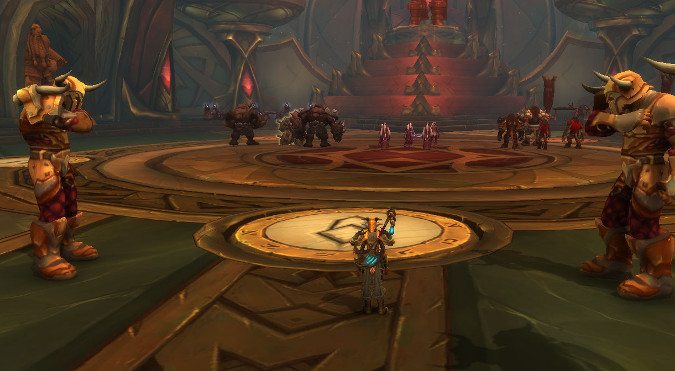
Once you accept The Trial of Rage quest and enter the scenario, it’s a pretty standard tournament-style series of fights. There are three groups waiting for you: a contingent of Drogbar led by Damrul the Stronk, another of Highmountain Tauren led by Omanawkwa Steelhoof, and lastly, a group of Nightborne of all things who are following Asrea Moonblade. These three are the dominant Warriors you’ll need to beat to prove yourself worthy yet again. I know, you’re wondering,“If they’re so great, why aren’t any of them the Battlelord?” and believe me, I was curious too. Well, the secret of their strength comes down to big, easily avoidable attacks.
Generally, you should prioritize avoiding incoming damage, watching for an opening and then unloading as much damage as you can during that opening. Avoiding or mitigating incoming damage is your top priority because so many of their attacks will do massive damage to you if you let them hit you. It’s more important to pick your shots and be careful with cooldowns — don’t hit Battle Cry until after they’ve completed a big attack so you’ll be sure to get the full benefit from your cooldown, for instance. This is also true for Avatar or Bloodbath. Avoid first, damage second.
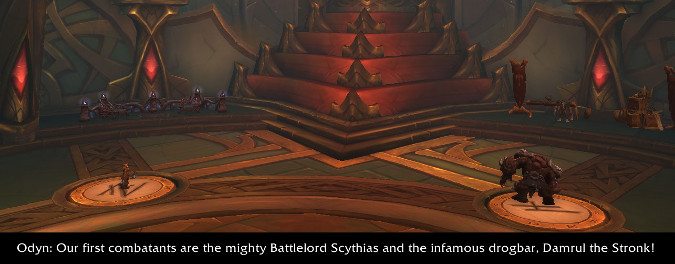
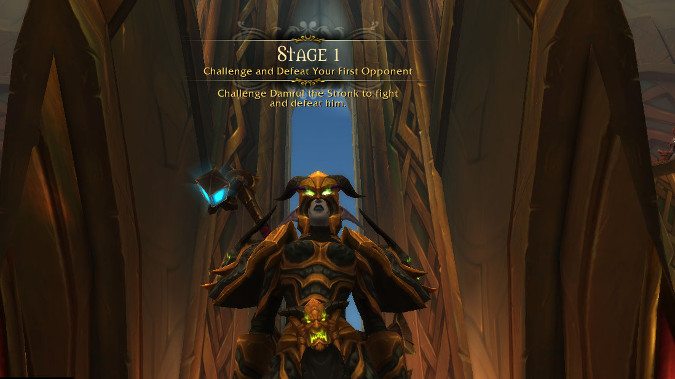
Damrul the Stronk is your first opponent and he does two things worth mentioning. First, he does a kind of leap attack that lands on top of you, if you let it, and will deal decent damage, slow you, and place a damaging area on the ground where it hit. It can easily kill you before you can run out of it. You’ll want to save Heroic Leap for this moment and leap away from him when he drops this. He also stops and does a channeled casting that pulses an AOE over a large section of the room. It can be out-ranged, so either run away from him to get clear of it, or hit him with a stun like Shockwave or Storm Bolt to interrupt his cast. As far as I could tell, it couldn’t be pummeled.
The basic strategy here is, jump away, let him waste his time, and then come back in once he’s done and chip him down. Once you’ve mastered the rhythm of the fight it’s not hard, but it’s very important you don’t try to stay in and take the damage if you don’t have a way to recover from it. If you’re playing in Fury spec, you really need to stick and move effectively to take him down.
Once Damrul learns that he doesn’t even lift enough to stop you, Brul, you’ll move on to Omanawkwa Steelhoof, who fights like a Prot Warrior. Even more so than the others, you’ll want to really hold off on DPS until he does his big attack because he has two of them — one spawns a wall of attackers that you can jump around to avoid — definitely don’t stand there and take it, they will run you over for a lot of damage — and another is a combination of throwing his shield and then charging to it in a straight line. If either attack hits, you’ll be hurt, but it’s easy to see where he’s going to throw the shield and get around it — and once he does, I recommend stunning or slowing him before opening up and unloading all your damage.
He takes a lot more damage when he doesn’t have that shield in his hand. There’s a bit of a soft enrage to this fight because he spawns more and more soldiers with his trample attack every time he does it, so try to get him down by the fourth time he throws that shield. I did it in three, but I’m half blind and maybe it took me a while to figure out the shield loss lowered his defenses.
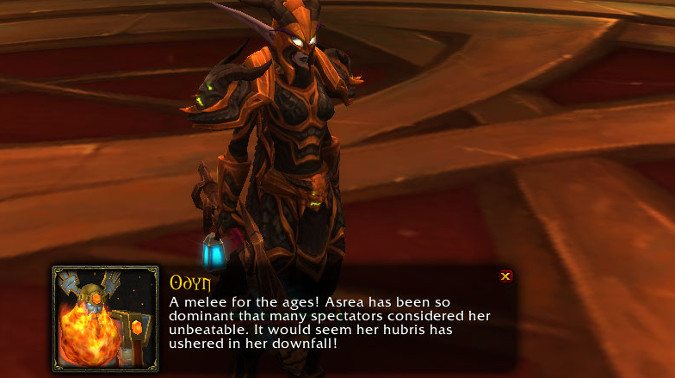
Next up is Asrea Moonblade. She’s interesting in that she does two things. One is spin around and drag you to the center of the arena you’re fighting in, while the other is her spawning tornadoes which circle the room. If you ever did Firelands, it’s not entirely dissimilar to the tornadoes in the Alysrazor fight, but there are more of them and they’re not made of fire.
For this fight, if you can simply Heroic Leap out when she starts, you can easily out-range her ability to pull you into the center and then make your way back in with a Charge or another Leap after she’s done. Asrea does the most damage, but if you time these phases correctly, she’s not that hard to beat. I recommend buying some of those potions in case a tornado clips you while you’re learning how to avoid them.
After you beat Asrea, Odyn of course immediately challenges you to another fight.
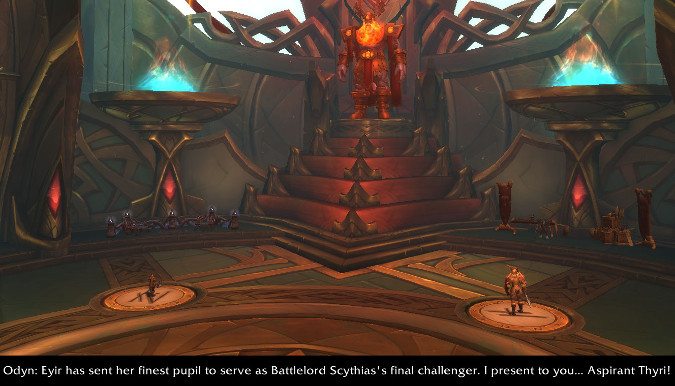
There seems to be a slight bug in the Scenario in that the completion tracker calls her Aspirant Hrefna, while in game she’s Aspirant Thyri. Either way, she’s the hardest of the four challengers, which makes sense because she’s the last one you have to beat. She does several things:
- A Ravager-like ability that throws not one, but two spears which then twirl around the arena and will kill you if you stand in them (so don’t stand in them).
- A charge attack that will hurt if you let it.
- A big channeled attack where she summons what might actually be Eyir herself — if it’s not, it’s some other big Val’kyr — who essentially blows up a big area of the arena.
That last one can be out-ranged, so get away from it — if she hits you with that and then either charges or spear whirls you, you’ll likely die. Thyri is the fight where you’ll prize every ounce of that Warrior mobility, but once you whittle her down, she concedes defeat.
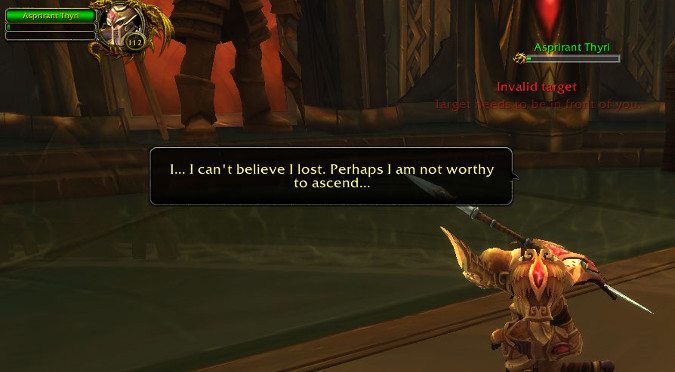
Perhaps not, Thyri, but that’s not my problem.
Once you’re done proving your worth to Odyn — and/or growing to suspect he views you as his prized Battle Pet in an elaborate game of Pet Battles, since he never seems to send you to prove your worth by, you know, fighting the Legion — you get to go back to the Halls of Valor and enjoy the cutscene, wherein you walk through a throng of cheering Vrykul and Odyn drops a dinosaur on your head.
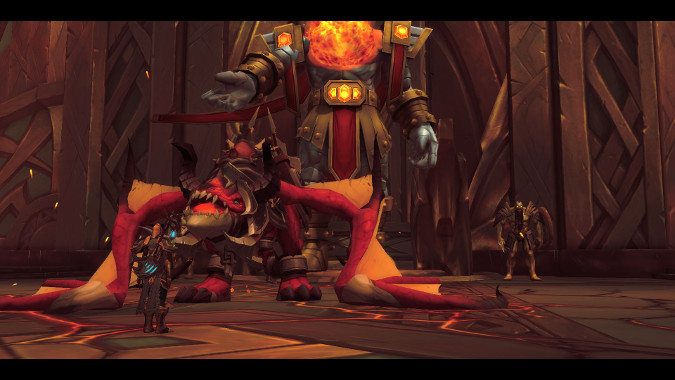
No, really. He totally does. Said Dinosaur (the Bloodthirsty War Wyrm) is a surly critter. But as a Warrior you have a tried-and-true method to win friends and influence dinosaurs.
You punch it in the head and jump on its back. Enjoy your new mount! Unlike other classes, all you have to do to get it to change colors is change specs — you don’t have to buy new ones or anything like that.
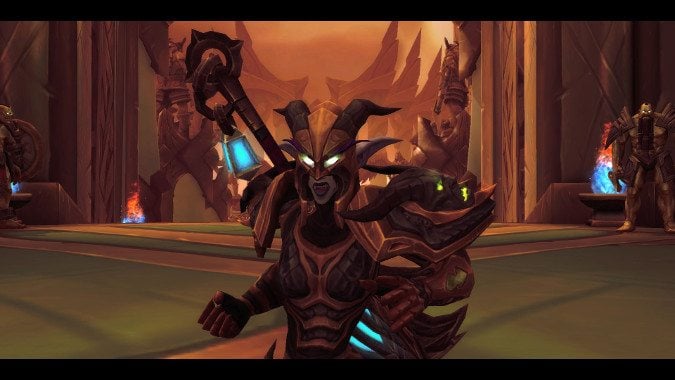
All in all, I found this scenario to be an interesting exercise in learning how to time your abilities to help you avoid damage, and a perfect distillation of the life of the Battlelord. Which is to say, someone who is constantly being tested by your erstwhile boss, a boss who couldn’t even fight Ragnaros without getting himself permanently scarred for his trouble — that’s not a beard, that’s literally flames from Ragnaros melting off half his face, I am totally not even kidding you here — and beating up people you should be allied with to get stuff done. And the mount is a flying dinosaur you punch to become best friends with.
It was a very suitable experience for a Warrior.
Please consider supporting our Patreon!
Join the Discussion
Blizzard Watch is a safe space for all readers. By leaving comments on this site you agree to follow our commenting and community guidelines.