Lightsworn: Tackling the Tomb of Sargeras as a Holy Paladin

I’ll come right out and say it: I’m not a huge fan of Tomb of Sargeras! It’s ugly, it’s more fel crap, we have to fight murlocs — murlocs!! — and two of the boss encounters have annoying “split realm” mechanics. Also, other than Kil’jaeden, none of the bosses have any real lore significance, which is always a downer. I already miss Nighthold and its aesthetics and its cake bosses and its wonderful sense of style and interior design. Ah well.
There are nine bosses lurking in the Tomb. We’ll take a look at the first eight this month, and tackle the big spicy habanero himself, Kil’jaeden, next month when he is unlocked on Raid Finder.
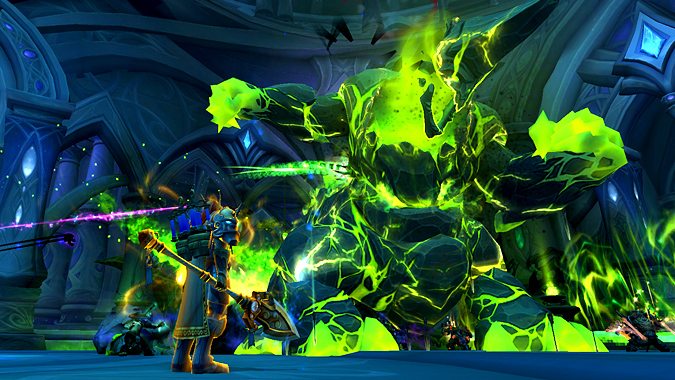
Goroth
Goroth is a big ol’ brute fond of fel bowling balls and fel bowling pins. When he tosses the bowling ball out, help him knock those pins down and win a prize! (The prize is not dying.)
There’s not a lot to say about Goroth. He’ll target random ranged players for his Infernal Spikes, so be sure to only stand where you want a potential spike to spawn. He won’t target us for spikes if we’re in melee range, but the drawback is we’ll have to be quicker on our feet to handle Shattering Star and Infernal Burning. It’s nothing much to worry about if we save Divine Steed for Shattering Star, and simply head out to the spikes early when Infernal Burning is coming up.
Shattering Star is a decent time for Aura Mastery, since the impact will do some raid damage no matter what.
Loot of note: Icon of Perverse Animation, Lava-Slough Legguards (good stats, but our tier legs are better).
Harjatan
Next up is another big brutish boss, but Harjatan is already a step up because it has the title “The Bludgeoner.” That’s pretty sick, gotta give credit where it’s due.
Harjatan is one of those “stack up to cope with the huge AOE damage” fights that always gives us some fun talent options. Bestow Faith was generally regarded as the go-to level 15 talent in Nighthold, but there’s quite a few encounters in Tomb that are giving Light’s Hammer a chance to shine. Many of the top Holy Paladin parses are using the hammer these days, and Harjatan is a great fight to bring it back into our toolkit.
Depending on your raid composition, you may also find good value in Beacon of the Lightbringer or Beacon of Virtue, if you find your raid struggling with the frequent raid damage from Harjatan’s Unchecked Rage. Beacon of Faith seems to still be giving better overall numbers, though, so if you don’t need the raid healing help, stick with the double beacons — tanks can take a lot of damage here.
Loot of note: Radiant Lightbringer Gauntlets (tier hands), Wave-Hammered Breastplate. Don’t bother with Charm of the Rising Tide — it lacks Crit, and we should be moving around quite frequently to maximize our proximity-based Mastery.
Mistress Sassz’ine
Mistress Sassy’s marine menagerie can be a chaotic mess, but under all the adds and beasts it’s honestly pretty straightforward for us. Help split Hydra Shot (or negate it with Blessing of Protection), use the murk pools to avoid Slicing Tornadoes, dispel stuns, don’t get smashed by the shark, and don’t get inhaled by the whale. We can also stun the Abyss Stalkers to make it easier for DPS to kill them, which is extra important on Heroic difficulty, as the stalkers teleport around randomly.
Loot of note: Radiant Lightbringer Greaves (tier legs), Sea Star of the Depthmother. Get this trinket! It is incredibly good for us, and it’s not uncommon to see the Sea Star chipping in 8-10% of our total healing. 40 of the top 50 Holy Paladin parses on Heroic Kil’jaeden used it, which is absurd. It also procs off Light of Dawn, which pairs well with the our Tier 20 2p bonus. Get the Sea Star, love the Sea Star.
Demonic Inquisition
If you like tearing your hair out because your DPS players won’t stop punching themselves in the face, this is the fight for you.
There’s actually not a lot of mechanics we specifically have to worry about here. We need to hold off on dispels when players receive Echoing Anguish, only dispelling them when they’re clear, and we need to Confess when our Torment gets high, but that’s about it.
That’s not to say this is an easy fight — we still have to avoid taking unnecessary damage from Bone Saw and Fel Squall like everyone else, and the raid damage can spike up pretty high at times, especially when one or more healers are in the Confession realm. Try to save Aura Mastery for one of these damage spikes, and remember that Bone Saw deals physical damage, so Blessing of Protection can be used to save low-health allies.
Loot of note: Inquisition’s Master Key, Radiant Lightbringer Crown (tier helm), Barbaric Mindslaver, Bonemeal-Crusted Armplates. Note: These wrists are the only plate wrists that drop in Tomb.
Sisters of the Moon
I really like the design of this encounter — having the entire floor reflect changing phases of the moon is quite creative and unique. I am totally down with original ideas like this.
That being said, woof, this fight gets messy. Remembering which abilities are countered by which moon phase can be a lot to grasp at first — if you use Weak Auras, I recommend building specific auras that tell you “go to light” or “go to dark” respectively. On Raid Finder or Normal difficulty it won’t be the end of the world, but on higher difficulties properly countering the various abilities is much more important.
{PB}Unsurprisingly, each boss’ “super” ability will likely cause the most problems. In phase one, Incorporeal Shot is one of those standard stack-and-split-the-damage abilities, but this time it’s Shadow damage, so we can’t cheese it with Blessing of Protection. In phase two, Aura Mastery is nice against Embrace of the Eclipse. In phase three, Glaive Storm (which looks like giant fidget spinners) can wreck a raid that isn’t good at dodging projectiles. You may want to consider simply popping Divine Shield here so you can just ignore the glaives and spot heal.
Loot of note: Blessing of the White Lady, Dusk-Crusher Handguards, Yathae’s Thumb Ring (Mmm, that crit). The healing trinket, Chalice of Moonlight, seems annoying — if your raid time would give you the crit buff, it’s okay, but otherwise go with something else.
The Desolate Host
Another multi-realm fight, though I do have to admit that two overlapping realms is new and fairly creative.
It’s important to note that Beacon of Light won’t heal a beacon target in the opposite realm. Some paladins are simply sticking their Beacon of Faith second beacon on a non-tank (or themselves), but we’re probably better off going with Beacon of the Lightbringer or Beacon of Virtue.
In the spirit realm, there’s multiple effects that slow players, so toss out Blessing of Freedom whenever it’s off cooldown. When Wailing Souls is cast, we’re good candidates to stay with the tank while everyone else leaves, since we can do moderate DPS to the boss while we simply wait for the channel to end. (Though on Heroic difficulty, we should probably swap out with another healer due to Wither.) Additionally, on Heroic mode we also have to heal through the healing absorption shield from Spear of Anguish so those players can leave the spirit realm.
In the physical realm, the biggest concern is making sure Tormented Cries void zones are placed in areas that don’t interfere with your designated Bonecage Armor and Soulbind locations.
Save throughput cooldowns for the last 30%, when The Desolate Host spawns.
Loot of note: Grave-Dredged Pauldrons, Locket of Splintered Souls, Radiant Lightbringer Cape (tier cloak).
Maiden of Vigilance
Maiden is a fun Thaddeus/Twin Val’kyr/Xhul’horac remix, with a giant pit thrown in for good measure. What’s not to love?
A simple fight, as long as your raid can tell the difference between yellow and green. Be on your proper infusion side, don’t touch orbs of the wrong color, and jump into the pit when Unstable Soul is about a second from expiring. Be sure to face into the pit, as the detonation knocks you directly backwards.
Maiden is another stack-and-split-the-damage fight, so any of our Beacon talents will work fine.
When she uses Blowback and then summons the light/fel orbs, DPS players should have higher priority in grabbing orbs and getting buffed over us. We can share an orb if it’s convenient, but since Maiden gives herself a huge protective shield in this phase, it’s crucial that your raid has the DPS numbers to break it quickly.
Loot of note: Steadfast Purifier’s Warboots, Radiant Lightbringer Breastplate (tier chest).
![]()
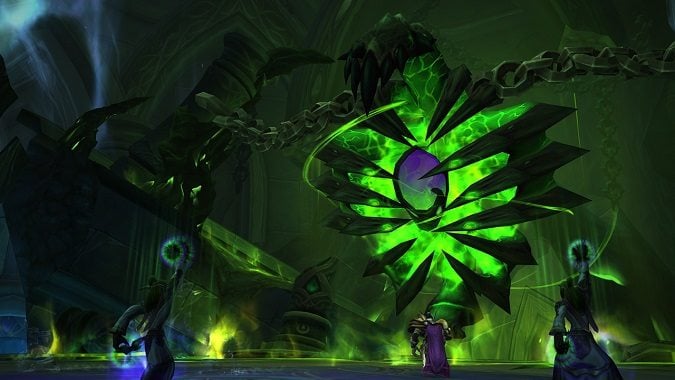
Fallen Avatar
Fallen Avatar’s first phase is very dull, and his second phase is very intense. Weird mix.
For us, phase one is simple. Tanks will take occasional heavy damage, and there’s periodic spot healing required after Rupture Realities and Shadowy Blades, but if your raid is handling these mechanics properly, it’s not much to worry about. On Heroic difficulty, we need to also help split the Touch of Sargeras void zones. Go ahead and use throughput cooldowns early on, just make sure they’re available again once the boss transitions to phase two — we’ll need them.
In phase two, Dark Mark is a huge pain in the butt — not just because of the explosion damage, but because of the knockback. Be ready to emergency heal people who get tossed into the lava, or be ready with Blessing of Protection for people who get tossed up and are at risk of dying from fall damage. Thankfully, a recent hotfix made it so healers won’t be targeted by Dark Mark.
On Normal difficulty, if your tanks are using the strat of dragging the Avatar into the lava prior to Rupture Realities, they will take a ridiculous amount of damage, so be ready with cooldowns/Blessing of Sacrifice.
This phase is a DPS race, so chip in as much damage as you can while still keeping those health bars filled!
Loot of note: Archive of Faith, Cape of Mindless Fury, Radiant Lightbringer Shoulderguards (tier shoulders), Valorous Spark of Hope.
That about does it for the first three wings of Tomb of Sargeras! Next time, we dethrone the Deceiver himself. We’ll probably also discuss trinkets and set bonuses, since we have some interesting choices this tier. Until next time!
Please consider supporting our Patreon!
Join the Discussion
Blizzard Watch is a safe space for all readers. By leaving comments on this site you agree to follow our commenting and community guidelines.