How to beat Hearthstone’s Tombs of Terror, the game’s latest (and toughest) single-player mode
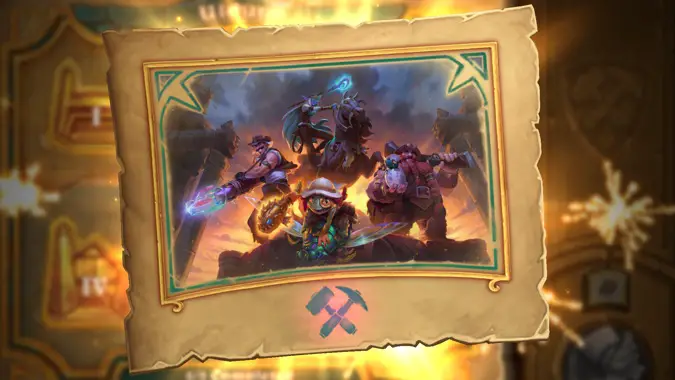
Hearthstone’s newest single-player adventure is the Tombs of Terror, which casts you as a member of the League of Explorers — Reno, Finley, Elise, and Brann — each of whom offers a dual-class deck that lets you combine cards in unique ways. You’ll be facing off against the League of E.V.I.L., which has unleashed Plague Lords on Uldum for reasons that I frankly don’t understand… but feel will be explained by the next expansion.
Looking for something specific? Jump right to the info you need:
- How to play Reno
- How to play Sir Finley
- How to play Elise
- How to play Brann
- The best passive treasures
- The best active treasures
- How to beat Vesh, Plague Lord of Murlocs
- How to beat K’zrath, Plague Lord of Madness
- How to beat Xatma, Plague Lord of Death
- How to beat Icarax, Plague Lord of Wrath
- How to beat Tekahn, Plague Lord of Flame

What is Tombs of Terror?
This adventure is completely single-player, and follows Hearthstone’s familiar dungeon run format, with a few new features. It’s broken up into five chapters with normal and heroic modes, each with a unique “twist” that shakes up gameplay.You’ll fight through seven random bosses before meeting the Plague Lord itself. As you play, you unlock more treasures, more deck options, earn more cards, and encounter a friendly tavernkeeper — our old friend Bob from Dalaran Heist — who lets you modify your deck. But if you lose at any point, you’ll start (almost) from scratch. It’s a fairly painful do-over that’s based on a lot of RNG, but it does give you the chance to build a new — possibly better — deck with a new hero, new hero powers, new treasures, and new cards for your next attempt.
One new feature to Tombs of Terror is the Plague Lords, who are big bosses, with 300 health each. While you might be able to defeat them in one go, it will probably take multiple attempts. Fortunately when you take down their health it’s gone for good, which gives you a better chance to win each time you reach the Plague Lord. But you do still have to reach the Plague Lord, which usually takes more than a few failures.
You’ll have to cough up some cash (or some gold) to get access to Tombs of Terror. The first chapter is free, but the rest cost $6.99 or 700 gold each — or you can buy the whole adventure for $14.99.
How do I win Tombs of Terror?
Every run through the Tombs is unique, so there’s no specific guide to follow. The bosses you encounter, the cards you can add, the treasures you earn, and the ways you can modify your deck are all random. Each has three hero power options, four deck options, and six hero-specific treasures — you’ll start with one of each, but you’ll unlock more as you play.
Instead of talking fixed strategies, we’ll focus on each hero, with their hero powers, starting treasures, and the best additions to pick up along the way. And then, of course, we’ll talk about beating the Plague Lords themselves.
Reno Jackson
Reno is a Mage/Rogue, and he’s the first hero you’ll unlock. The problem with Reno, I find, is that he isn’t quite enough of a Mage and isn’t quite enough of a Rogue to feel strong. For example, you won’t find a single Fireball or Arcane Missiles in his card buckets, which can make him rather weak as a caster. You can supplement his spell list with Rogue spells like Backstab and Blade Flurry, but his gameplay still feels rather stilted, and his decks never have enough spells to quite feel like a Mage. However, once you unlock all of his powers, Reno can dish out a lot of damage.
Reno’s hero powers:
- Amateur Mage (2), deal 1 damage to any target, or 2 damage with a combo. This is like the default Mage starting power but with a Rogue twist — though just getting one extra damage from a combo is a pretty weak addition. It’s a thoroughly okay power, but nothing great.
- Relicologist (0), your next spell this turn has spell damage +2. At face value, this is an amazing hero power. For no mana at all, you can snag an extra 2 damage every turn! However, for a (sort of) Mage, Reno spell selection is lacking, which makes this a weaker option. It does, however, work brilliantly with Inspire cards, which you can trigger without any mana cost.
- Our Pick: Arcane Craftiness (2), fires two missiles that deal one damage each. If they kill any minions, it casts again. This is a surprisingly powerful option that can help clear the board and deal a bit of damage to the enemy hero. (It’s particularly good in the first chapter, where you run into a lot of low-health Murlocs.) It offers great early-game tempo in any match, where that damage is likely to kill at least one mob, triggering it to cast again. Skills that boost hero power damage can make this even more powerful: Fallen Hero, for example, will boost the damage of each bolt by 1, meaning Reno will shoot two 2-damage missiles.
Our favorite Reno-specific treasure:
- Gatling Wand (5), deals 3 damage split randomly among all enemies for each spell you’ve cast this game. This is the last treasure you unlock and it’s absolutely devastating when you pull it out. When played late game, it’s often a board clear and does heavy damage to your opponent.
When building your deck, beware cards that swap your hero power. While these powers are more powerful than the defaults, they often don’t improve on Reno’s powers. You probably want to skip Raid the Sky Temple and Frost Lich Jaina.
Sir Finley
Finley is a Paladin/Shaman that you unlock when you buy Chapter 2 of the adventure. You can build him as a zoo-style Paladin with lots of minion buffs or a spell-heavy Shaman with lots of healing (and powerful combos with Swamp Queen Hagatha, Grumble, and Shudderwock). He’s a versatile hero, with some versatile hero powers:
- New “Recruits” (2), summons a 2/1 Amalgam Explorer, which counts as every type of minion. It can help you build a wide board, but it can also exploit cards powered by certain minion types. However, be aware that using this power doesn’t count as summoning a minion, so it won’t trigger the many elemental cards that do extra things if you summoned an elemental last turn. Another problem with this power is that a lot of Paladin cards work with Silver Hand Recruits — not these guys.
- Bubble Bubble (1, Overload 1), discover a Paladin or Shaman minion with Battlecry. This can slot very neatly into both Battlecry and Overload decks, though I find Finley has more cards supporting Battlecry/Shudderwock gameplay. This is a solid power for a certain sort of deck, but if you don’t wind up with the cards to support it, it can be quite weak
- Our Pick: Power Up! (2), give a minion Divine Shield and Windfury. This is a real powerhouse ability for practically any deck type. Divine Shield adds a solid layer of defense while Windfury offers a solid layer of offense. Protect valuable minions with Divine Shield, clear your enemy’s board with the Divine Shield/Windfury combo, or use it to add synergy to cards like Bolvar, who gains attack power every time Divine Shield is lost.
Our favorite Finley-specific treasure:
- Maxwell, Mighty Steed (3), a 3/5 beast with Rush and Reborn that has +2 attack for each other minion on the battlefield. Maxwell can get very powerful very fast, and with Reborn is guaranteed to take out at least two minions. If you can keep Maxwell alive with Divine Shield (i.e. with Power Up!) he can be a force to be reckoned with. Maxwell is also only the second treasure you unlock, so you can get him pretty early.
Elise Starseeker
Elise is a Druid/Priest and her playstyle frankly feels a little slow. She can be built as a token Druid summoning lots of small minions, but she doesn’t have many board-wide buffs to really make the most of this deck type — though it’s brutal when you can pull it off. Focusing on her Priestly side, she has a lot of defense (particularly healing) but not a lot of offense. After a lot of play, I favor building Elise as a minion-buffing deck (token or otherwise) with card buffs from Priest and Druid. This spell-heavy deck can also pair nicely with cards that have an impact after casting spells.
So let’s check out Elise’s hero powers:
- Elise’s Might (2), Choose One: +2 attack this turn or gain 2 armor. This well-rounded power can help with attack or defense, which makes it very flexible. This can work in any type of deck, which is frankly perfect for the random nature of the adventure. You can grab this power and build your deck however you like, while other hero powers require certain types of deck to shine.
- Our pick: Starseeker (Passive), After you cast 2 spells in a turn, add a Moonfire to your hand. This power can be rather self-sustaining, as once you start a chain of Moonfire generations, your zero-mana Moonfires help you generate more Moonfires. It’s a hero power that scales excellently with spell power… though Elise’s card buckets don’t seem to offer much of it, grab any spell power cards or treasures you can. It’s also worth noting the if you cast four spells in a turn, you’ll get another Moonfire, so try to cast spells in multiples of two.
- Druidic Teaching (2), Restore 2 health, then draw a card if the target is at full health. This defensive healer power feels slow-moving. Though you have lots of cards that gain strength when you heal, it takes time to get them on the board and cast the heals you need to power them up. You can’t always afford to lose that much early-game tempo.
And our favorite Elise-specific treasure:
- Addarah (3), a 3/6 minion with a battlecry that shuffles all enemy minions into your deck. This is a great board clear in any fight, and if you can get any way to return her to your hand, the card is even more powerful.
Brann Bronzebeard
Brann is a Hunter/Warrior hybrid, and the mix seems to work a little more than it does with the other heroes. While the other class combos are a bit of a mish-mash, there is some fantastic Mech synergy between the two classes. A Mech/Bomb Warrior/Hunter can be fearsome, assuming you can get the card buckets to support it. Both classes also have a good selection of Rush minions for a Rush deck. All-in-all, I think it’s hard to go wrong deckbuilding for Brann.
His hero powers are perhaps the least impressive of the lot, though, with no clear standout:
- Spread Shot (2), deals one damage to your target and one damage to the enemy hero. This isn’t that much different from the standard Hunter hero power, but it gives you targeting flexibility — and if you want, you can target your opponent to do a straight two damage.
- Well Equipped (2), equips a random weapon and sets it durability to one. Sometimes you’ll get a weapon with a great on-use effect or a great Deathrattle — and sometimes you won’t. I haven’t had a lot of luck with it, and am not a fan due to its unreliability.
- Dino Tracking (passive), lets you discover which card you draw each turn. This can help you land the perfect card each turn, giving you the perfect tempo. Think of it as bad luck prevention.
But a lot of Brann’s treasures are really great, which probably shouldn’t be a surprise for someone who’s been chasing the mysteries of the Titans — and thus raiding a lot of tombs — so long. But this one is my favorite:
- Flo Slatebrand (2), a 4/4 minion with a Battlecry and Deathrattle that adds a random Treasure to your hand. Treasures are usually pretty overpowered, and getting two of them for two mana is fantastic. Note that if you grab the Hearthstone treasure, I recommend using it during that match because you’ll get an extra trip to the tavern for free.
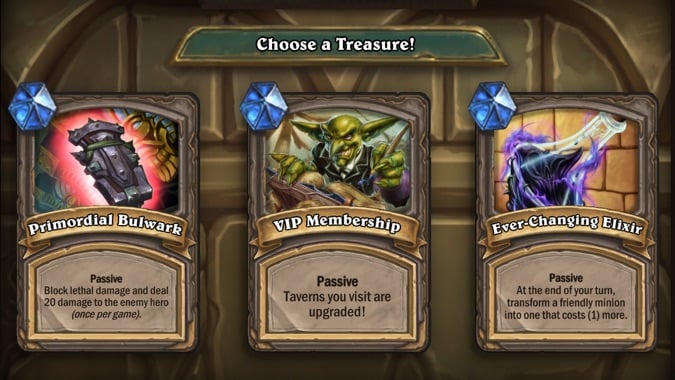
The best passive treasures for powering up your deck
The passive treasures you take — you get a new one after your first and fifth victory — have a big impact on your playstyle. I’m not going to list all of them, these are the ones I think are most powerful.
- Alchemist’s Stone, whenever you play an odd cost card, this reduces the cost of all cards in your hand. This can add some serious tempo, since your first play is (hopefully) always going to be a 1-cost card, immediately cutting the cost of everything else in your hand.
- Darklight Torch, whenever you play an even cost card, your hero power resets and costs 0. This makes the most out of your hero power and pairs well with Inspire cards. If you have a strong hero power, this lets you double down on it.
- Captured Flag, gives all of your minions +1/+1. This is a treasure that’s been around since Hearthstone’s very first Dungeon Run, and it’s still a powerful addition to pretty much any type of deck — but it’s particularly good with zoo and token style decks.
- VIP Membership is a passive I initially overlooked, but can actually be tremendously powerful. It just upgrades your Tavern encounters — it does nothing at all for combat. But the upgraded Tavern offers tons of extra deck customization, including some options you won’t see without it. Whenever you enter the Tavern, you’ll have twice the cards, twice the minions, and twice the coins, which is already pretty powerful. But the VIP-only cards are the best of the lot, easily giving you the power of an extra passive treasure. Plus VIP Membership is the only way to get one of Bob’s Bombastic Decks, which make one-shotting the Plague Lord practically a guarantee.
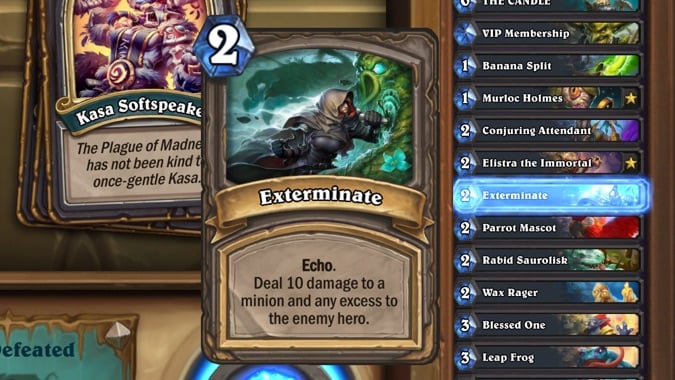
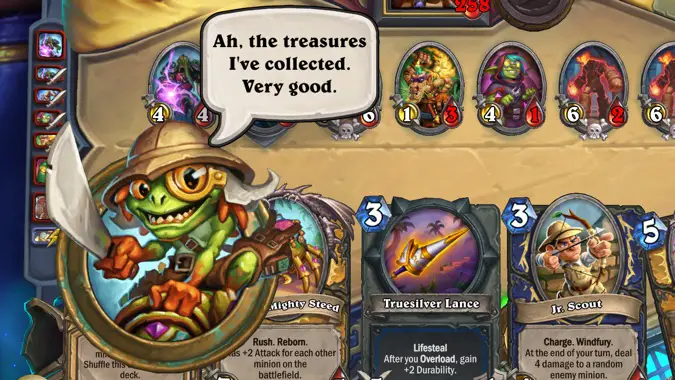
The best treasures to pick up while tomb-raiding
You have your choice of two active treasures as you progress through the tomb — presumably things you loot along the way. You’ll pick up a new treasure after your third and seventh victories, and the right treasures can really shift the game. These are always great picks.
- Map of Uldum (0), discover a card and gain a mana crystal for each boss you’ve defeated this run. This is incredibly powerful ramp if you can get it in your hand early enough.
- Gnomebliterator (2), deal 10 damage to your target and 10 damage to the Plague Lord when you fight it. Ten damage on its own is good enough, but Gnomebliterator also deals 10 damage to the Plague Lord for every time you’ve cast it in the run, which can make wiping out pesky Plague Lords much easier.
- Hearthstone (0), escape to the Tavern and remove this from your deck. You draw this at the start of the game, and it’s basically a get-out-of-jail-free card (which also happens to give you an extra shot at modifying your deck). Hold on to it until you know you won’t survive another round, then play it so you live to fight another day. If you hold on to your Hearthstone until the boss fight, you’ll get to flee to the Tavern, modify your deck, and return for a second shot without having to go back to the beginning.
- Blade of the Burning Sun (4), a 4/2 weapon with a Battlecry that gives all minions in your deck +2 attack and a Deathrattle that returns the card to your hand. Though it’s a slow build — you’re four turns in before you can play it, and you can only buff minions every three turns — if you can survive long enough, continual stacking of this +2 buff creates wildly powerful minions
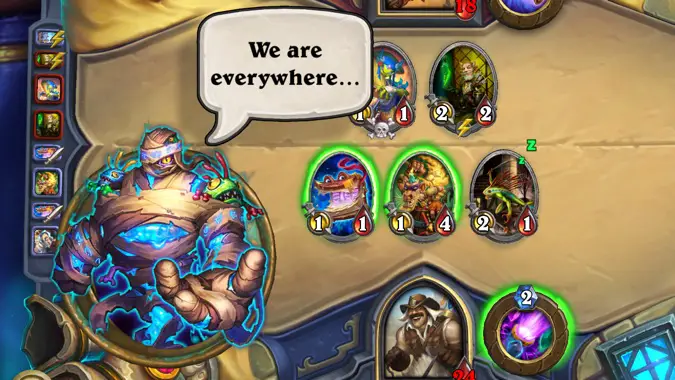
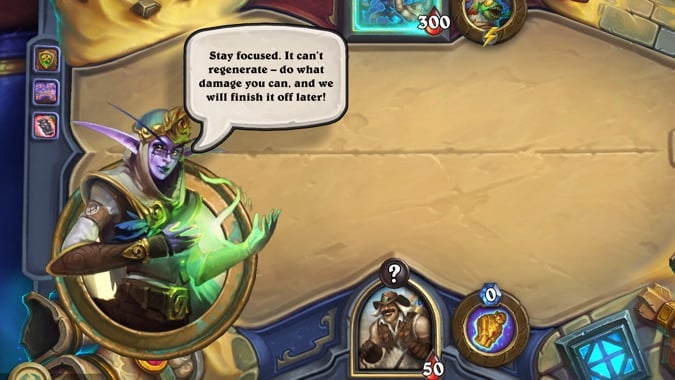
Chapter 1: Vesh, Plague Lord of Murlocs
The first chapter pits you against Vesh, who is literally a bunch of Murlocs in mummy wrappings. Yep. Reread that sentence as much as you’d like — it’s not going to change.
Throughout the run, you’ll have to deal with the Plague of Murlocs, which causes random Murlocs in random numbers to be randomly summoned for you or your opponent. This can benefit zoo and buff-style decks, but frankly isn’t anything you can rely on to power a deck. Most Murlocs are weak and you can go an entire match without drawing one. Just think of it as a nice perk when you can get it… and an annoyance when your opponent gets it instead.
Vesh starts at 300 health and is a three-phase fight:
- Phase 1 (300 to 200 health): Vesh is invulnerable and can only be damaged by killing Murlocs, which works pretty well considering its entire deck is Murloc-based and random Murlocs are frequently summoned on both sides of the board. It doesn’t matter if it’s your Murlocs or Vesh’s Murlocs who die: Vesh takes damage either way.
- Phase 2 (199 to 100 health): Vesh gets a new zero-cost hero power that lets it turn any Murloc into a 0/4 Scaly Golem with Taunt and a Deathrattle that gives all Murlocs — including yours — +1/+1. Do your best to keep the board clear or you won’t survive this phase for long as Vesh’s Murlocs become more and more powerful. But any damage you can get out during this phase is good, because it means you’ll spend less time there next time around.
- Phase 3: (99 to 0 health): Again, Vesh gets a new hero power: Mur-nado, which shuffles every minion on the board into its deck. It costs 15 mana to use, but the cost is reduced by 1 each time a Murloc dies. This board clear can sometimes work in your favor, as Vesh seems to cast it as soon as possible regardless of the state of the board — but it does prevent you from pushing Vesh into fatigue and wearing it down.
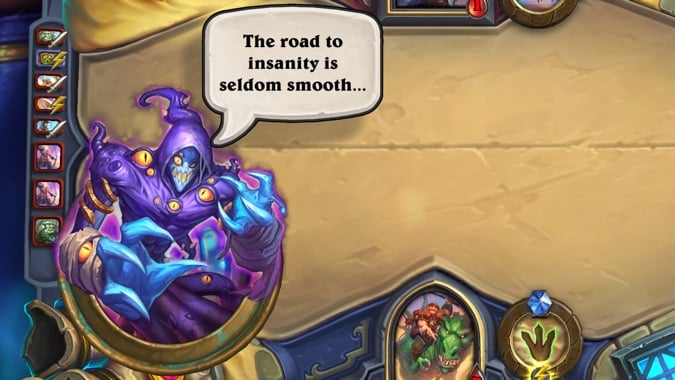
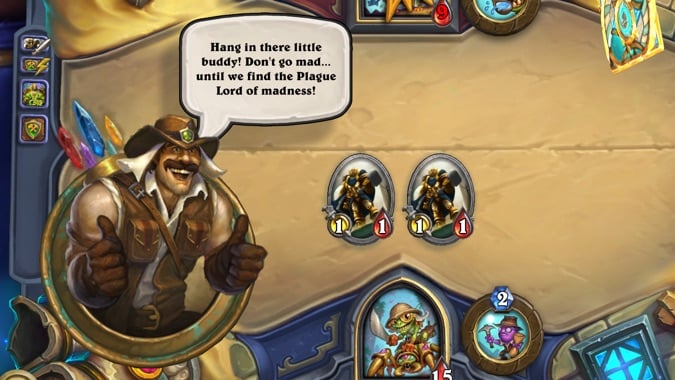
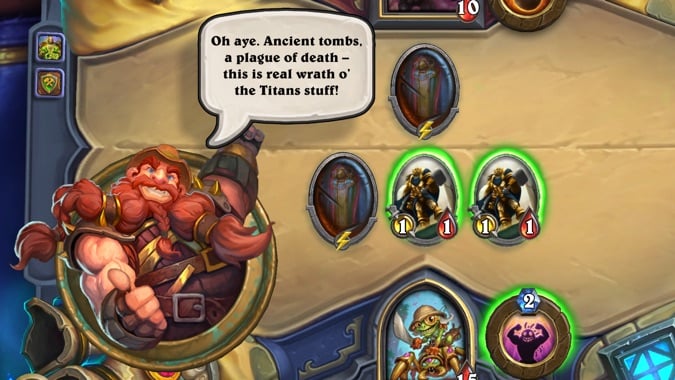
Chapter 2: K’zrath, Plague Lord of Madness
Here your adventure has you crossing the deserts of Uldum, fighting the Plague of Madness. At the end of every turn, the right-most minion on each player’s side will attack a random enemy. This means you’ll want to pick minion placement carefully. Because minions will take damage if they attack another minion, sometimes you’ll want to ensure their safety by keeping them off the right side of the board. But when your opponent’s board is empty, you definitely want your biggest bruisers on the right-hand side of the board to hit your opponent hard.
K’zrath starts at 300 health and, like Vesh, is a three-phase fight:
- Phase 1 (300-200 health): K’zrath’s hero power is Systematic Betrayal (1), which causes all minions to rotate counterclockwise. This can make your minions hop to K’zrath’s side of the board, and when they do, they’ll get +1/+1 — but you gain the same benefit, as minions that jump to your side of the board also get +1/+1. As with the plague you’ve dealt with for the entire chapter, you’ll want to carefully consider minion placement, and in this case try to keep your most powerful minions away from the right-hand side of the board where they’ll soon be under K’zrath’s control.
- Phase 2 (199 – 100 health): K’zrath’s hero power is now Evoke Panic (0), which forces the minion with the lowest health to attack one of its neighbors. While it isn’t a passive, K’zrath uses it at the start of every turn, making it a fairly effective board clear. During this phase, do your best to make sure that K’zrath has the lowest health minions — even if it means keeping minions in your hand — so it clears its own board instead of yours.
- Phase 3 (99 – 0 health): Again, K’zrath gains a new hero power: the passive Murmurs of Mortality. Throughout this phase, whenever you kill an enemy, K’zrath will set one of your minions to one health, making it easy to wipe off the board next turn. Strong AOE healing can help keep your minions alive here, but for the most part you want to zerg him and just expect your minions to drop like flies.
One thing to keep in mind is that K’zrath’s deck is packed with C’thun cards. If you were fortunate enough not to be playing when C’thun decks were in favor, I’ll explain why this is a bad thing: every C’thun card plays buffs the C’thun in K’zrath’s deck. When C’thun itself is played, it does damage equal to its attack spread randomly across all enemies. A seriously buffed C’thun is essentially a death sentence, and all you can do is hope C’thun doesn’t hit the board — or at least do as much damage as possible before it does.

Chapter 3: Xatma, Plague Lord of Death
Finally, you have reached an actual tomb! While here, it is no surprise that you are surrounded by tombs: in each match, both sides will have an Eternal Tomb on the board. Inside, there’s a random minion that will released after a number of your minions die equal to the minion’s cost. There’s no particular strategy here, as both sides of the board get a completely random benefit. Sometimes it helps and sometimes it doesn’t. Zoo or token decks can get these minions on the board faster, while decks that can buff minions (or give them reborn) can make these random additions more powerful — but basically play this chapter as normal.
Once you fight through the requisite seven bosses, you’ll reach Xatma. Again this Plague Lord is a three-phase fight, and it’s a tough one:
- Phase 1 (300 – 200 health): Xatma’s initial hero power is Foreboding Fate (0), which triggers a friendly minion’s Deathrattle, and since its deck is packed with powerful Deathrattles this can be really painful. The only good news is that he can only do this once per turn, because Deathrattles buff his side of the board really quickly. Just do as much damage as you can, and ignore all defense, because there’s no defense that will overwhelm these powerful Deathrattles. I’ve managed to do as little as 4 damage to him during this phase by trying to play defensively, so don’t make my mistake!
- Phase 2 (199 – 100 health): Its hero power becomes Death’s Embrace (passive), the first minion for each player that dies in a turn has Reborn. This one’s a real headache, because the first minion you kill every turn immediately comes back on the board — and it can be really devastating with the number of Deathrattle cards Xatma has.
- Phase 3 (99 – 0 health): Its hero power becomes Death’s Gaze (1), deal one damage to all minions, if any die he gets the card Untimely Demise, which deals 3 damage to all enemies. This is pretty good for you if you have a Deathrattle or Reborn deck (or both), but otherwise it tends to keep your board clear and limit your options. This is particularly hard on token and zoo decks.
It’s a tough fight, but the key is board control. If you can keep his minions off the board — or keep them from sticking to the board — you can maintain the advantage. I’ve actually managed to defeat Xatma in one go, using a Reno deck with the Arcane Craftiness hero power and a lot of ways to buff it. The Darklight Torch treasure let me recast my hero power whenever I played an even-cost card, and combined with Inspire cards like Mukla’s Champion, it proved devastating.
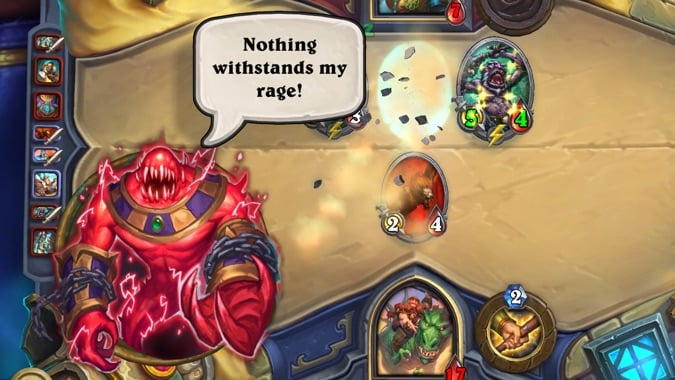
Chapter 4: Icarax, Plague Lord of Wrath
Finally, you’ve reached the Halls of Origination, where Icarax reigns. The twist here can be both good for you and bad for you: whenever any minion takes damage, they gain +1 attack. That can be be great with enrage minions, because it buffs them up faster, but it powers up your enemies faster, too. Ideally, don’t hit enemy minions unless you can destroy them that turn.
- Phase 1 (300 – 200 health): Icarax starts with the hero Commanding Scream, which prevents its minions from being reduced below 1 health this turn. Keep this Plague Lord from getting a board advantage on you by taking down its minions as quickly as possible — otherwise its minions will take your hero down fast.
- Phase 2 (199 – 100 health): Icarax’s hero power now lets it destroy damaged minions, for a cost — for each damaged minion on the board, it costs one more mana. The best way to manage it is to keep the board packed with damaged minions — something that shouldn’t be too difficult if you’ve been keeping the board clear in phase 1. Warriors also have a lot of self-damage and enrage, making Brann a good choice for this phase.
- Phase 3 (99 – 0 health): And Icarax’s final hero power is Hand of Defiance (0), which swaps the attack and health of a minion. The damage this can do varies greatly depending on the fight so far, but if Icarax tends to use the power defensively to give its minions more health. That can help you out because they don’t hit as hard, but they’re also much harder to take down… and their health and attack can be switched back at any time. I had a lot of luck with Poison and Rush cards, but not every deck will have those bene fits.
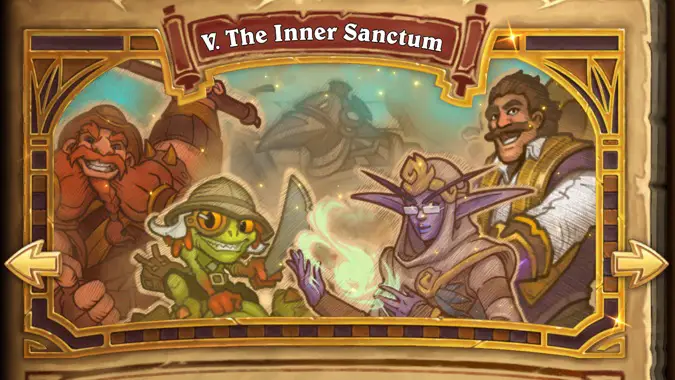
Chapter 5: Tekahn, Plague Lord of Flame
The conclusion to this Adventure feels rather uneventful, as chapter 5 throws you straight into a boss fight. All four of our heroes team up to defeat the final boss: you can choose any hero to start, and switch to any (still living) hero when the one you’re playing died. You can choose the hero power you want to use after you’ve selected your hero, and you’ll get all of the hero-specific treasures you’ve unlocked so far.
But beyond that, the contents of your deck seem rather random, which makes the battle feel rather pell-mell. You get no passive or general treasures, which is part of what makes the other fights of the adventure so interesting.
But here, in the inner sanctum, we find Tekahn, who is a little put off by being attacked by adventurers while Rafaam swans off. Tekahn occasionally summons Sanctum Golems, who are 6/6s who can’t attack. So that’s fine, right? No, of course it’s not fine.
- Phase 1 (300 – 200 health): Tekahn’s initial hero power is imbues one of its golems with the power of fire — meaning they explode for 3 damage to all minions when they die — and summon another golem. The amount of AOE damage Tekahn throws around can make it difficult to gain ground in this fight. I usually go straight for the face with as much damage as possible to get out of the phase, but frankly the next phase isn’t much better.
- Phase 2 (199 – 100 health): The fire golems are (mostly) gone, but now Tekahn can target one minion per turn with the Curse of Flame — meaning that if it survives the round, all characters will take five damage. This really just makes things worse: either you’re killing off one of your minions every turn or you’re dealing big AOE damage around the board. Keep trying to cling to any board advantage you can.
- Phase 3 (99 – 0 health): For the last third of the fight, everyone’s spells cost health as well as mana, so be careful of what you put on the board. The only upside here is that Tekahn is in the exact same situation you are, so really you just have to hold on until it kills itself with its constant casting.
What about Heroic mode?
Heroic mode is just like normal mode… only harder. A lot harder.
All of the above advice still applies, but expect to go through a lot more RNG to find the perfect deck so you can make progress.
So good luck with that.
Please consider supporting our Patreon!
Join the Discussion
Blizzard Watch is a safe space for all readers. By leaving comments on this site you agree to follow our commenting and community guidelines.