How to use Blueprints in World of Warcraft Player Housing
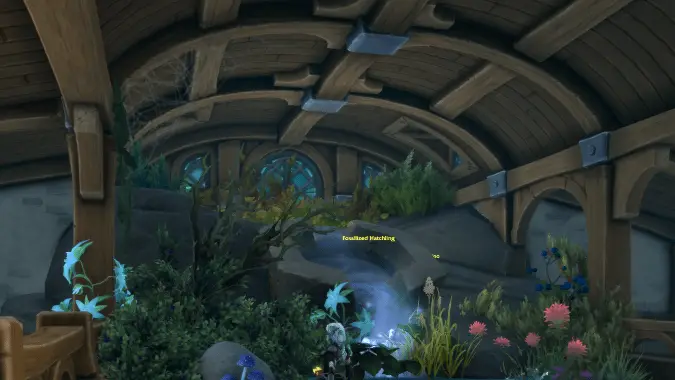
World of Warcraft patch 12.1 adds one of the most requested features for the Player Housing system: Blueprints. This is Blizzard’s system for saving, storing, importing, and sharing housing designs within World of Warcraft, letting players easily share their designs (and other players easily add those designs to their own homesteads).
It’s a big improvement to the housing system for practically every player — including those who may not have engaged much in housing before. Creative types who love designing may want to back up their current design before making changes, like decorating for the holidays with an easy way to take those decorations down (and put up new ones) later. When you have an almost perfect design but what to try something new, it’s hard to commit when your original design is gone forever, but Blueprints will make it simple to save your current home so you can play with design ideas as much as you’d like. But for Players who have trouble coming up with ideas — or who are just overwhelmed by the huge number of options — Blueprints may give them a place to start, by using some else’s room or whole house design and then tweaking it for themselves. We’ve seen plenty of impressive homes in Azeroth, but they aren’t always easy to DIY, and Blueprints will make it possible to build the in-game home of your dreams without starting from scratch. Want to add a swimming pool to enjoy the final days of summer? Adding something like this can now be as simple as importing a room from a creator who’s already made it.
So let’s talk about how Blueprints work in World of Warcraft patch 12.1, and how you can use them back up, build, change, and grow your home into the Azerothian mansion, hedge maze, or hobbit hole of your dreams.
How to access Blueprints in Player Housing
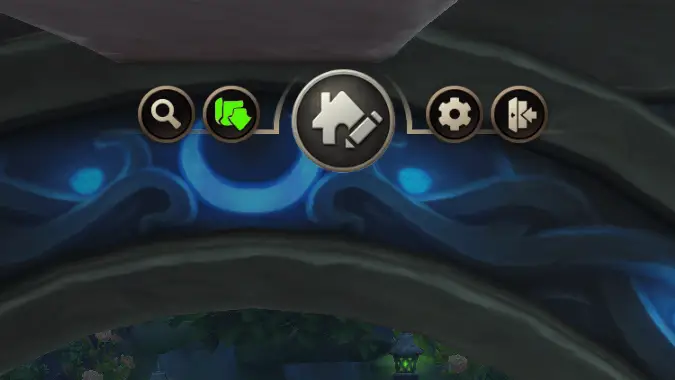
You can get to Blueprints from the Player Housing HUD, which is pops up at the top of your screen when you’re in your home or on your housing plot. At the top of the screen you’ll see a new icon to the left of the Edit House button to save or import Blueprints.
You can also view your Blueprints (but not import them) from your Housing Dashboard (hotkey H); there’s a new tab on the right-hand side of the dashboard labeled Blueprints.
How to save a Blueprint in Player Housing
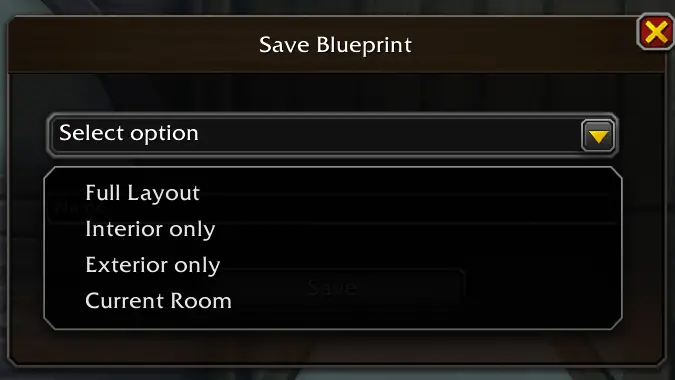
Open the Blueprints menu from the Player Housing HUD and select Save Blueprint. You’ll be able to choose one of these options to save:
- Full Layout: Entire home, including both the interior and exterior
- Exterior only
- Interior only
- Current Room: You will need to be inside your home for this option to appear
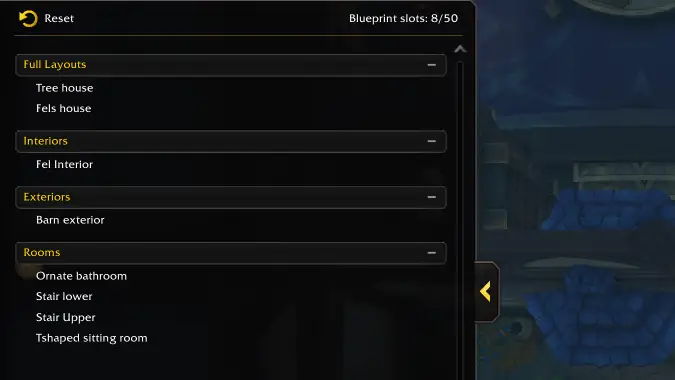
When you save the Blueprint you will be given the option to name it, and you can store up to 50 Blueprints at any time.
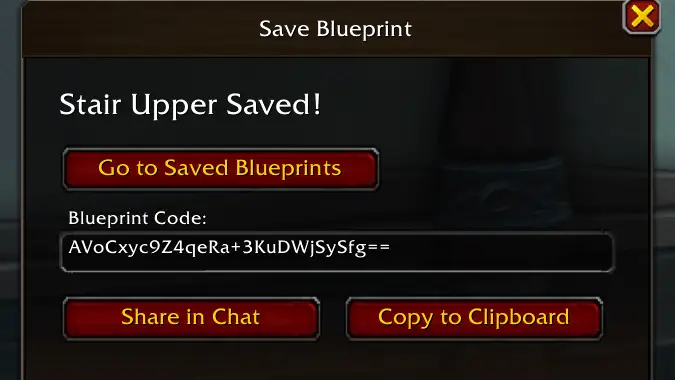
Each Blueprint has a short code that you can share for anyone else to use, but unlike sharing talent builds, this code does not include the entirety of the build — there’s just too much information in a home for that to work. Instead, it’s a reference to where the build is stored on the Blizzard servers. If the owner of the Blueprint deletes it from their catalog, it is also deleted from the Blizzard servers and the code will stop working.
How to import a Blueprint
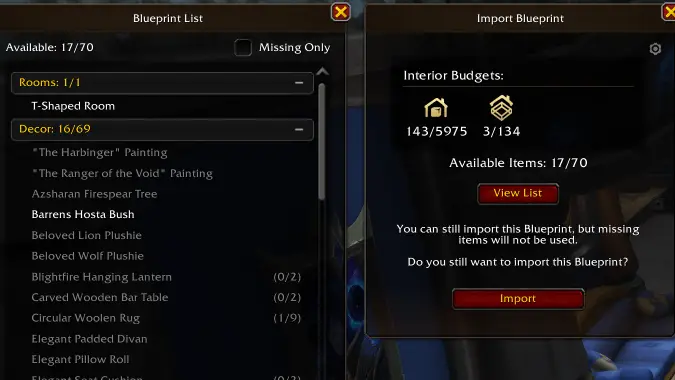
Open the Blueprints menu in the Player Housing HUD and select Import Blueprint. When you choose to import a build, you can choose what you want to import, just like when saving a Blueprint. You can replace everything or build it up a zone or room at a time. You can import a Blueprint you’ve previously saved, or add one using a code from another player.
When you select a design to import, it will show you a list of the decor items required. You can filter for items you’re missing and dyes you might need. If you import a design and you don’t have all of the decor or dyes, everything else will still be added and you can fill in the blanks yourself — but if you want to go collect the rest of the items, you can reject the import and return when you have everything you need.
To import a design you must have a house eligible for importing that design — for example you could not import a design that uses a large exterior building type if you have not yet unlocked it, or import a design that uses an artisanal room you have not yet acquired. When placing a single room you will need to select a valid placement for that room — you need to have the placement budget to add the room, and it needs to fit in the selected space. Note that some rooms have both height as well as footprint requirements.
When you import an entire house, Blizzard creates a temporary hidden save slot not counted in the initial 50 that allows you to revert to the previous saved house.
How to share Blueprints
There are two ways you can share Blueprints:
- Sharing the code created when you save a Blueprint
- Allowing players to export their own Blueprint while visiting your house
Once you’ve saved a Blueprint, you can share it anywhere you want, whether that’s Discord, social media, or a Blueprint archiving website.
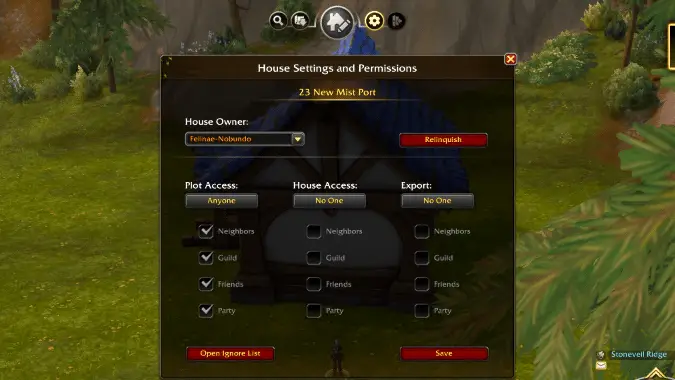
But if you set your house permissions appropriately, players visiting your home can save Blueprints of your designs. The permissions are granular, so you can allow anyone, guild members, friends, party members or no one to export Blueprints. (The default setting is no one.) You can set that option under House Settings, located to the right of the Edit House button in the Player Housing HUD that pops up when you’re on your plot.
If you allow other people to export Blueprints of your house, that Blueprint they generate is part of their 50 saved blueprints and is independent of any Blueprints you may have saved.
What Blueprints can’t do (yet)
Export groups of items. Because we don’t yet have the ability to group decor items into larger objects, the smallest grouping of items you can export is an entire room. If you want to get the grand piano you saw a creator build on their channel, you would need to import the entire room and then delete the parts you don’t want. and hope the room is the right type and the piano is in the right place. Otherwise you would need to move it component by component to where you want it. Blizzard has talked about adding a way to group objects, but we don’t have a timeline on when we would see this.
Showcase your house (without passing out your home address). Blizzard has also talked about the possibility of creating a system similar to the Dream Address system from Animal Crossing: New Horizons, where you can choose to upload a Blueprint to a specific neighborhood that will allow other people to go view it without them coming and visiting your plot in your neighborhood. This saved Blueprint would be locked to the version you uploaded and would not reflect any changes you make to your house. As yet there has been no information on whether these houses would be selected by the community or whether individuals would be able to elect to upload them.
Housing design competitions. The same system has also been discussed as a way to submit houses to housing design competitions. But this would need support from Blizzard to make available specific neighborhoods for these events, and how it handles multiple submissions for the same plot and whether it has access to all required decor items.
Blueprints for Staircase Rooms can be a problem
Multistory rooms created by Staircase Rooms have a special behavior when you save a Blueprint of these rooms. Because staircases can be expanded up or down to a maximum of 100 levels, each level is treated as its own room, which causes odd behavior with a single room export.
Testing on the PTR suggests that to save the Blueprint for a staircase room, your character needs to stand within the footprint of the room, on the lowest level on the floor or slightly higher. For any level above the bottom floor you will need to be around one third of the way up the height of the room for it to properly register which level you are on. If you have tall staircase, you will need to save a blueprint for each level you want to save.
Importing staircase rooms are also tricksy.
This sounds counter-intuitive, but testing has shown that you have to start at the top of the staircase when you try to import multiple staircase rooms. You will need to place the highest room first and then start importing saved staircase rooms to sit below it, which places the newly imported room in the lower half of a staircase room. To add a level, import the floor below it, selecting the down option for the target location. Repeat this for each level you wish to import. Once you’ve imported all the levels, in the room placement tool, go back to the top of the staircase and delete the empty top level. There are some reports that you can do a similar method working from the bottom up, but it will leave you with an empty bottom level that you may not want
Depending on how tall a staircase you are building, you will need to get up there first to put a room to anchor your highest staircase room to, and then work your way down. You can build your scaffold and then delete it after you have imported your new staircase, but you obviously need the placement budget to have both sets of stairs, which could be costly.
Importing pet beds with Blueprints
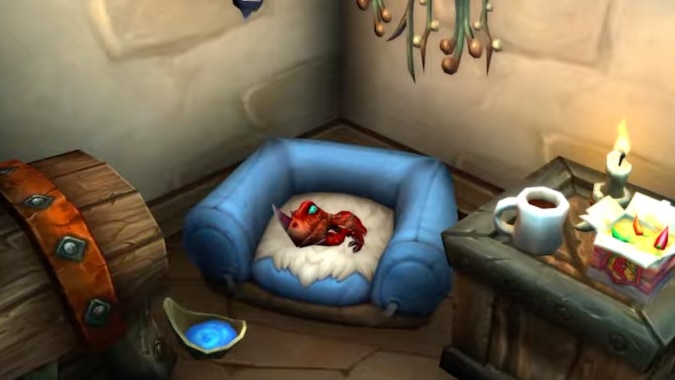
While a saved Blueprint will remember that you have a pet bed placed as a piece of decor, it doesn’t remember which pet was assigned to it, nor whether it was set to stationary or roaming. Keep this in mind if saving a Blueprint that has a large number of pet beds included, especially if they’re are embedded in other objects. You’ll have to configure the pets manually after importing these Blueprints.
What do you plan to do with Blueprints?
Are you excited for Blueprints? Do you plan to share Blueprints with other people? Are you hoping to use designs created by others? Do you intend to keep your builds just for yourself?
Please consider supporting our Patreon!
Join the Discussion
Blizzard Watch is a safe space for all readers. By leaving comments on this site you agree to follow our commenting and community guidelines.