Take back the city with these guides to the bosses of the Liberation of Undermine raid
It’s the most wonderful time of the new WoW patch, for people who like to raid, anyway: The Liberation of Undermine opens today (mostly — LFR and Story Mode will lag behind a bit). That means you and your band of scrappy and heavily-armed friends (all of whom are packing their Gallagio Loyalty Rewards Club cards, right?) are ready to take on a bevy of new bosses and take back the city from the chrome-plated grip of Jastor Gallywix. But first you’ve got to make it through an army of Goblins with delightful names and questionable weaponry, a two-headed ogre head honcho, an arena fight that promises to be a real clash of titans, and an… animated slot machine?
Let’s take a look at what awaits you inside the raid (which, as a reminder, you can enter from the west side of the Incontinental Hotel.)
Vexie and the Geargrinders
As has become tradition for the first boss of a raid, Vexie and the Geargrinders eases you in with a fight that doesn’t have a ton to remember in terms of mechanics — let the tanks handle Vexie in her tank, avoid the oil slicks (and on Heroic, burn them up), beat up her biker pals and launch their bikes at Vexie’s machine to remove its armor plating and then burn her down before it gets repeared. Rinse and repeat to take out the first boss!
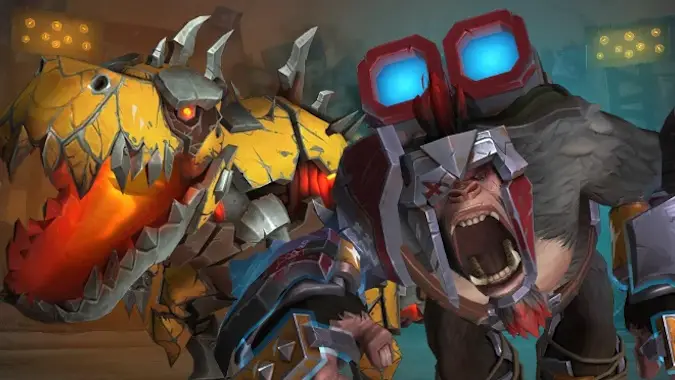
Cauldron of Carnage
I highly encourage you to play this one with your sound effects on for the commentary during the match. The second boss is a cage match featuring Flarendo the Furious, a mechanical devilsaur, and Torq the Tempest, a gigantic cybernetic gorilla. Each of these two has elemental-themed attacks (fire for Flarendo, electricity for Torq) that they’ll spew on their side of the room — because you need to keep them far apart, with your raid split — before they crash together in the middle of a room in a Colossal Clash. Dodge all the things and switch sides after each Clash and you should see your way through this rampaging duo.
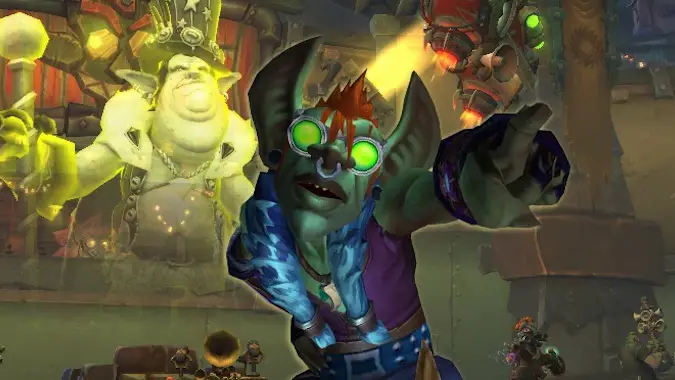
Rik Reverb
Sometimes, you don’t want the bass to drop. Rik Reverb is a flying DJ and propaganda specialist whose goal is to amp the party up to deadly proportions with his Amplifiers; they need to be drained by players (which hurts — you’re channeling pure electricity there, pal!) lest they wipe the raid, while you’re also dodging sonic waves. Every so often Rik will retreat into the safety of his Sound Cloud (I wish I was making that up) and you’ll need to use the Amplifiers to dodge his deadly Blaring Drop rings. If you can handle that, you can bring Rik’s party to a screeching halt.
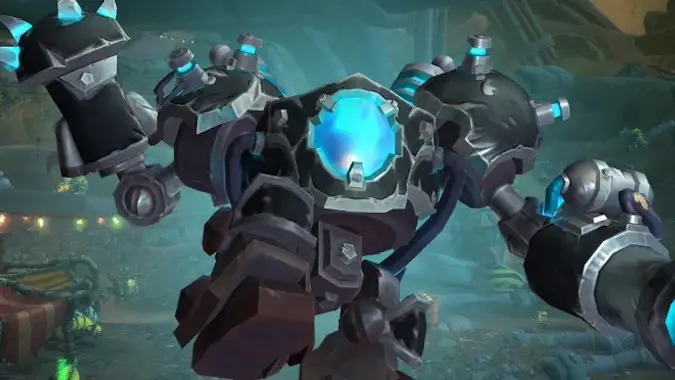
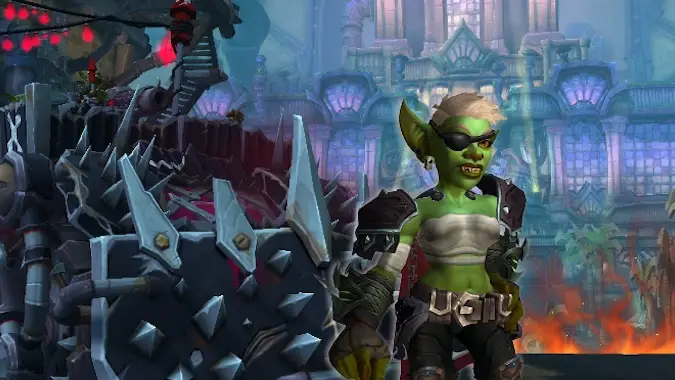
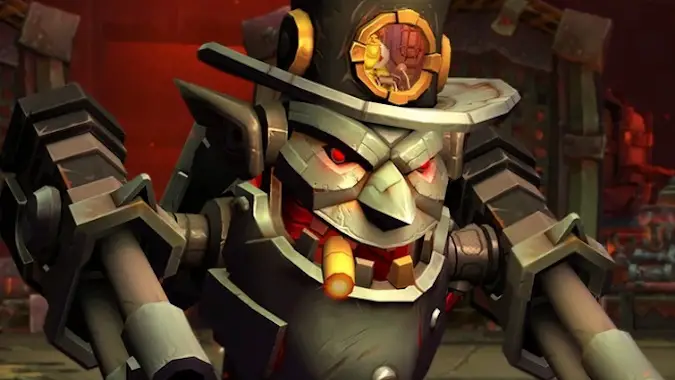
Stix Bunkjunker
This fight’s major ability feels a little bit — okay, a lot bit — like Katamari Damacy, but with trash. One tank and four other players will be picked to roll around as Rolling Rubbish piles; you roll around on small trash to glue it to your trash ball, then eventually start picking up bigger piles as well, until finally you crash your trash into either a Discarded Doomsplosive (eliminating it safely before it eliminates your raid) or into the boss (doing a chunk of damage). You can also run over his Scrapmaster and Junkyard Hyena adds to make them take double damage!
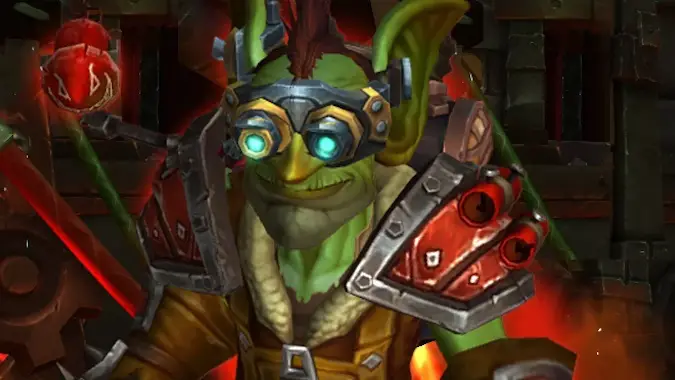
Sprocketmonger Lockenstock
This guy has the best name in the raid, and also the best inventions — which are primarily what you’ll be dealing with. Lockenstock’s room is a mess of conveyor belts, holes (try not to fall into them!), and deadly inventions — rockets, mines, magnets, and lasers. He’ll take turns activating inventions you need to dodge and conveyor belts you need to fight against (as well as trying to drill players from beneath) until each intermission, at which point you’ll have to work your way across the room to him and one invention will become Black Blood empowered.
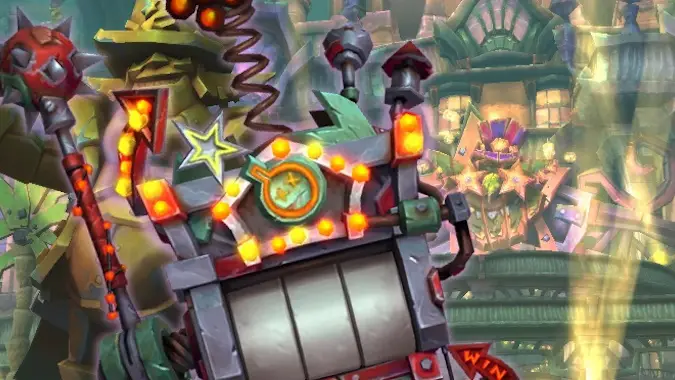
One-Armed Bandit
Did you think you were going to get into the casino without dealing with a slot machine? In this case it’s a gigantic animated slot machine that has such fabulous prizes for you… mostly fire, electric shocks, and adds that will beeline towards players. Depositing pairs of tokens will activate different effects, and you’re going to need to see all six of them before you can move on to phase two, where the machine just decides to cheat in an effort to kill you. There’s a fun damage boost mechanic in this fight for daredevils (and bullet hell shoot-em-up fans): when the gigantic Pay-Line coins come out, standing near them — but not in their path — will give you a damage buff.
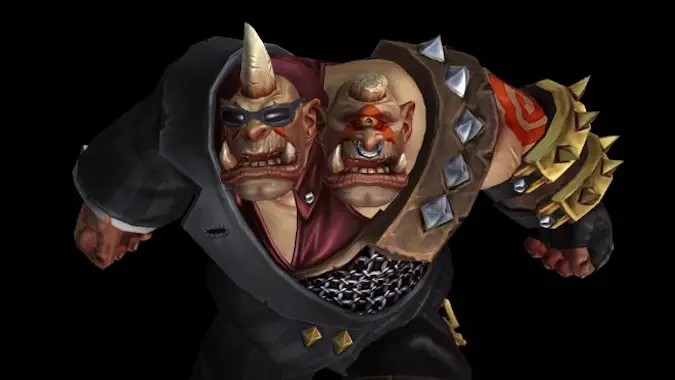
Mug’Zee
Mug is an elemental magic powerhouse; Zee deals with guns and goons. Who’s the Head Honcho? Well, it varies based on which side of the room your raid is standing in. Mug’Zee has a variety of mechanics to avoid — earthen jails, ice physics on demand, fingerguns, crawler mines, rockets, big ol’ guns — but which ones you deal with varies, as only one head is in charge at any given time… until 40%. After he sprays the room with a combination of bullets and lightning with his rotating Bulletstorm maneuver a few times, his heads decide to work together and you have to deal with both sets of abilities at once! I’m not so sure two heads is better than one anymore.
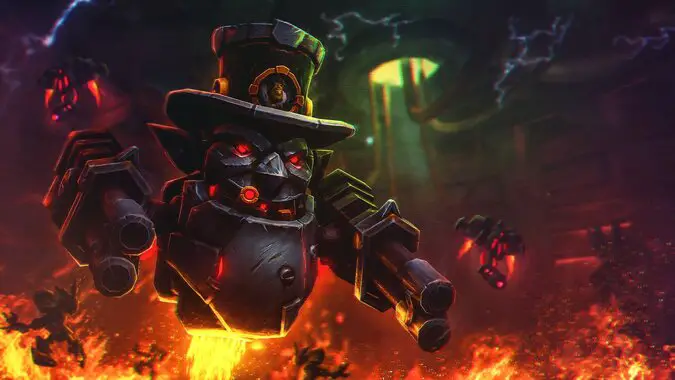
Chrome King Gallywix
As has become tradition at this point for final bosses, Gallywix was not tested on the PTR at all, so we don’t have a video guide for him yet that has actual footage. However, we have pretty good guesses at how his fight works based on the encounter journal and other sources. Honestly, it’s a lot to deal with: phase 1 has damage that needs to be split and bombs that need to be detonated safetly. Phase 2 brings back the phase 1 mechanics and adds pulsing electric damage, a Darkfuse Technician who drops a Giga Bomb that needs to be securely chucked to safety — you know, like you do with bombs.
During the intermission he finally makes that fancy flying head-robot of his move, and you have to break its shield to avoid total destruction. The last phase brings back the electric attacks and Darkfuse Giga Bombs from phase 2, improved versions of his explosives from phases 1 and 2, plus now he actually follows the tanks around pummeling them personally.
It seems like a lot, but if you’ve made it there, you’re more than capable of showing this Goblin that it’s your way or the highway!
Please consider supporting our Patreon!
Join the Discussion
Blizzard Watch is a safe space for all readers. By leaving comments on this site you agree to follow our commenting and community guidelines.


