How to take on the Dastardly Duos in WoW — now live!
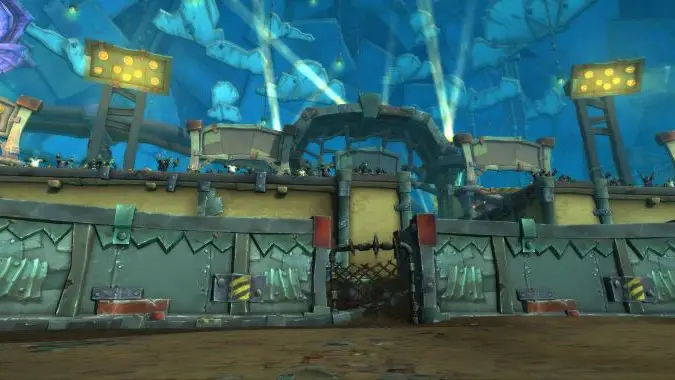
Patch 11.1.5 for The War Within added a brand new event, the Dastardly Duos. But even though the patch went live in April, this event only just launched: Dastardly Duos is now live and will be available through July 15. Over the course of six weeks starting June 3 a group of one to five players can enter an instanced version of Undermine’s Demolition Dome — you’ll recognize it as the place in the raid where you fought Flarendo and Torq in Liberation of Undermine — to tackle mechanical versions of classic bosses fighting together.
It’s a quick five-minute fight (though you can extend the timer with consumables) in which you’re aiming to get the highest possible score with quick kills (while keeping your own death count low), and optionally inflating the difficulty of the fight via your choice of pre-fight food. Weekly quests will reward Champion gear and additional collectibles such as the Tyrannotort mount, and every completed run will net a piece of Veteran warbound gear as well consumables you can use during the fight. You can play Dastardly Duos as much as you want each week.
Each fight is broken into three phases:
- Phase 1: Trash. There are trash mobs scattered throughout the Dome. Kill them all to finish this phase and move on to the next phase.
- Phase 2: Boss Duo. Two of the mechanical bosses will spawn together; they don’t share health and there are no special mechanics required to defeat them (such as having to kill them at the same time), so kill them in whatever order you want.
- Phase 3: The second Boss Duo. Another two mechanical bosses spawn at the same time. Like the prior phase you can defeat them however you want.
Once the second Boss Duo is down — or you run out of time — the fight ends and you get your score and reward chest. Do this every week for six weeks to collect all the rewards!
That’s an overview of the event. Now let’s get into the details on how to play Dastardly Duos now that it’s live in game.
How to start the Dastardly Duos event
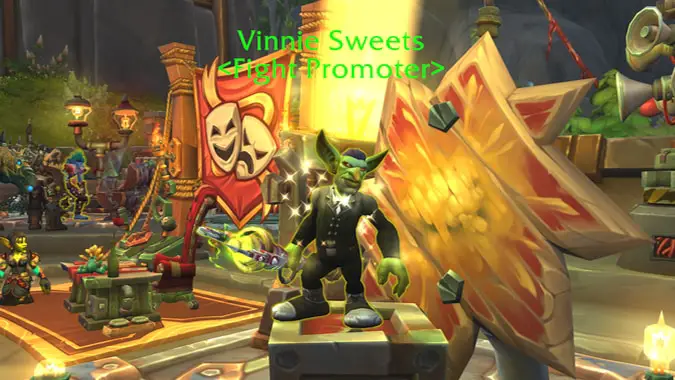
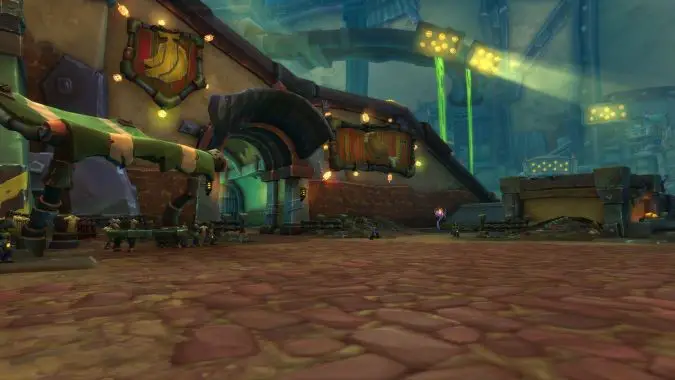
The Dastardly Duos is started by the breadcrumb quest Dastardly Duos! It’s on! which sends you to see our old pal Vinnie Sweets at the southeast entrance of Dornogal. He’ll have a quest for you titled Who are the Dastardly Duos? that has several steps but all easily completed:
- Speak with Xyggie Marou — since speaking with her is required to start the fight, this is automatic.
- Eat a Dastardly Food — there are consumables during the preparation for the fight, be sure to eat some of the food to your left.
- Drink a Dastardly Potion — the potions are also in the prep portion, to the right of the Dome
- Damage a Dastardly Prop — there are “trees” and barriers and other props located around the Dome. Unless you exclusively use single-target abilities for the entire fight you’ll get this naturally.
- Win Dastardly Duos fight — that’s what this guide is for!
The first week of the event will also have the quest Cowardly Cheery Bombs provided by Wodin (you’ll find him to the left, in front of the grill). During the fight you’ll want to reveal a Cheery Bomb by breaking as many props as you can. Once one spawns (they’re pretty obvious), just click it to kick it and complete the quest. The Cheery Bombs are a key component of fight scoring so you’ll want to use them advantageously — more info on this in the fight section.
There are two other NPCs with Vinnie Sweets: Xyggie Marou and Wodin the Troll-Servant. Xyggie is your access to the event; speaking with her loads you into the Dome instance. Wodin sells cosmetic rewards and can provide you with the list of food options to select for the fight. The options are:
- Strength and power! — ensures there are burgers available to eat
- Toughness and Fortitude! (Non-tank specs only) — places a beef haunch out for consumption
Challenge me! Handicap me! — there will be shrimp to eat— This was available on the PTR but isn’t currently on the live servers. It’s possible it will appear in a future week.- Another challenge! Indigestion please… — this will make sure there are plenty of hot dogs to eat
These NPCs are available in three locations; in addition to being at the entrance to Dornogal, you can find them above the gates of both Orgrimmar and Stormwind so you can start the event from any of those locations.
How to prepare for Dastardly Duos
The Dastardly Duos can be done by up to five players in a group; once you have everybody who will participating in the party talk to Xyggie to queue for the instance. You’ll be ported to the entrance of the Demolition Dome; going down the ramp into the arena proper will start the event so don’t do that until you’ve completed all the preparation work. There’s no time limit for prep, and you can leave simply by leaving instance group.
Gather your party! If you have fewer than five players the game will add NPCs from the follower dungeons to help pad your party. If you don’t like the additional NPCs you can speak to Xyggie and she will remove them. However unless you have four players you’ll likely want the extra help. The NPCs will conform with typical party roles so if you queued as three DPS the game will provide you with a tank and a healer.
Buff up with consumables. There are two types of consumables you can use: food that’s available on table to the left of the preparation area, and potions that are on racks to the right of the ramp down to the arena. You’ll want to use both, including after death (you respawn in the preparation area) as there’s no penalty for doing so. Some food can provide a bonus to your final score because they apply a debuff, but you’ll want to be certain you can still win with the negative effects.
If your desired food is unavailable, speak with Wodin the Troll-Servant in the staging area to provide it; unfortunately if there’s a food missing that you wanted, you had to leave the instance and re-queue after talking to Wodin.
The food selections are:
- Burger: +30% damage, -30% damage taken
- Hot dog: Sometime you get gassy; 2x score for the Damage and Survival bonus section of the score
Shrimp: Damage -20%, Damage taken +25%, 2x score for the Damage and Survival bonus section of the score— Available on the PTR, but not currently available on live servers.- Beef haunch: Physical Damage taken -80%, Magic Damage taken -40%, Damage -40%, Threat Generation +600%. This can’t be consumed by an existing tank, but is for a DPS or Healer who will be taking on the tank role for the fight.
- Cake from a Fan: Movement speed increased by 65%
Potions that are available are:
- Vial of Healing: 8% health every 2 seconds
- Can of Amps: +50% movement speed
- Bottle of Invisibility: Invisible until you enter combat
There’s no penalty for using potions or the buff food so it’s generally recommended you use them — however, you have to pick one of each to use. Multiple food and potion buffs do not stack, and when you select one it will overwrite any other food or potion buff you already have.
Once everyone is ready to fight head down the ramp and start the encounter when prompted.
Fighting the Dastardly Duos
There are three rounds to each fight, with trash spawning throughout the dome at the onset of the encounter. The five minute timer starts immediately so you’ll want to start defeating them right away — if you’ve unlocked the Dastardly Banner toy already you can use it to instantly pull all the trash as long as you think you can survive the combined onslaught. You’ll also want to make sure you destroy as many of the props as you can to reveal potion consumables (unlocked via the Inside Connections achievement) and two Cheery Bombs.
After the trash has been defeated the first two bosses will spawn. There’s nothing connecting the bosses so they can be defeated in any order. Once all bosses from the second round are defeated, the third round begins again with two more bosses. If those are defeated before the timer expires the event ends and you receive your score and rewards.
There are ten bosses available to fight, although someone unlock over the course of the event. They are:
- Glubtok
- Baron Silverlaine
- Hydromancer Thespia
- Foe Reaper 5000
- Broggok
- Lord Walden
- Watchkeeper Gargolmar
- Mekgineer Steamrigger
- Chrono-Lord Epoch
- Rattlegore
During the second and third round of the fight there will be a Spotlight located in the southeast portion of the arena as well as the two Cheery Bombs. The Spotlight provides a 2x score bonus for defeating bosses and any associated spawned mobs in its range. Similarly the Cheery Bombs can be used to create two other spotlight areas by damaging opponents within their area of effect until they reach 6000 cheers, at that point they turn into a 2x spotlight area. Since the Cheery Bombs can be moved you’ll want to position them in a way that generates the spotlight quickly especially if you’re relying on an NPC tank who is not programmed to do so. However, use of the spotlights isn’t required to win the fight and only assists with the scoring; if you’re struggling to defeat the opponents you don’t need to worry about them until you start focusing on maximizing your score.
There are consumables you can use during the fight that are rewarded from the quests and event chests:
- Burner clock (30 secs) and Big burner clock (60 secs) — these add time to the fight.
- Master key — the player who uses this takes control of the Pyro Machine vehicle that does melee flame damage and can launch rockets at a distance. Be aware that the vehicle can be DPS’d down by mobs (doing so does not kill the player).
- Bullhorn of calling — if used during the second or third round an additional boss will spawn. You can do this to increase your score although you’ll need to make sure you don’t summon more bosses than you can defeat in the time limit. There is no limit to usage, although once you’ve summoned all bosses during the event subsequent uses will bring trash packs.
During the fight the bosses can drop a gear on the ground. Using the gear will select one of the consumable effects at random (with perhaps the exception of the Master key), so it may add a boss to the current round or extend the length of the fight. It’s random, but will likely help increase your score (if it doesn’t kill you and run down the timer).
If you die during the fight you’ll respawn in the preparation area and can rejoin the fight. There are no maximum deaths, however as the saying goes you can’t DPS if you’re dead. In addition player deaths have a negative effect on the scoring.
Earning your rewards in Dastardly Duos
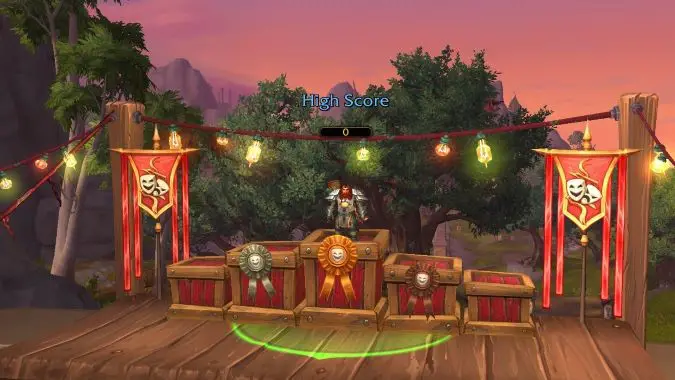
The fight ends when either the time limit expires or you defeat all the bosses in the third round. Scoring is made up of three components:
- Damage to mobs and props
- How much time remains at the end
- Player deaths (or lack thereof)
Besides the base score there will be a bonus score component as well. Bonus for the Damage is based on Spotlight use as well as using any food with a score multiplier. Bonus scoring for the time is based on using the Clocks to extend the amount of time available for the fight and is not modified by the Spotlight or consumables. Finally player deaths will either have a 1x or 2x bonus based on what food was consumed.
Your total score is then recorded and while it has no known bearing on your rewards it’s there for bragging and achievement purposes.
The chest that spawns at the end of the match will have a Warbound-Until-Equipped Veteran track item based on gear that dropped from the bosses originally. They do not have an updated appearance so if you already have the transmog in question you won’t need to farm it again. In addition there may be a few of the event consumables such as the burner clocks contained in the chest. There does not appear to be a limit to the number of times you can open the chest each week so Veteran items can be farmed indefinitely.
Besides the fight rewards there are weekly quests that provide a piece of Champion tier gear that also matches the appearance of items originally dropped by the bosses. These can also provide event consumables, and there are special rewards for each week. While most weekly quests only require you to win a battle, some do have extra conditions so be certain to read the quest before starting the event. Note that if you miss a week or three you’ll be able to catch up as long as the event is active.
Additional rewards are:
- Week one: Dastardly Banner toy
- Week two: Winner’s Podium toy
- Week three: Spicy Mean-Ball companion
- Week four: Unlock for the Winner’s Podium toy
- Week five: The Tyrannotort ground mount
- Week six: A second unlock to the Winner’s Podium
Besides these items you can also unlock six recolors of “dastardly” shoulder armor to purchase from Wodin the Troll-Servant as well as a new staff appearance. The unlock requirements are based on bosses defeated and cost 500 radiant crystals apiece.
Originally published on April 8, 2025; updated June 3, 2025.
Please consider supporting our Patreon!
Join the Discussion
Blizzard Watch is a safe space for all readers. By leaving comments on this site you agree to follow our commenting and community guidelines.


