Take down the bosses of Manaforge Omega with this raid guide roundup
The second week of our time on K’aresh is upon us, which means it’s time for Season 3 of The War Within to begin in earnest — including finally setting foot in Manaforge Omega, the home turf of city-sized void overlord Dimensius the All-Devouring. If you’re looking to collect some sweet loot instead of getting devoured, here’s a collection of raid guides that will help you stay alive, make friends with the Manaforge Vandals, and take down some villainous shadowy Ethereals along the way (and also some Demon Hunters for some reason).
Just as a reminder, you’ll need the Reshii Wraps to even zone into the raid — we have to be turned into energy to even get near him without being devoured. Whether you’re getting them for the first time, or jumping ahead on your alts to get them their own set, you’ll be thankful for the procs on these artifact cloaks when you’re tackling these bosses.
Plexus Sentinel
Like prior tiers, the Plexus Sentinel is designed to be a fairly gentle introduction to the raid. In this case, it challenges you to use your Reshii Wraps right away! Split the damage from its Eradicating Salvo and leave your traps and void zones at the edge of the room; once the Sentinel reaches 100 energy, it will warp away and push you back to the entrance. Chase the Sentinel (a little further each time) and use your Extra Action Button to turn into energy and pass safely through its purging energy barrier. Rinse and repeat until he’s defeated!
- Written guide and cheat sheet: Wowhead
- Video guides: Hazelnuttygames, Ready Check Pull
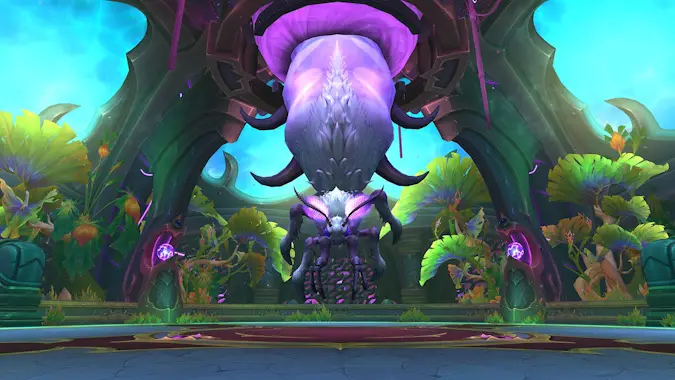
Loom’ithar
This is a two-stage fight with what is essentially a giant silkworm. In phase one, your goal will primarily be to break out of slowly collapsing circles of silk by destroying Infused Tangle adds and leaving void zones in safe spaces while not getting shot by the tankbusters. At half health, it gets so mad that it pulls itself off the ceiling (gross) and takes extra damage, but now it’s leaving ichor on the ground and firing cones at the tank that do need to be split.
- Written guide and cheat sheet: Wowhead
- Video guides: Hazelnuttygames, Ready Check Pull
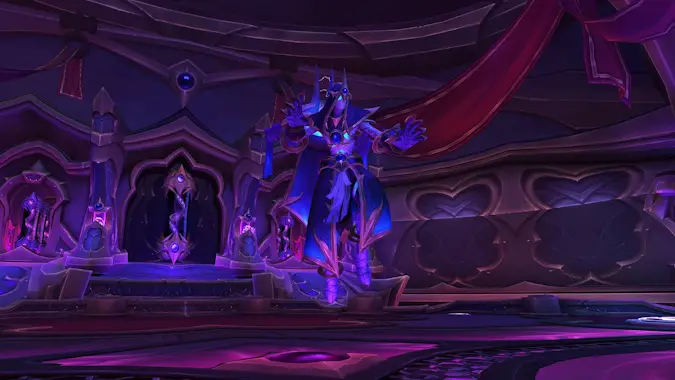
Soulbinder Naazindhri
Naazindhri tries to call souls out of incubation chambers to join the Shadowguard and become adds in the fight. We can’t have that, so we use her Soulfray Annihilation orbs to blow up the tanks early, stopping some of those adds from spawning. When they do show up, interrupt the Mages, heal the AOE damage that the Phaseblades do, and spread out to stay safe from Assassins. Oh, and don’t get knocked off the platform.
- Written guide and cheat sheet: Wowhead
- Video guides: Hazelnuttygames, Ready Check Pull
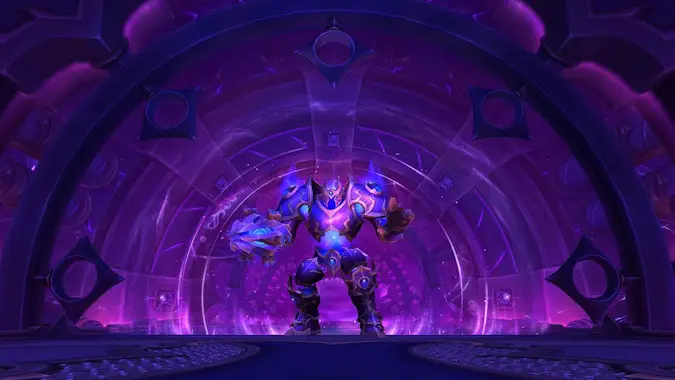
Forgeweaver Araz
This guy is all about adds. His tank ability summons an add, he targets players to summon adds, the adds attempt to walk to the three Collectors who are — you guessed it — adds. Once all three Collectors are active he tries to summon Dimensius fully into this world; breaking the Collectors during this intermission before they reach 100 energy starts the last phase, in which you’re trying to fight against getting sucked into a black hole while also finishing off Araz.
- Written guide and cheat sheet: Wowhead
- Video guides: Hazelnuttygames, Ready Check Pull
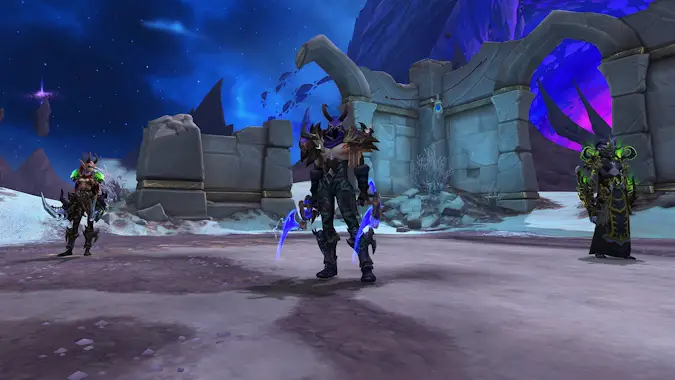
The Soul Hunters
While these bosses are technically optional, expect to be clearing them in most raids — they drop tier shoulder tokens and boots that enhance your Reshii Wraps’ special ability. The gist of this fight is don’t stand in stuff — don’t stand in eye beams, don’t stand in the path of The Hunt, don’t stand in void zones. Unless, of course, you’re marked with Adarus’ Devourer’s Ire, in which case your job is to stand in the purple void zones and soak them up. As each of them reach 100 energy, two of them will fly away while one of them metamorphoses and uses an amped up version of their abilities; soak the orbs, dodge the lines, and dodge the giant cone to win.
- Written guide and cheat sheet: Wowhead
- Video guides: Hazelnuttygames, Ready Check Pull
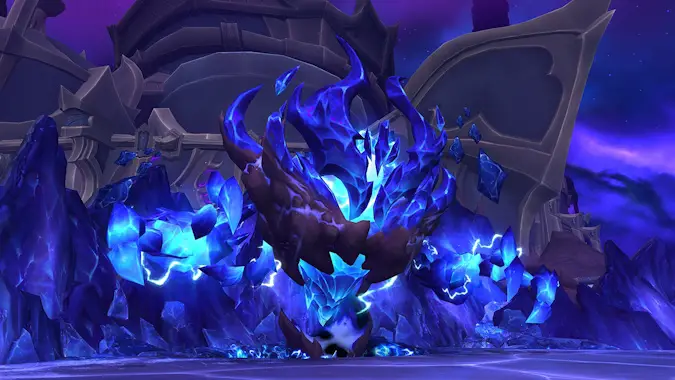
Fractillus
Affectionately referred to by PTR testers as “the Tetris boss,” Fractillus’ primary mechanic is crystal walls that will slowly stack towards him across multiple lanes. If any lane ever reaches six walls deep, he’ll get a big damage buff and probably wipe the raid. Fortunately, he also likes throwing players backwards, which conveniently destroys the walls. Don’t break too many at once or your healers will cry, but keep them from reaching him and you’ll win — easy, right? Probably easy.
- Written guide and cheat sheet: Wowhead
- Video guides: Hazelnuttygames, Ready Check Pull
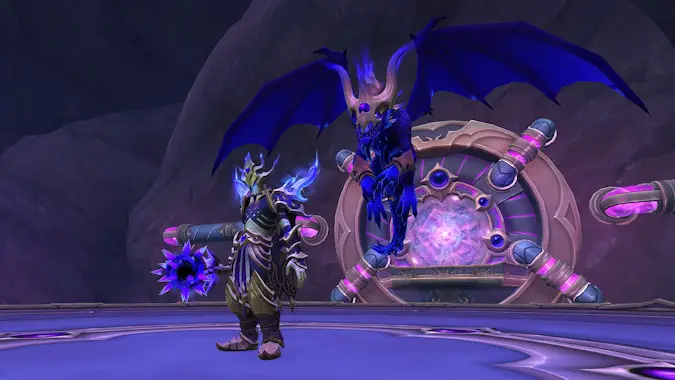
Nexus-King Salhadaar
As has been tradition since the start of Dragonflight, the second-to-last boss is a major jump in difficulty and complexity — Salhadaar has three phases and two intermissions. In phase one, be sure and remove your stacks of Oath-Bound by getting purposely hit with a cone ability aimed at the tanks; if not, you die. In phase two, spread your portals around, but watch carefully; when he fires lasers at the tanks, he’ll also fire lasers out of every portal! The first intermission features adds on side platforms to split up and fight; the second one sees Salhadaar go immune, but his Royal Voidwing mount takes double damage. In the last phase, you’ll want to use missiles fired at you to break Dark Stars that slowly orbit the arena and fire concentric rings of energy at you.
- Written guide and cheat sheet: Wowhead
- Video guides: Hazelnuttygames, Ready Check Pull
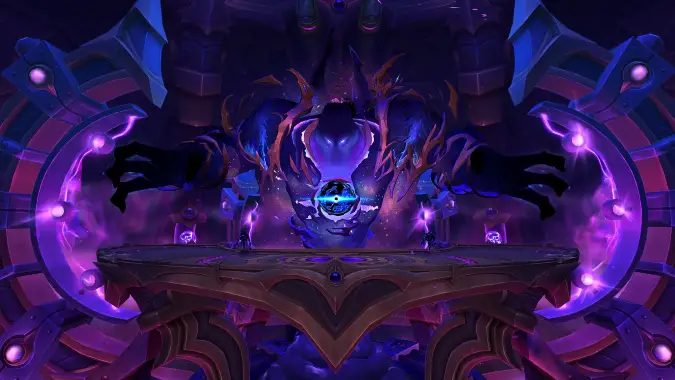
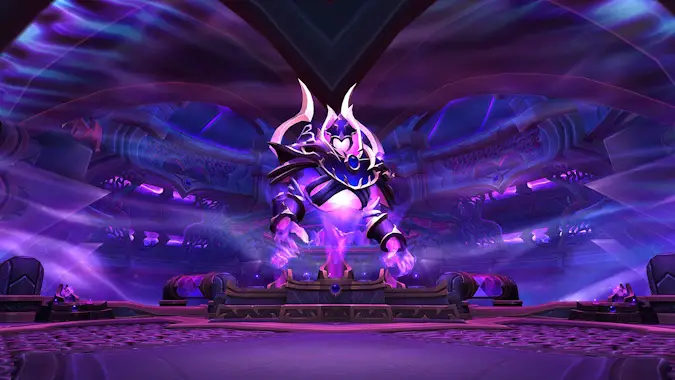
Dimensius, the All-Devouring
As is becoming standard now, Dimensius was not tested at all during PTR testing, so no guides on how to fight him exist yet. We’ll update this as soon as they start showing up, but until then, the All-Devouring remains an intimidating, city-sized mystery. There are a few things we can glean from the Encounter Journal, though: this is another three phase, two intermission fight; during some of the intermissions, we’ll be taking flight on our flying mounts to dodge obstacles like chunks of entire planets. Oh, and don’t touch Dimensius; anyone who enters the space occupied by his body suffers a messy end.
- Written guide and cheat sheet: Coming soon!
- Video guides: Coming soon!
Please consider supporting our Patreon!
Join the Discussion
Blizzard Watch is a safe space for all readers. By leaving comments on this site you agree to follow our commenting and community guidelines.


