Lightsworn: Healing the depths of Blackrock Foundry

Patch 6.2 and Hellfire Citadel may be on the PTR, but they won’t be here for a while yet. So in the meantime, let’s talk about healing our way through Blackrock Foundry and toppling Blackhand from his fiery crucible!
But first, a quick look at recent Holy Paladin news. There’s not much. Our Tier 18 2-piece set bonus has been buffed slightly to 30% increased Beacon of Light healing (from 25%), and that’s it. No changes to our 4-piece bonus yet, which I still expect to change drastically before going live.
With that out of the way, on to the Foundry! We’re looking at all 10 bosses today, so I’m going to keep things brief. Also, these won’t be full fight strategies so much as tips for Holy Paladins looking for some extra tricks to have up their plate sleeves.
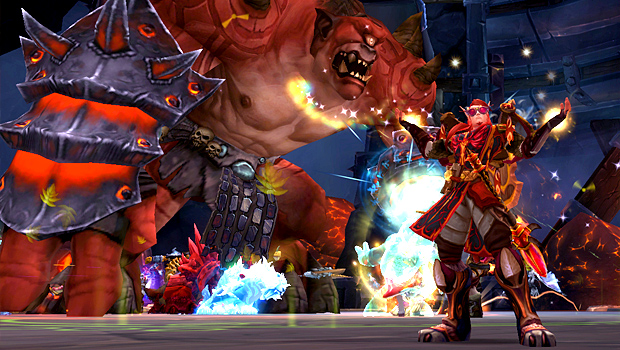
Gruul
Use Divine Protection and Devotion Aura to reduce the damage from Inferno Slice. It happens often, so Unbreakable Spirit is great here. Gruul does a lot of raid damage, but refrain from casting Holy Radiance too much — it’s too expensive. Once your side has been hit with Inferno Slice, it’s scary, but relax — it’s quite a while before you’ll get another, so you can take your time and use your more efficient heals to top everyone up before the next hit.
Oregorger
Acid Torrent really hurts, so counter it with Divine Protection and Devotion Aura as often as possible. Unbreakable Spirit is once again an excellent talent choice here. Tanks don’t take a lot of damage on this fight, so feel free to use Hand of Sacrifice on whichever tank is intercepting Acid Torrent — the more mitigation they have, the less splash damage makes it through to hurt the raid. Be sure to stand where Retched Blackrock will do the least harm — next to existing acid puddles or next to a wall. Don’t drop a Retched Blackrock puddle in melee.
For the rolling phase, never be in a straight line with Oregorger — always be around a corner. Don’t venture into the outer corridors unless you’re confident in tracking Oregorger’s movements. The central walls block line of sight for healing, but they don’t block line of sight for offensive spells, meaning you can still bounce a Holy Prism off Oregorger from a safe distance away.
Blast Furnace
So. Much. Fire. Go with Unbreakable Spirit. Fist of Justice is also extremely useful.
Phase 1: Run Bombs to your side’s Heat Regulator and Divine Protection the explosion. Drop Rupture pools outside, out of the way. Interrupt or stun Furnace Engineers when they try to Repair the Heat Regulators.
Phase 2: Use Devotion Aura often, whenever a Blast is about to occur. Take Volatile Fire outside away from other players and pop Divine Protection. If Fixated by a Slag Elemental, drag it to a Primal Elementalist so DPS can kill the Elemental and break the Elementalist’s shield. Interrupt or stun Firecallers when they cast Cauterize Wounds. This is especially important for us to do when DPS are busy focusing on a vulnerable Elementalist!
Phase 3: Keep using Devotion Aura for Blasts. Drop Melt outside. The tanks will be moving the boss away from Melt pools, so don’t drop one in front of them and cut them off!
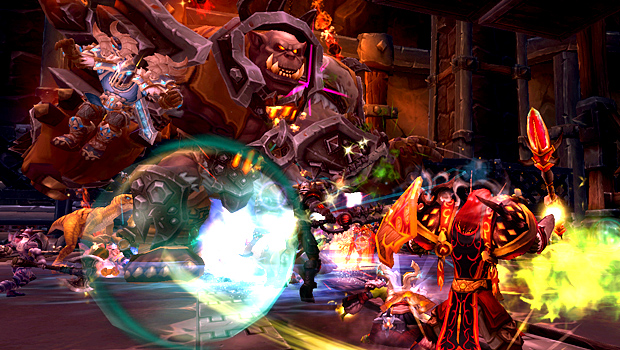
Hans’gar & Franzok
Use Glyphed Divine Protection for Aftershock and Stamping Presses. Keep Franzok targeted, so you can see when he uses Disrupting Roar. Don’t try to counter the interrupt with Devotion Aura. (The Devotion Aura, it does nothing!)
Crippling Suplex deals heavy damage to the tanks, so take Clemency and use Hand of Sacrifice every time one of the tanks gets picked up. Be ready with Lay on Hands, too.
For Stamping Presses, Hand of Protection will protect players from getting Pulverized, and if you get trapped (or if you just need to stand still and heal people urgently) don’t hesitate to Divine Shield!
Flamebender Ka’graz
Fire, fire, and more fire equals Unbreakable Spirit. You know the drill.
If you get Molten Torrent, run into melee range and use Divine Protection, or move away from everyone and Divine Shield. Holy Prism or Holy Radiance the melee group immediately after Molten Torrent to top them up. If you get Blazing Radiance, move away from other players and use Divine Protection. Overheated Cinder Wolves deal heavy tank damage, so this is a good time for Hand of Sacrifice. Save Devotion Aura for Firestorm.
Kromog
Clemency can be a life saver here, as Slam does a sickening amount of damage to tanks — counter with Hand of Sacrifice as much as possible. Hand of Protection will save someone who doesn’t make it into a Rune of Grasping Earth, though you’ll need to be quick to cast it on them before they go flying!
Divine Protection Stone Breath whenever possible. Kromog will Stone Breath immediately after each Grasping Earth phase, which is an excellent time for Devotion Aura, since your group will still be partially trapped and spread out, making AOE healing difficult.
If your group is struggling to break everyone free from Grasping Earth, you can skip getting grasped to reduce the number of people who need to be freed. This requires taking Clemency, and not using Glyph of Divinity. Divine Shield the first Thundering Blows, Hand of Protection the second and third, and Divine Shield the fourth.
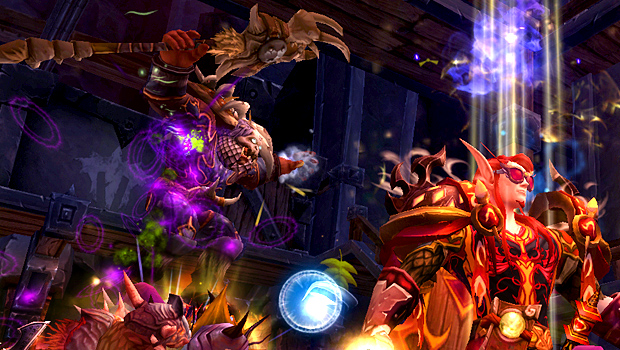
Beastlord Darmac
Unbreakable Spirit is tempting because of Tantrum and Inferno Breath/Superheated Shrapnel, but I run with Clemency, as I find Divine Protection’s regular cooldown sufficient. Either will work, though.
Hand of Protection non-tanks who gets high stacks (3+) of Rend and Tear. If it’s a melee DPS, immediately Hand of Freedom them afterward so they aren’t prevented from attacking. You can also Hand of Protection players who get Pinned Down — it won’t free them, but it will prevent the spear damage while they are being broken out.
Use Devotion Aura (and Divine Protection) for Tantrum and Inferno Breath/Superheated Shrapnel. Dreadwing will use Conflagration immediately after each Inferno Breath, so be ready to Cleanse it. Once Dreadwing is dead, feel free to dispel Superheated Shrapnel instead.
Operator Thogar
Glyph Divine Protection, and use it whenever a Grom’kar Man-at-Arms is alive to reduce the damage from Iron Bellow. Interrupt Grom’kar Firemenders when they cast Cauterizing Bolt. Tanks take a beating in this fight, so go with Clemency and use Hand of Sacrifice when there are lots of adds, or during the split phases. (On Raid Finder difficulty, there are no split phases.)
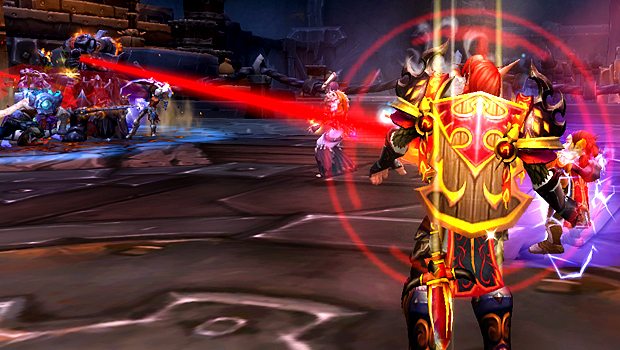
Iron Maidens
Glyph Divine Protection, as Penetrating Shot, Bloodsoaked Heartseeker, and Dark Hunt are all very dangerous. I also recommend Clemency, as you’ll get a lot of mileage out of Hand of Sacrifice and Hand of Protection.
We won’t get targeted by Blood Ritual, so you can safely stand away from the tank who will be intercepting this ability. On Raid Finder difficulty, Cleanse Convulsive Shadows immediately, but on Normal/Heroic you should not dispel it, as doing so deals heavy damage to the afflicted target. Instead, simply heal whoever has it (and use Divine Protection if that’s you).
It can be difficult to stack up for Penetrating Shot during Bombardment Pattern: Alpha and the final phase, so nullify it with Divine Shield or Hand of Protection to make things easier. Have Devotion Aura available for the final phase to reduce the damage of Dominator Blasts and Sanguine Strikes. You can further reduce damage from Sanguine Strikes by casting Hand of Sacrifice on Marak’s tank.
If you use Glyph of Merciful Wrath, you may want to remove it for this fight. Damage is light in the early phases, so you likely won’t need frequent uses of Avenging Wrath. However, the last phase is extremely healing-intensive, and having Avenging Wrath at full strength can make a significant difference.
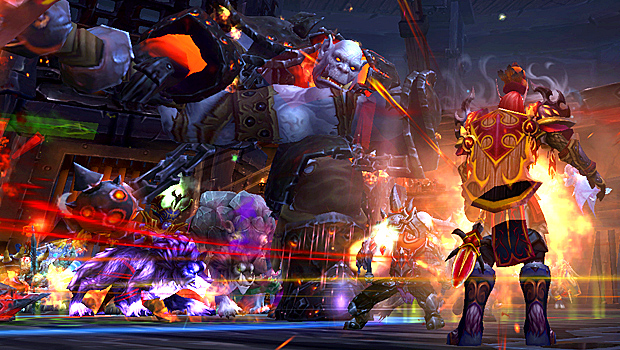
Blackhand
Blackhand does high amounts of both Physical and Fire damage, but his final phase is the most dangerous, and it’s almost all Fire damage at that point. Go with unglyphed Divine Protection.
Divine Shield and Hand of Protection will negate the damage from Impaling Throw. Early on, this ability can be blocked using Debris Piles and Siegemaker tanks, but in Phase 3 there’s nothing to block it with — Hand of Protection to the rescue! Save this for classes without immunity abilities, as those players can survive on their own — sorry Hunters and Mages, no love from us today.
When targeted by Impaling Throw, it’s crucial that you be able to quickly get behind a Debris Pile or Siegemaker, making Speed of Light an excellent talent choice.
In Phase 1, Demolition and Massive Demolition deal Physical damage, so don’t bother using Divine Protection (unless you decided to glyph it). Use Divine Protection frequently in Phase 2 to reduce damage from Explosive Rounds, and in Phase 3, for Massive Shattering Smashes.
Use Devotion Aura when Blackhand uses Exploding Iron Star to shatter the floor and enter Phase 2, and when he uses Massive Shattering Smash in Phase 3.
That’s it for Blackrock Foundry! Extinguish Blackhand, go give Khadgar a hand, and you’ll be all set for Patch 6.2 and Hellfire Citadel!
Please consider supporting our Patreon!
Join the Discussion
Blizzard Watch is a safe space for all readers. By leaving comments on this site you agree to follow our commenting and community guidelines.


