Spiritual Guidance: Healing Hellbreach and Halls of Blood
Hellfire Citadel has been out for almost a month, and today we’re going to cover Priest healing tips and tricks for the first two wings: Hellbreach and Halls of Blood.
As far as talents go, I generally run with Words of Mending and Cascade. For Discipline, I take Power Infusion, and as Holy it will vary between Twist of Fate and Divine Insight. Twist of Fate is solid for progression and Divine Insight is useful for burst if needed. The usefulness of Clarity of Will vs. Words of Mending for individual Discipline Priests will vary, depending on how many Holy Paladins are in your raid. If you find yourself the only tank healer, Clarity of Will is the way to go. Any specific talents needed for individual fights will be noted.
Hellbreach
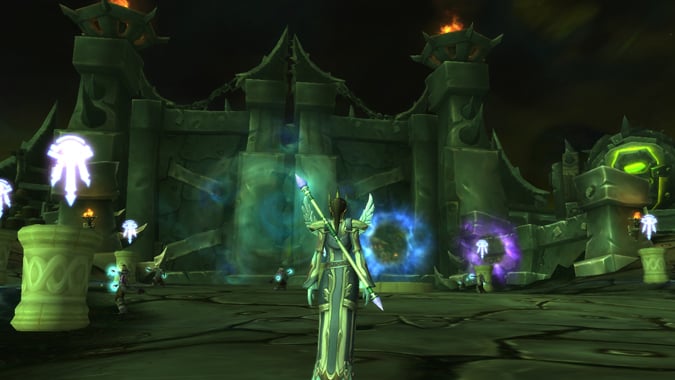
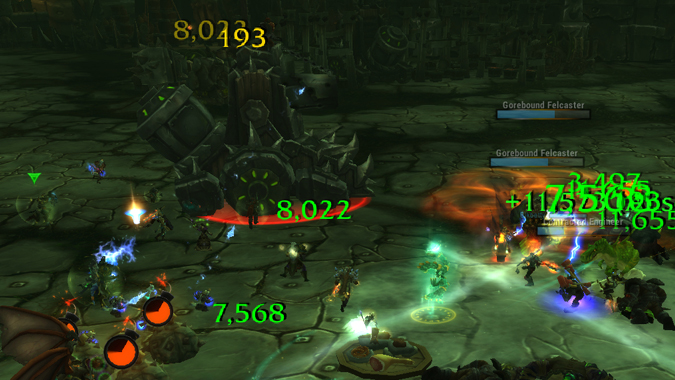
Hellfire Assault
Hellfire Assault is essentially a DPS fight, as it involves managing and killing the adds. There is no “main boss” but rather a series of mobs. Most of the damage here is raid damage from those adds, the severity of which will vary based on how well your DPS handle the fight. Tanks will be taking constant damage from Slam stacks and will need constant healing. The main adds to watch out for are Gorebound Felcasters, who cast Incinerate and Felfire Volley on the raid. At 40% health, they will cast Metamorphosis and turn into Gorebound Terrors, spam casting Felfire Volley repeatedly for a lot of raid damage. Siege tanks will come out and use Belch Flame and Siege Nova on the raid, while players will be picking up Felfire Munitions and running them to the Reinforced Hellfire Door.
- Discipline: Keep Power Word: Shield on the tanks at all times to help negate the Slam stacks. Shield players who are running the Felfire Munitions to the door. Use Cascade on cooldown, especially if there are Gorebound Felcasters or Terrors. Since most of the raid is spread out, Barrier will not be particularly effective here, but can be placed on melee if there will be a lot of incoming damage from Felfire Volley. Power Infusion can be used to pre-shield incoming Felfire Volleys or while a siege is out.
- Holy: Keep Renew running on the raid and tanks, use Circle of Healing when Felfire Volleys go out. Put Renew the Felfire Munitions runners when they start to go to the door with the bombs. Keep an eye on the adds, and use Divine Hymn if you have too many Gorebound Terrors about to cast Felfire Volley. Sanctuary chakra will be helpful for the reduced cooldown on Circle of Healing from casting Renews.
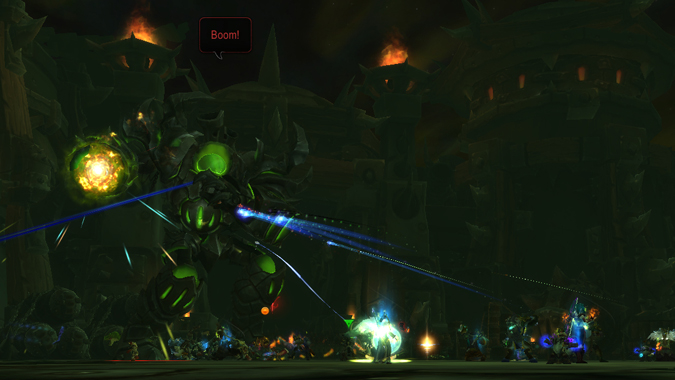
Iron Reaver
This is a fight with a lot of burst damage — players will be taking damage from Immolation and Unstable Orb. Unstable Orb damages targeted players and anyone around them, while Immolation is a stacking DoT from running through the fire patches on the ground. Tanks alternate with Artillery and running out of the raid. The bulk of raid damage comes from Pounding, which requires alternating healing cooldowns. The Air phase is relatively light on damage, though players need to avoid the Fuel Streaks and subsequent Flash Fires on the ground, and they’ll need to run out of the raid if targeted by Artillery. Volatile Firebombs will drop on the ground and must be killed, or they’ll explode and cause damage to the raid.
- Discipline: Shield players with Immolation stacks and Unstable Orb, keep shields on tanks alternating with Artillery. Since everyone must stay spread out for the entirety of the fight, using Empowered Archangel is limited. I always try to keep tanks and melee in the same group, as they’re usually in range of each other and make good targets for Empowered Archangel. Ideally, you’ll want to have as much of your raid blanketed with shields as possible before Pounding starts. Watch the timer and start shielding 5-10 seconds beforehand, cycling back through as needed.Cast Cascade right before Pounding starts so that it’ll be bouncing already. Focus Unstable Orb targets during Pounding, they’ll be extra vulnerable. Barrier is good for melee during Pounding, for extra damage control. During the Air phase, shield players targeted by Artillery before they run out and shield the raid if a Volatile Firebomb won’t be killed in time.
- Holy: Because of the burst damage, the rapid Renew playstyle and Sanctuary chakra really shine here. Keep Renews running on the raid and use Circle of Healing on cooldown, ideally on the players targeted with the Unstable Orb debuff so that it’ll hit those affected by the splash damage. Cast Cascade right before Pounding starts so that it’ll be bouncing already. During Pounding, you’ll want to use your Divine Hymn.
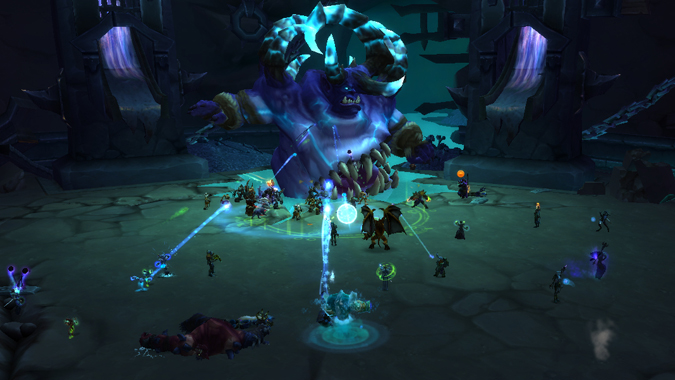
Kormrok
Another fight with burst raid damage. Kormrok has three different abilities based on which pool is active, either normal or empowered. He summons Explosive Runes and Empowered Explosive Runes, which will be stepped on by designated players, who take damage from the runes. Grasping Hands and Dragging Hands work like the hands on Kromog, grabbing players in place and causing damage until they are killed. The third set of abilities, Fel Outpouring and Empowered Fel Outpouring, spread across the room in large globules. Players simply need to step out of the way of these, or they’ll take damage.
- Discipline: Shield players designated to step on Explosive Runes and Empowered Explosive Runes. During Empowered Runes, heal players up quickly between setting the runes off — they’ll be running through several at a time. Much like Pounding in the previous fight, pre-shield before Pound and cast Cascade before it starts to get it bouncing, using Archangel and Prayer of Healing+Empowered Archangel combo to add extra absorbs. Shield before and during Grasping and Dragging Hands. If the raid isn’t having any issues with the hands, I like to spam Holy Nova from the center as it does a little bit of damage as well as heal.
- Holy: Keep Renews on the raid and tanks, and Renew rune runners. Grasping Hands and Dragging Hands will require burst healing, so keep Renews rolling on the raid and cast Circle of Healing on cooldown. Everyone will be loosely stacked during this phase, so laying down Sanctuary under the raid is useful. Cast Cascade right before Pound comes, so that it has time to bounce, and use Divine Hymn while Pound is going.
Halls of Blood
Hellfire High Council
Three council bosses that do not share health and must be killed separately. We’re mostly concerned with a couple abilities. Gurtogg fixates on a player, casting Fel Rage and dealing increased damage. Jubei’thos sends out swords that the raid needs to dodge, as well as raid-wide damage with Fel Storm. What most concerns us is Dia, who places Mark of the Necromancer on random raid members. The DoT increases in damage steadily, apparent by the color of its icon: purple to yellow to red. Dispelling it causes it to jump to two other players, so try to only dispel if it is maxed out at red, or on a tank before Dia casts Reap. When Dia casts Reap, she will wipe the Marks from the raid and drop void zones under those players. At 30%, she stops using Reap and will no longer clear the Marks. Your raid must kill her before being overwhelmed by damage.
- Discipline: Focus Mark of the Necromancer targets with shields and Clarity of Will to prevent damage and avoid having to dispel too often. Fel Rage targets also need shields and the occasional Penance while they’re fixated. Tanks require extra healing at times, most notably the Gurtogg tank during high stacks of Acidic Wound, and the Dia tank during Nightmare Visage. You may need to save Penance for those times. Barrier is limited due to the raid spreading out, but melee is a good spot for it during the Dia’s Wailing Horror phase. Use Pain Suppression if the Gurtogg tank or the Fel Rage fixated player get overwhelmed by damage.
- Holy: Keep Renews and Circle of Healing up. If there’s a lot of raid damage, use Sanctuary chakra for the reduced cooldown on Circle of Healing. Otherwise, Serenity will be helpful for focusing Mark or Fel Rage targets. Use Divine Hymn during Dia’s Wailing Horror phase to combat the raid-wide damage.
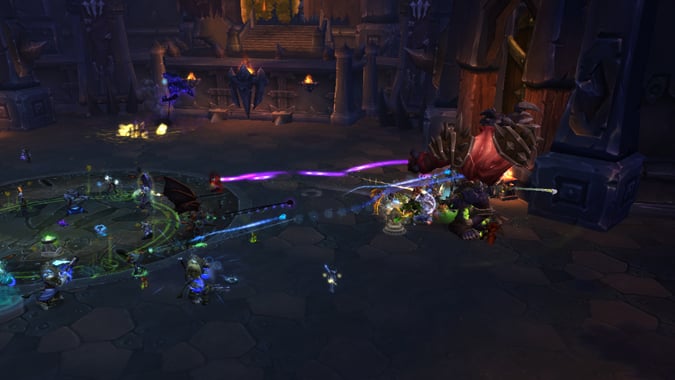
Kilrogg
Kilrogg has a couple of main abilities. Heart Seeker targets a random player at range, who must run out of the raid to the back of the room. It’ll damage anyone in line of sight, and a Blood Globule spawns under them at the end of the cast. Heart Seeker leaves a DoT on players that causes a lot of damage until it eventually falls off. Kilrogg also casts Death Throes, and you’ll want to avoid the green swirls on the ground. Melee and tanks will take Fel Corruption from the boss. Three players at a time are chosen to enter Vision of Death, where they battle separate adds.
- Discipline: Shield melee and tanks to counteract Fel Corruption. Combat Heart Seeker by shielding and focusing with Penance and Clarity of Will. Discipline Priests shouldn’t go into Vision of Death, as Undying Salvation does not affect absorbs. If you have to go, use Prayer of Healing and pop a Crit trinket if you have one. The increased Prayer of Healing will make larger Divine Aegis absorbs.
- Holy: Keep Renews rolling on the raid and Circle of Healing on cooldown. Divine Hymn can be used during Death Throes, but there’s a lot of movement needed to avoid unnecessary damage. If you are chosen to enter Vision of Death, find the spawn point of the runes and stand on them with the other two DPS. Heal the two DPS players inside the vision until everyone has 20 stacks of Undying Resolve/Salvation. When you come back to the raid, stand in melee to clear Fel Corruption with your new Undying Salvation buff.
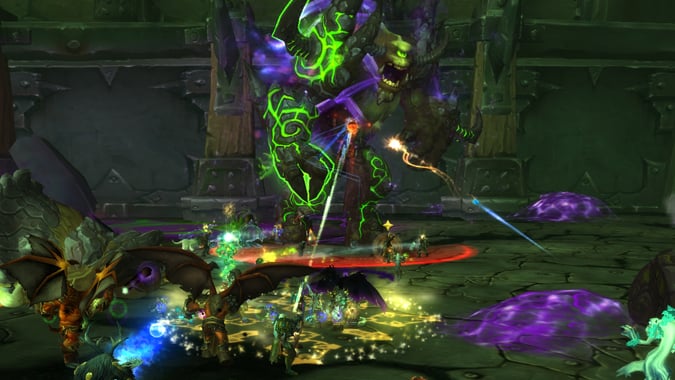
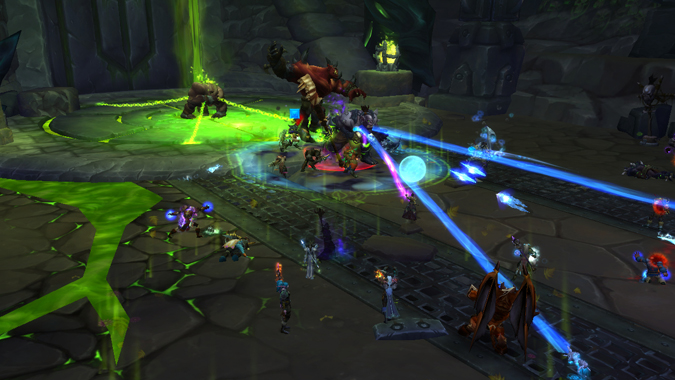
Gorefiend
Gorefiend has three different phases, outside the stomach, inside the stomach, and casting Feast of Souls. The raid starts outside, and random members are chosen to go inside of his stomach, where they need to kill or heal the adds. Healing as many Tortured Essences as possible means fewer adds reach the surface and damage the raid — a macro may help target them quickly. If another healer happens to be put into the stomach while you’re in there, leave the stomach and help the raid. Only one needs to be down at a time.
- Discipline: Shield players targeted by Touch of Doom, to prevent damage from the Doom Well spawn, and Shared Fate, while players are running to each other to clear it. Inside the stomach, use Penance to heal up the adds, plus Flash Heal if needed. If you don’t have your 2-piece Tier 18 bonus, you may need to take Saving Grace to avoid using all your mana on Flash Heals. Even with the debuff on the adds it still heals for quite a bit. During Feast of Souls, use Barrier on the raid. Heroism or Bloodlust should be up, which will allow you to spam shield the raid. For subsequent Feasts, use Power Infusion to shield.
- Holy: Keep Renews on the tanks and Touch of Doom/Shared Fate targets. Sanctuary chakra is fine to start out with, but make sure to switch to Serenity chakra if you’re targeted by Shadow of Death. Heal up the Tortured Essences by using Serenity, Flash Heal x2, Heal x1 with Serendipity. Switch back to Sanctuary chakra before Feast of Souls. Since the entire raid will be stacked up while he casts Feast, you can put down Sanctuary while blanketing Renews on the raid and Circle of Healing on cooldown. If you have Serendipity stacks from T17 4-piece, you can fish for Divine Insight procs by using Prayer of Healing.
Please consider supporting our Patreon!
Join the Discussion
Blizzard Watch is a safe space for all readers. By leaving comments on this site you agree to follow our commenting and community guidelines.


