Lightsworn: Warlords of Draenor’s best Holy Paladin fights
Three raids, thirty bosses. Ogres, orcs, trains, reavers, and even a literal furnace. We’ve defeated a lot of different boss encounters in Warlords of Draenor, all with their own unique mechanics and abilities. Let’s take a look at which ones were best suited to our very particular set of skills.

Brackenspore
I would be remiss if I didn’t mention this expansion’s token “healer fight.” Brackenspore’s unique healing mechanic — two different types of mushroom that you could heal and keep alive that would, in return, heal and buff the raid — was pretty interesting, and in retrospect, quite fun.
While the mushrooms were perhaps not quite as engaging as previous healer fights such as Tsulong or Valithria Dreamwalker, the Rejuvenating Mushroom’s buff (a 30% haste buff and what was essentially infinite mana regeneration) was an absolute delight, as healers could just go to town and spam their biggest, most expensive heals over and over again on that little mushroom friend. I looked forward to this fight each week, to see how long our healers could keep the mushroom alive against the ever-increasing damage it was taking, and trying to figure out which combination of talents, glyphs, and cooldowns would help it survive even a few seconds longer.
It wasn’t the most complicated encounter, but it was nice of Blizzard to give healers a chance to just cut loose.
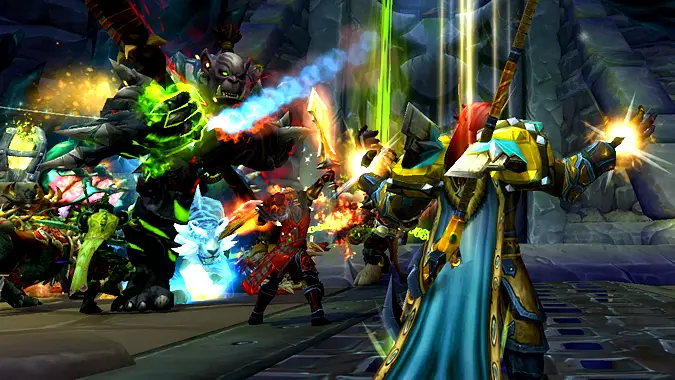
Ko’ragh
I greatly appreciate when a boss fight allows me to really make the most of our Holy Paladin toolkit, and Ko’ragh was one such fight. His numerous magic abilities gave Devotion Aura and Divine Protection a good workout, and healing the players who were absorbing Caustic Energy was easily accomplished with a simple Beacon of Light/Beacon of Faith swap and judicial use of Hand of Sacrifice. Expel Magic: Frost‘s slowing effect gave us a chance to use Hand of Freedom, which isn’t all that common in PVE encounters, and if Volatile Anomalies were eating an overeager ranged player’s face during the Nullification Barrier phase, Hand of Protection quickly put an end to that. And Ko’ragh didn’t do a lot of sustained AOE damage, which our class typically struggles with. Overall, a fight very well suited to our strengths!
I feel it’s also worth mentioning that daring Holy Paladins could turn on Righteous Fury during the Nullification Barrier phase to neatly gather up all the Anomalies in one location for their tanks. While this was unquestionably a dangerous and risky tactic, I loved it because it’s really something only Holy Paladins can do! While playing the role of a big shiny piece of monster bait isn’t a trick we can use often, it’s definitely effective (Righteous Fury’s absurd threat generation combined with natural healing aggro is no joke), and is occasionally invaluable — for example, Mists of Pandaria raiders may remember how useful this strategy was for rounding up Congealed Sha adds on Heroic Immerseus. It’s always fun when you can help out your raid team by thinking outside the box.
Hans’gar and Franzok
Unlike some of my other favorite Warlords fights, Hans and Franz didn’t really make full use of our abilities, or suit us better than any other healing class. Sure, Hand of Sacrifice and Clemency were great against Crippling Suplex, and Divine Shield let us ignore the Stamping Presses…but that’s about it, when it came to utilizing our class abilities. Heck, Devotion Aura was essentially useless, since there was basically no magic damage, and it didn’t even prevent us from getting interrupted by Disrupting Roar! (Which I am still bitter about, in case you couldn’t tell.)
So why is this encounter part of this list? Because it rewarded smart play. I saw many players panic when the conveyor belts started up, desperately running around crazily in random directions, bemoaning the dreaded “RNG” of the stampers, etc. This was especially problematic if these players were healers — after all, if they were concentrating solely on dodging and surviving, that means they weren’t doing much healing! And it turns out that Holy Paladins, notoriously poor at healing on the move, were even worse at healing on the move while on conveyor belts and avoiding giant metal plates attempting to smoosh you into jelly.
However, if you were smart about it you could take those frustrating conveyor belts and actually turn them to your advantage by using them to do your dodging for you! You needed to have a good eye for the stampers’ patterns (and a fair bit of confidence), but mastering the timing let you heal more-or-less normally during this phase. And to be honest, not only did it help your healing numbers, it also made you feel like a total badass, stepping onto the belts and calmly casting a few heals, while being safely and smoothly carried out of the way of incoming stampers. I used to RP-walk the fight using the belts in this manner, just for extra satisfaction. (In your face, Jamiroquai.)
While I doubt we’ll see this exact encounter design again, the important lesson is that sometimes, instead of spending a lot of time and effort trying to defeat mechanics, it can be easier (and more efficient) to make them work for us instead. Be smart! (We do stack Intellect, after all.)
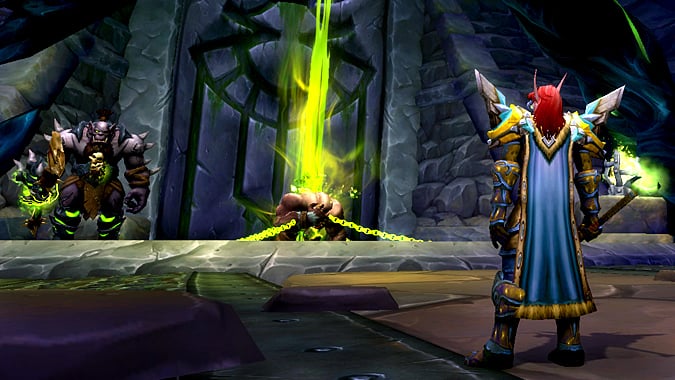
Kilrogg Deadeye
The Kilrogg and Gorefiend encounters both feature periods where healers are transported to another realm and have to heal things — but while I enjoy Kilrogg’s, I thoroughly despise Gorefiend’s because I really hate healing NPCs. I didn’t like it on Norushen, and I didn’t like it on Tsulong, though at least with Tsulong it was just one NPC you had to worry about. It’s not even that Paladins are particularly bad at this! I just find it annoying and awkward.
Anyway. We’ve got a lot of tricks we can pull out against the fel-corrupted chieftain of the Bleeding Hollow clan. We make excellent candidates for his Visions of Death phases due to our strong single-target heals and double Beacons, clearly-defined periods of raidwide AOE damage (Death Throes) are perfect times for Devotion Aura, and we can take Speed of Light to ensure that when we get targeted with Heart Seeker, the ensuing Blood Globule ends up spawning far away.
Speaking of Heart Seeker, one of our biggest perks in this fight is the ability to shut down its long bleed DOT with Divine Shield, Hand of Purity, or Hand of Protection. On Mythic difficulty, the Heart Seeker bleed actually lasts until the end of the fight, so being able to remove it with a Hand of Protection is an immense help.
Finally, smaller raids may also discover that they don’t have many slowing effects, which can make it difficult to kill the Salivating Bloodthirsters before they reach the fel blood pool. Fortunately, we can help out with this too, by taking Glyph of Burden of Guilt. Yes, other slowing effects are better, but sometimes you have to take what you can get, especially when you only have ten players in your raid!
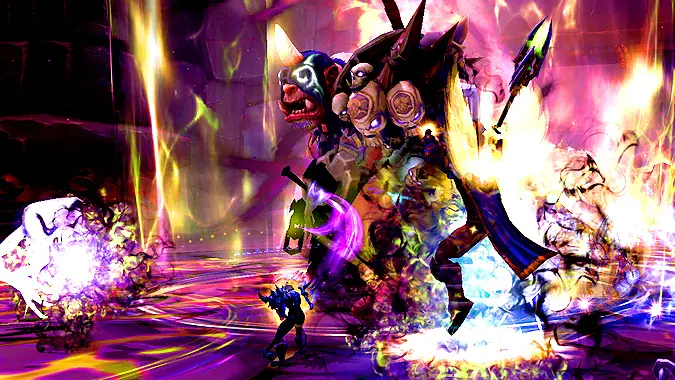
Tyrant Velhari
People always make fun of Holy Paladins for being stationary healers, but then Velhari came along and gave us an encounter where we’re not supposed to move! She’s a Paladin, she knows what we like. And to add icing on the Holy cake, she also drops the really cool two-handed intellect mace, Warhammer of Arrogance! Coolest boss in ages.
As for her fight itself, it’s an uncomplicated brute-force race with healing requirements that fit our toolkit rather perfectly. As mentioned above, sitting still and throwing out heavy heals in her first phase suits us just fine, and when a player is afflicted with Touch of Harm, the lack of any other complicated mechanics means we can swap a Beacon onto that player and just bomb them with strong, concentrated healing, which is something we excel at. Edict of Condemnation is nicely countered with Devotion Aura (or just skipped entirely with Divine Shield), and our Mastery really gets a chance to shine against Velhari’s Aura of Contempt, since absorb shields are unaffected by the Aura’s effect. We can even help Rebuke the Ancient Harbinger’s healing attempts, if need be!
There’s my top five bosses for the expansion! Honorable mentions go to Iron Maidens (the bomb phase and Hand of Protection’s amazing utility were great, but the fight was just so long and tedious), Operator Thogar (nothing special healing-wise, but dodging trains was a pretty fantastically creative mechanic), and Shadow-Lord Iskar (I’m a big fan of being able to handle both the dispels and interrupts with the Eye of Anzu, but the rest of the fight bores me to death). How about you, Holydins? What were your favorite boss encounters in Warlords, and why?
Please consider supporting our Patreon!
Join the Discussion
Blizzard Watch is a safe space for all readers. By leaving comments on this site you agree to follow our commenting and community guidelines.


