Totem Talk: Healing the Helya encounter in Trial of Valor
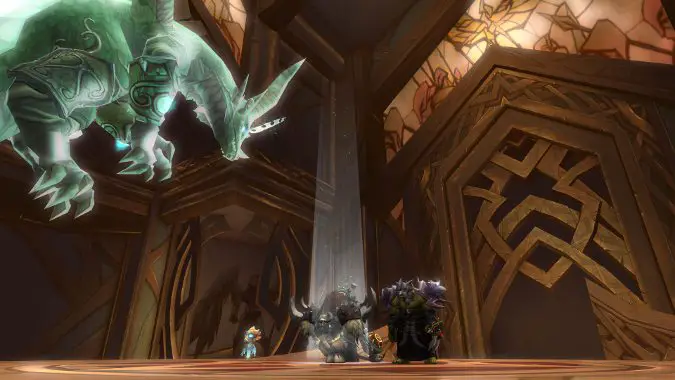
Last time, we talked about the first two bosses in the Trials of Valor. While Guarm is pretty straight forward, Odyn is a bit of a workout. Three distinct phases and a lot of abilities to look out for. This isn’t a bad thing, mind you, and the fight is fairly fun. It also isn’t nearly the slog that Helya is.
Think of Odyn and Guarm as warm up stretches, and Helya as the marathon race. She’s a long fight, with a lot of different mechanics that will keep you on your toes. Today we’re going to talk about healing through the Helya fight as a Restoration Shaman. This won’t cover every aspect of the encounter, just some highlights and things that I’ve found useful. Your mileage may vary.
Low Tide
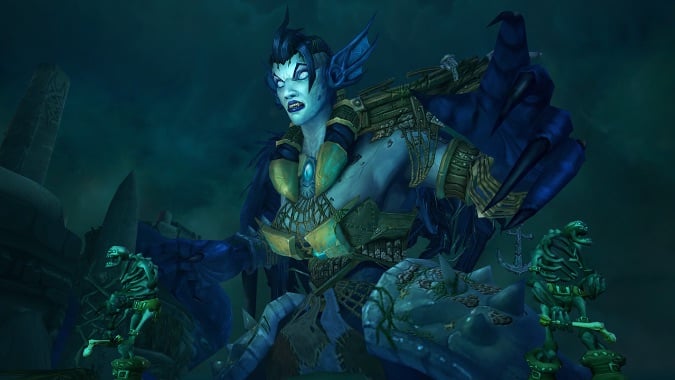
The opening salvo for the Helya encounter is a pretty good warm up period. There are a lot of familiar mechanics if you’ve seen the dungeon encounter, with enough new ones to keep it interesting. As a healer, the first thing we’re going to need to look out for is Taint of the Sea. This acts similarly to the mechanic from the dungeon. It deals continuous damage while the debuff is on the target. Our job is to Cleanse Spirit before it can kill the target. It’ll then leave a puddle behind that’ll explode, dealing damage to anyone inside of it.
Because this is a raid, there will be multiple targets with this debuff when it’s cast. This means we need to not only make sure the tank is cleared of the effect, but due to the nature of tanking there may be a chance that the tank gets clipped by the resultant explosion. Just keep an eye on the tank, and make sure you have a Healing Surge ready in case they need it. Other abilities to watch for:
- Orb of Corruption will chase a player in the raid when it goes out, and anyone who takes damage from it will take increased damage from the orb. If you aren’t watching them, this damage can pile on quick and result in a death. Just keep an eye on anyone targeted.
- Tentacle Strike Helya will attempt to smash the ground with one of her tentacles. If no one stands in it to absorb the attack, it’ll deal massive damage to the raid. That said, those standing inside of it will share the damage and need some love. Try to position Healing Rain beneath where the group is standing. This is also one of the few opportunities in this fight to make effective use of Chain Heal.
- Bilewater Breath is the last item in phase one to really pay attention to. When cast, it’ll summon several Bilewater Slimes that begin casting Bilewater Liquefaction. If they are left alone, or are allowed to get the cast off, they’ll deal massive raid wide damage. Keep Healing Tide handy just in case for this one.
Once Helya reaches 65% health, the second phase begins.
From The Mists
As in Maw of Souls, Helya will retreat to the mists and attempt to smack the raid team with her tentacles. This is quite rude. Nine tentacles need to be dealt with before she’ll re-emerge. Of course, she won’t just let your group stab at her without a fight.
Torrent makes a return, cast on random members of the raid. Every time the spell is cast, Helya gets a stacking buff that continues to increase the damage from Torrent the longer the phase continues. While this is going on, Fury of the Maw will also be something to contend with.
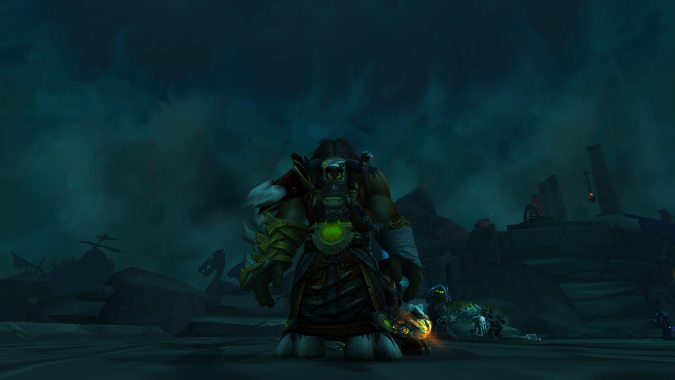
The giant wave washes the platforms clean, as well as pushing the entire raid back. Make sure you have Spiritwalker’s Grace handy just in case. It can be absolutely invaluable to keep healing while taking a swim. With the tide will also come some trash. A Night Watch Mariner and Grimelord will spawn and have to be dealt with. I’ve found Spirit Link Totem useful when the raid gathers up to take out the Mariner.
If that wasn’t enough, there’ll also be Decaying Minion spawns to contend with that leave areas of filth and AoE damage behind when they die. The goal is to make sure the minions die low enough that Fury of the Maw wipes away the ground mess they leave. The good news is, we can help with that. A well placed Earthbind or Earthgrab Totem once they’re grouped up can help keep them in place long enough to be cleaved down. Due to the nature of this phase, Wind Rush Totem is useful to help your raid get from tentacle to tentacle. If your group has a speed buff I’ve also found Gust of Wind useful for getting from spot to spot.
Once all the tentacles are destroyed, Helya returns to the fight.
Helya’s Last Stand
In the final phase Fury of the Maw continues, as does the summoning of the minions, the Mariner and the Grimelord. Orb of Corruption is replaced by Orb of Corrosion. It acts the same as the orb in the first phase, however it leaves patches of decay in its wake. This is important to note, because with everything that happens in this phase there is a lot of movement. The good news is, at least, the puddles of garbage do get washed away when Fury of the Maw is cast.
The bad news is Fury still deals damage, and with everything else that needs to be dealt with, your raid will likely be eating that damage. This is the perfect opportunity to use HTT since it should be off cooldown at this point. After that, it’s just repeat until she takes her final breath. The fight is good, but long. It’s up there with Lei Shen in terms of the amount of things happening all at once, but we can definitely handle it.
Pace yourself in the fight, especially in phase one. Cleansing is expensive, and the size of the arena combined with all of the mechanics that force movement means AoE healing isn’t going to be as effective. Choose your heal targets carefully, and lean on Deep Healing a bit if you need to. During phase two try to help keep the adds where they need to be, and phase 3 is when you should be pulling out all the stops.
Overall, I really like this fight. The length forces us to watch our mana consumption. I also really like that some of our CC totems are useful in the encounter. There are a variety of mechanics to watch, but nothing really feels overwhelming. It’s a fight that makes me look forward to seeing what other encounters lay in our future.
Please consider supporting our Patreon!
Join the Discussion
Blizzard Watch is a safe space for all readers. By leaving comments on this site you agree to follow our commenting and community guidelines.


