Tomb of Sargeras Wing 2 quick guide
Today — in addition to the game’s first-ever Timewalking raid — the second wing of Tomb of Sargeras’ LFR difficulty unlocks. What that means is we’re likely to see a solid mix of both raiders and non-raiders entering the second wing in hopes of loot. For the former, chances are they’ll know what to expect. But for the latter, it means potentially facing the ire of the rest of the group for coming in unprepared.
Fear not, champions! Below, we’ll be going over each of the Wing 2 fights in just enough detail to hopefully keep you from standing out like a broken piece of armor — though, for a more in-depth look at the intricacies of each fight, be sure to check out Wowhead’s Tomb of Sargeras survival guide.
Oh, and if you’re not sure whether it’s worth it to hop into LFR this week, don’t forget that Wing 2’s opening means you can officially collect enough Tier 20 to gain your 4-piece bonus from LFR alone. Please also keep in mind, some of these mechanics may change in the final version of LFR — we’ll be sure to update the post if that’s the case.
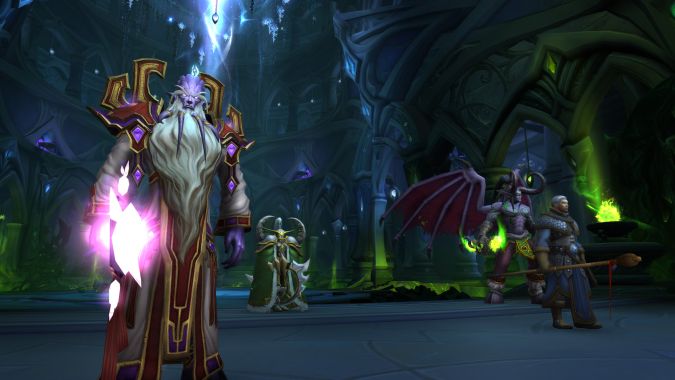
Demonic Inquisition
Tier drops: Helm
The basics: There are two rooms in this encounter, one topside and one bottom. Up top, you have two demons who share health. Every so often, one of them will do a powerful attack — Fel Squall or Bone Saw — during which you need to be sure to stop DPSing that particular demon.
You also gain a Torment meter during this fight. If you ever reach 100 Torment, you’ll gain Unbearable Torment, which is very bad. You want to use your special-action button to cast Confess, as this teleports you to the bottom room.
The bottom room houses a big, Shadowfiend-like enemy who is not intended to be killed, but must be attacked. Why? Attacking it drops Remnants of Hope (colored orbs), which you must run through to bring your Torment back down. Once your Torment is back down to zero, you’re able to use your special-action button to head back up top.
DPS: Since the bosses share health, multi-dotting is good here. Just be sure to avoid all the bad stuff, and don’t attack during Fel Squall or Bone Saw. I like to use Confess around 70 Torment to help stagger how many people are in the Confession Cage at the same time, and also to avoid ever accidentally hitting 100 Torment.
Healers: Primarily, you’ll need to worry about dispelling Echoing Anguish — just be sure the raid isn’t low before doing so, since dispelling it causes damage to anyone within 10 yards of the target and also applies 10 Torment.
Tanks: Stack the two bosses except when they’re performing their special abilities, making sure to face Atrigan away from the raid. Belac is more or less untankable, which is why you can get away with one tank up top and one down bottom. Be careful not to have both tanks down in the Confession Cage as the same time or your raid will die.
Be cognizant of how long your in the cage, though, as everyone inside gains a stacking debuff the longer they’re in. When one tank leaves the Cage, the other needs to take their place.
Extra notes: Nobody expects them.
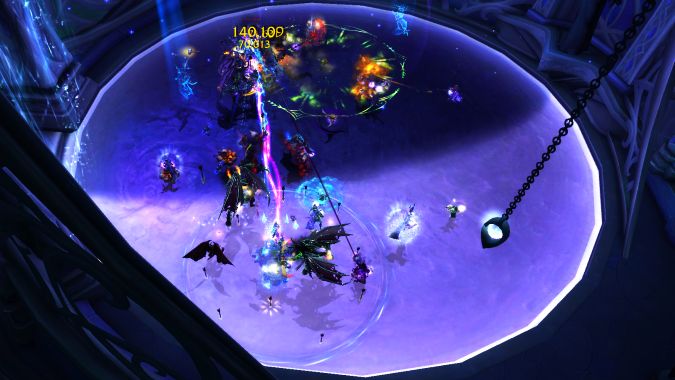
Sisters of the Moon
Tier drops: None
The basics: The floor is a moon! No, really, the floor is a moon that slowly changes phases from dark to light (as moons are wont to do). Paying attention to the floor is key to not taking huge spikes of damage — if you stand in any “phase” for too long, you gain a stacking debuff that increases damage taken from either Shadow or Arcane abilities. It’s okay to let your stacks climb a little, but the important part here is that, when the floor is about to be fully one phase, you’re sure to grab the other phase’s debuff before you’re unable to. If you’re in any one section for too long, you risk taking big hits from Rapid Shot or Moon Burn.
Only one sister is attackable at a time, they all share one health pool, and they transition from Kasparian to Yathae at 70% and then from Yathae to Lunaspyre at 40% health. The abilities they use while active or inactive will change from phase to phase, but the ones below are the most important to look out for.
DPS: Watch where you’re standing, clear the Moon Burn debuff by moving to the other side of the room, and never let your stacks of Umbra Suffusion or Lunar Suffusion climb too high. Switch to the bird (Moontalon) immediately when it spawns and nuke it down fast. Try to make sure there are players between you and Yathae if you’re targeted with Incorporeal Shot.
Healers: Honestly, this fight is mostly about keeping everyone topped off, since there’s nothing to be dispelled. Be especially on the lookout for players who are targeted by Rapid Shot, and prepare for raid-wide damage when Moontalon is about to die. Like ranged, watch out if you’re targeted by Incorporeal Shot, and make sure there are players between you and Yathae if you are.
If someone is standing in the Twilight Volley… let them die. You have this power, and they were standing in the bad.
Tanks: Taunt swap in Phase 1 when the other tank is affected by Discorporate so they can run to the other side of the moon room and remove the debuff. Similarly, in Phase 3, be prepared to run to the other side of the room when you get Lunar Fire. During Phase 2, just be sure to grab Moontalon when it is summoned.
Otherwise, stand close to one another and be careful when moving that the boss can’t hit your back.
Extra notes: The floor is very pretty.
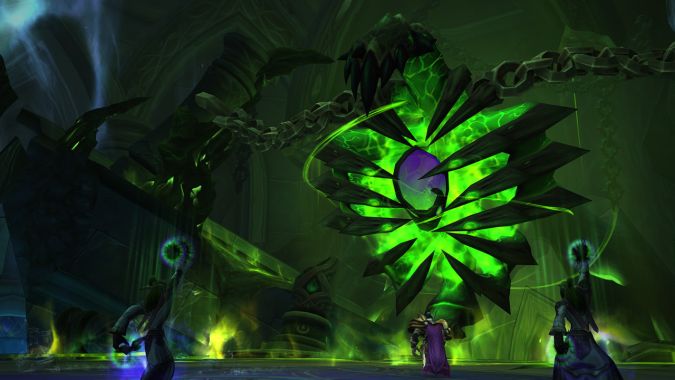
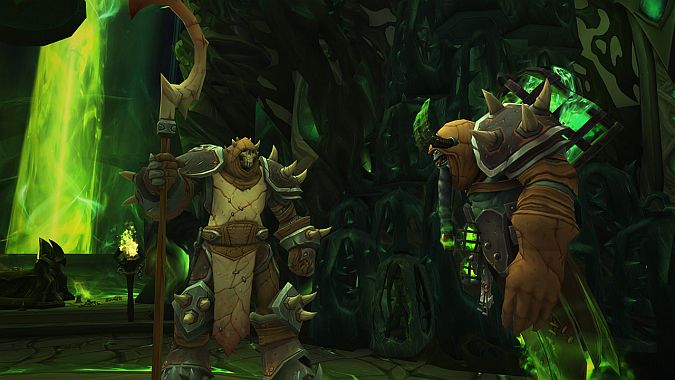
The Desolate Host
UPDATE: The Bonecage Armor/Shattering Scream mechanic is not present in LFR. I’ve crossed out references to these but left the text in case you have any interest in trying this boss on a higher difficulty at some point.
Tier drops: Cloak
The basics: The mobs someone will inevitably mistake for trash? They’re part of the boss fight. Once that first mistaken pull is made, you can focus on the encounter in earnest. There’s a ghost realm and a real realm (AKA the Spirit Realm and the Corporeal Realm). You can enter and exit the Spirit Realm using the Spiritual Fonts on the outside edges of the room, and they can be used before combat starts to help organize groups more easily. You’ll want to split the raid into roughly even groups for each realm and keep them spread apart to prevent Dissonance stacks. Make sure at least one person is in each realm the whole time in order to avoid Quietus.
Soul Queen Dejahna, the Spirit Realm’s boss, shares health with the Engine of Souls, the boss of the Corporeal Realm. The Spirit Realm group — except for the tank and healer(s) — must leave when Wailing Souls is being channeled. The raid should have a collapse marker set up ahead of time, as certain mechanics require cross-realm interaction. For example, only a player in the Spirit Realm with Shattering Scream on them can remove the Bonecage Armor buff from the adds in the Corporeal Realm — however, that player does not need to switch realms to do so.
Oddly enough, LFR difficulty apparently does not require you to fight the Desolate Host itself — something that normally happens when the Engine of Souls/High Priestess Dejahna reach 30% health.
DPS: Run to whomever shares Soulbind with you to remove it ASAP. Ideally, this will happen on a predetermined collapse point. Avoid standing in bad stuff on the ground. If you’re in the Spirit Realm, be sure to stand on the collapse point to remove Bonecage Armor from the adds in the Corporeal Realm.
If you’re in the Corporeal Realm, stay loosely spread out to avoid hitting the raid with Collapsing Fissures and be sure to aim Tormented Cries close to previously placed Tormented Cries (but don’t be surprised if they end up all over the place). As usual, avoid standing in bad things.
Healers: Watch for the Spirit Chains debuff and dispel it ASAP. Spirit Realm healers need to be prepared to heal the tank (and hopefully no one else) during Wailing Souls, and to watch to make sure they’re in the right spot if targeted by Shattering Scream. Corporeal Realm healers don’t have any special mechanics to watch out aside from those listed for DPS.
Tanks: The Spirit Realm tank should never leave the Spirit Realm! They should also be prepared to use magic-damage reductions on Crush Mind, as well as interrupting as needed — just be sure not to interrupt Shattering Scream if the Corporeal Realm has adds with Bonecage Armor active.
The Corporeal Realm tank needs to be sure to tank the adds on the collapse point. They also need to dodge all three waves of Rupturing Slam when it’s cast. Use active mitigation to reduce Bone Shards damage.
Extra notes: Who wore it better: the Engine of Souls or the Reliquary of Souls from Black Temple? Also, yes, you can fall off the sides of the boss’s platform. Learn from my mistakes.
And that’s Wing 2 of Tomb of Sargeras! I promise it looks more complicated than it actually is, and the best way to get a feel for the encounters is to just do ’em. Worst-case scenario, most of the fights will eventually boil down to not standing in the bad. Desolate host will likely be the most complicated, since it requires splitting the raid into two groups and coordinating across realms. Once you get over that hurdle, it’s not a bad fight, though.
Good luck!
Please consider supporting our Patreon!
Join the Discussion
Blizzard Watch is a safe space for all readers. By leaving comments on this site you agree to follow our commenting and community guidelines.


