Lightsworn: Taking down Kil’jaeden as a Holy Paladin
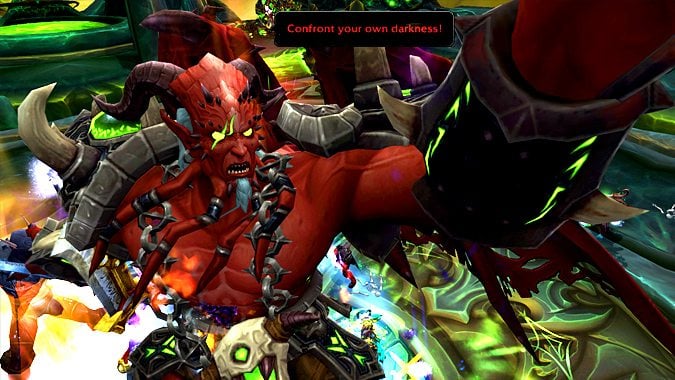
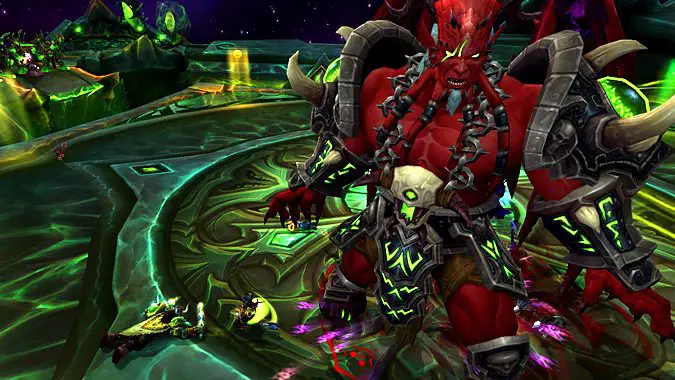
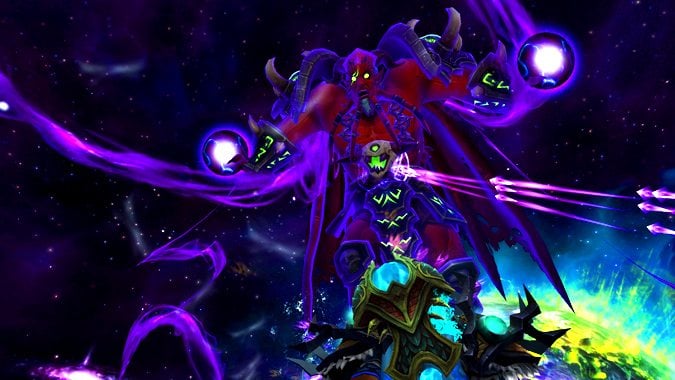
At long last, it’s finally time to plunge deep into the depths of the Tomb of Sargeras and take down the Deceiver himself, Kil’jaeden. As appropriate for the final boss of a tier, Kil’jaeden has a big bag of tricks, and some very creative mechanics. And of course, Illidan plays an important role, because he’s Illidan. Coincidentally, Illidan’s phase of the fight is also the most annoying portion, but that’s just a coincidence, I’m sure.
With three normal phases and two intermission phases, Kil’jaeden is a long, intense encounter. Due to the many differences in this fight between Raid Finder, Normal, and Heroic difficulties, we’re not going to focus on general fight strategies today, but rather examine what mechanics specifically matter to us as healers, and as Holy Paladins.
Phase One
Kil’jaeden’s first major ability we need to worry about is Armageddon Rain, a series of meteors Kil’jaeden calls down randomly across the platform. Each meteor needs to be soaked by a player, and since their distribution is random, people have to react quickly to intercept each one. Catching a meteor deals moderate fire damage and applies a fire DoT. Allowing one to hit the platform results in raidwide fire damage, which is very bad. If this happens, a raidwide healing cooldown such as Aura Mastery will likely be required.
On Normal or higher difficulty, Armageddon is even more dangerous. The fire DoT from soaking Armageddon Rain stacks, making it risky to catch consecutive meteors. Any player who does get multiple stacks will require some dedicated healing. More importantly, Kil’jaeden also adds a larger, more lethal Armageddon Hail into the mix. This deals huge physical damage to whoever catches it. Generally you’ll have a tank soak the Armageddon Hail, but we actually make excellent candidates for this job as well. We can safely catch them by using Divine Shield or Blessing of Protection, and we can usually reach the impact area swiftly with Divine Steed, no matter where it shows up on the platform.
Kil’jaeden also uses Rupturing Singularity in phase one on Normal or higher difficulty. The damage it deals is minimal, so as long as people are positioning themselves accordingly to not get knocked off the platform. This mechanic tends to be more of an annoyance than anything else.
On Heroic difficulty, Kil’jaeden also casts Shadow Reflection: Erupting in phase one. If you’re playing on Raid Finder or Normal difficulty, he doesn’t use this ability until phase two. But on Heroic difficulty, the resulting shadow adds buff each other if they’re within 20 yards. They should either be spawned far apart and individually focused down, or spawned together and quickly killed before they’ve managed to buff each other too much. If your raid decides to stack them all up, it is an excellent time for healing cooldowns such as Aura Mastery, Avenging Wrath, or Perfectly Preserved Cake. On Raid Finder or Normal difficulty, the shadow adds don’t buff each other at all.
Intermission One
When Kil’jaeden takes to the air, he’ll begin using Bursting Dreadflame. The damage from this is quite manageable as long as someone isn’t standing in multiple circles at once or something. He’ll also still cast Armageddon Rain/Hail, but upside is that now both tanks will be available to soak meteors! The downside is that Bursting Dreadflame and Armageddon Rain hit almost simultaneously. This means players may take two quick bursts of damage within seconds, followed by the meteor fire DoT. Be watchful and prepared for these damage spikes.
Kil’jaeden also begins using Focused Dreadflame. Despite its fancy name, this is simply a fiery Hydra Shot. As long as you have sufficient people lining up to help split the damage, this isn’t a major healing concern.
It’s worth noting that Kil’jaeden takes almost no damage in this phase. That doesn’t stop us from hitting him with spells for other reasons. It’s still worth bouncing Holy Prism off him as he passes overhead, or hitting him with Judgment to maintain Judgment of Light stacks or to activate the increased healing from Ilterendi, Crown Jewel of Silvermoon.
Phase Two
This phase is mostly a test of how well your raid can handle multiple mechanics simultaneously. On Raid Finder or Normal difficulty, this is when we see Shadow Reflection: Erupting for the first time. Other than that, the rest of Kil’jaeden’s abilities are unchanged. {PB}
That doesn’t mean this is an easy phase, however! Everything gets far more complicated when you also have to worry about spreading out for Bursting Dreadflame, lining up for Focused Dreadflame, while still catching meteors, quickly killing shadow adds, and not getting hurled off the platform. Continue to immunity through large Armageddon Hail meteors whenever possible. Don’t hesitate to use healing cooldowns, as Kil’jaeden’s overlapping abilities can really pile on the raid damage all at once.
Finally, one important note: At around 40% health, Kil’jaeden will begin entering the next phase by casting Deceiver’s Veil. It is essential the raid be more or less topped up before he finishes casting this, as healing is basically negated for the first 5-10 seconds of the next phase.
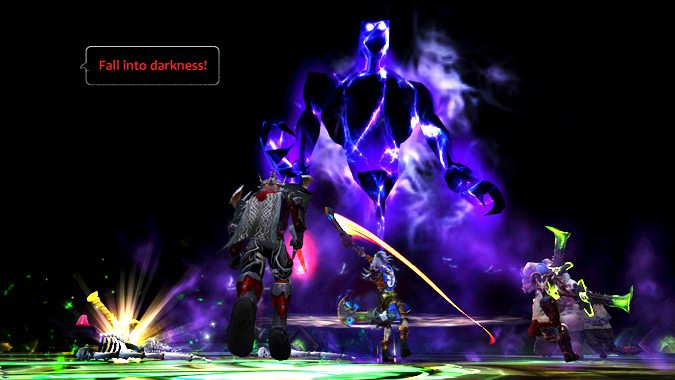
Intermission Two: The Illidan Zone
After Kil’jaeden engulfs the entire platform in darkness, you need to immediately go find Illidan, who’s chilling somewhere in the shadows. Hopefully you have a hunter or feral druid who can find him and point him out by pinging the minimap. After you’ve found him and received Sightless Gaze, this phase becomes a desperate, often-frustrating ordeal of trying to find the Shadowsouls lurking in the shadows. There’s not much we can do to help in this process, so simply focus on topping up your teammates as they flounder about in the dark like lemmings.
Don’t wander too far from Illidan — Sightless Gaze only lasts 20 seconds, and you want to be able to refresh it quickly when needed. Rule of Law is great here, allowing us to heal up distant allies while not straying too far from Illidan.
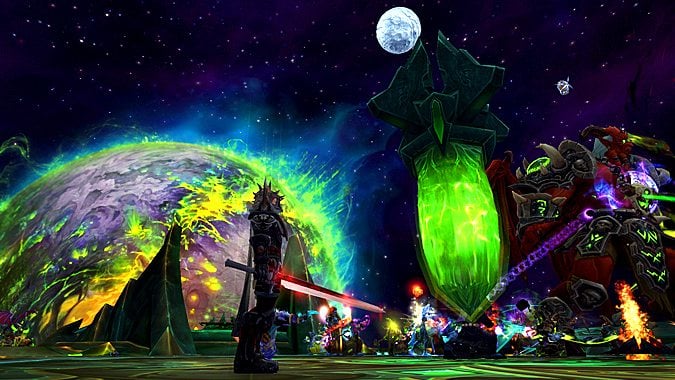
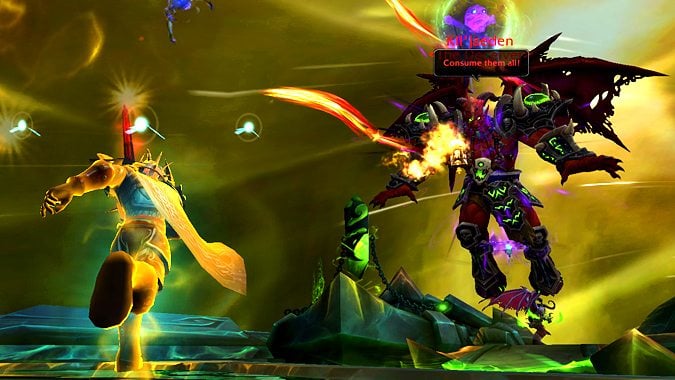
Phase Three
The first thing Kil’jaeden does in phase three is nuke everyone with Darkness of a Thousand Souls. We can’t do anything to avoid it, but be ready with strong AOE heals immediately following it to quickly top everyone up. You don’t have to use healing cooldowns, mind you — there’s some time before the next damaging ability.
Killy J will still use his Bursting and Focused Dreadflame abilities, but there’s nothing new here. He also opens a big rift, which looks scary…but we can mostly safely ignore. We simply avoid it, except when Kil’jaeden casts Darkness of a Thousand Souls again. When he does, we step into the rift just long enough to make Darkness of a Thousand Souls miss, then we dash back out. (Another good time for Divine Steed.)
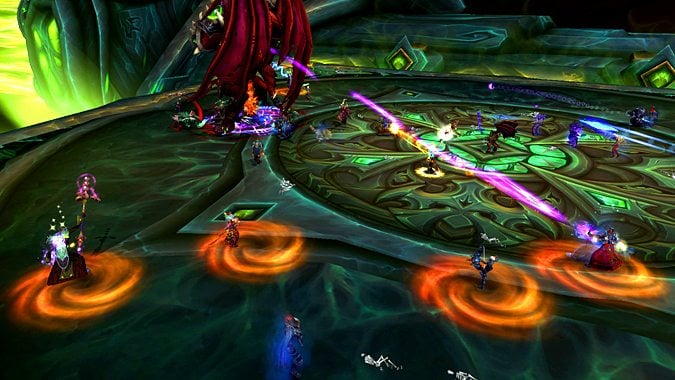
This phase’s new complications are Kil’jaeden’s Demonic Obelisks, which spawn randomly around the platform. These shoot out fel lasers that deal heavy damage and knock people back a fair distance. The obelisks are untargetable, and they can be hard to see. Nonetheless, it’s important you take a moment every now and then to fix their locations in your head. They can absolutely be lethal to your raid, not just because of their damage or from knocking you off the platform. They can completely screw up positioning to deal with the Dreadflame mechanics and/or Darkness of a Thousand Souls.
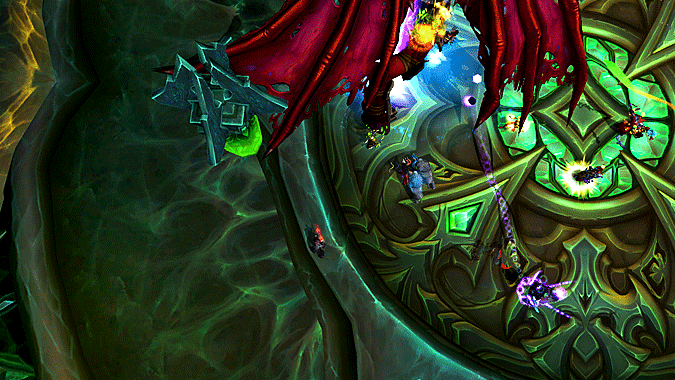
The obelisks shoot out lasers in each of the four cardinal directions. Finally, all those years of playing Bomberman are paying off! You can tell where the lasers will go from the four blade-shaped ridges on top of the obelisks, as shown in the image above.
Finally, there’s one new mechanic on Heroic difficulty: a Flaming Orb that has to be kited into the rift. We probably shouldn’t be the ones to do this — we have enough to worry about. But we need to be aware that the orb will explode if it hits anyone, not just the person kiting it. So get out of the way! And if we end up accidentally kiting the orb, we need to drag it into the rift, avoiding anyone else along the way.
Loot of note: Seal of the Second Duumvirate, Soul-Render’s Greatbelt, The Deceiver’s Grand Design. The Deceiver’s Grand Design is a pretty nice healing trinket, capable of chipping in a massive amount of healing over an encounter. Unlike back in Emerald Nightmare, however, we actually have a number of nice trinket choices this tier — we’ll have to look at those next time.
That’s the fight! It’s long, it’s hectic, there’s fire and orbs and rifts everywhere…but it’s doable. Much of the fight revolves around coordinated movement and players quickly reacting/moving into place to handle mechanics. The Illidan phase can be exceptionally annoying — sometimes you’re just sitting there shouting at your monitor as your raid futilely tries to find one last Shadowsoul in the darkness. But otherwise, an enjoyable, appropriately-intense end-of-tier boss.
Please consider supporting our Patreon!
Join the Discussion
Blizzard Watch is a safe space for all readers. By leaving comments on this site you agree to follow our commenting and community guidelines.


