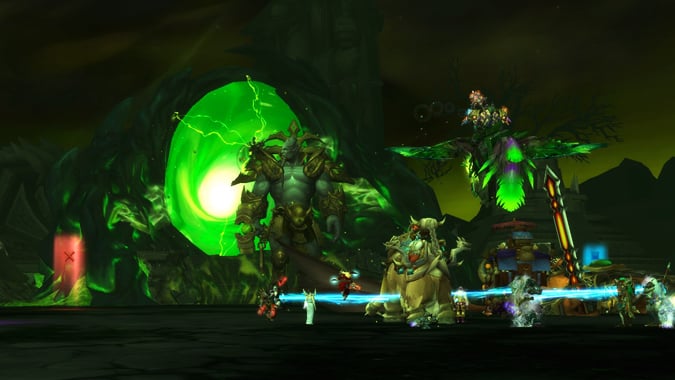
Spiritual Guidance: Priest healing the Upper Halls of Hellfire Citadel
Today, we’re tackling Priest healing in the final three wings of Hellfire Citadel: Bastion of Shadows, Destructor’s Rise, and The Black Gate. As with the guide to healing the lower halls, any specific talents needed for individual fights will be noted.
I generally run with Words of Mending and Cascade. For Discipline, I take Power Infusion and vary between Twist of Fate and Divine Insight for Holy. Twist of Fate is solid for progression and Divine Insight is useful for burst if needed. My default Holy Chakra is Sanctuary for raid healing unless I need to spot heal a small group. Unlike the lower halls, where Discipline’s Clarity of Will vs. Words of Mending depends on your healer composition, there are a few fights here where Clarity of Will is incredibly useful.
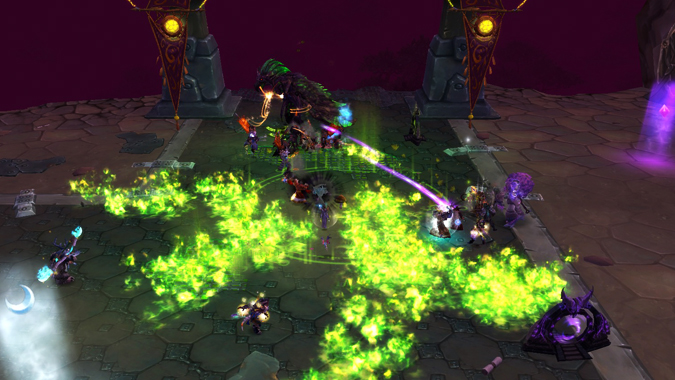
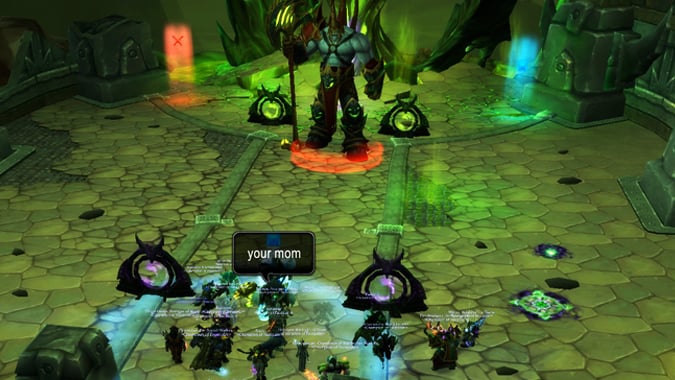
Bastion of Shadows
Shadow-Lord Iskar
This fight is relatively predictable as far as damage phases. I recommend downloading either Exorsus Raid Tools or Iskar Assist to handle the Eye of Anzu buff. It is possible complete the fight without an addon (and I have, when forgetting to turn it on), but having one makes it far simpler. If you can handle giving up Desperate Prayer, Spectral Guise will negate Chakram on you.
- Discipline: There are a lot of debuffs here, so a lot of things to shield. You’ll want to shield the players targeted by Fel Chakram and Fel Beam Fixate, as well as Phantasmal Wounds. Radiance of Anzu goes on anyone who has held the Eye, so shield them too. During Air phase, Focused Blast will do raid-wide damage, so pre-shield the raid and use Empowered Archangel. This is also a good time to use Power Word: Barrier with everyone stacked up. Since we have Silence, we can hold the Eye to dispel the Fel Bomb as well as interrupt the Shadowfel Warden’s Fel Conduit, but in my raid the tank and I just pass the Eye back and forth.
- Holy: During Ground Phase, use Renew and Circle of Healing with Prayer of Mending. Holy Word: Sanctuary will be useful during Air phase when everyone is stacked up, or on melee throughout the fight. If your raid is good at stacking, you can take Divine Star and aim through the ranged toward melee. Save Divine Hymn for when things go very wrong, such as someone missing a Fel Bomb dispel/Fel Conduit interrupt or landing a Fel Chakram in the raid. Use Circle of Healing and Prayer of Healing to burst heal the damage from Focused Blast.
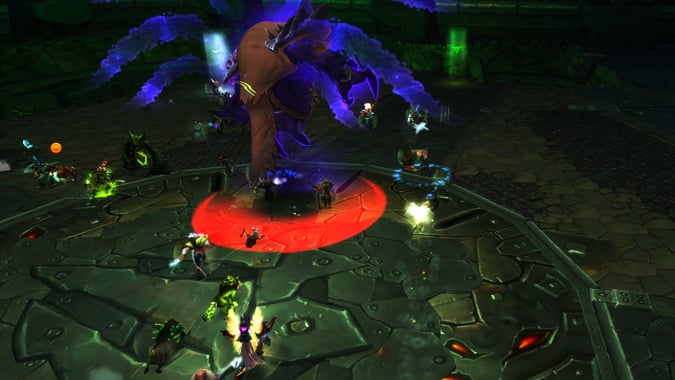
Socrethar the Eternal
Relatively simple (and boring) first phase, with a hectic second phase. Manage your ghosts and don’t let them touch you.
- Discipline: In Phase 1, shield players targeted by Volatile Fel Orb to negate the exploding damage. Melee stackers will be afflicted by Reverberating Blow, so shield Shattered Defenses and use Empowered Archangel as necessary. If you are bored and looking around for things to do, shield Overwhelming Power targets as well. Phase 2 is where Clarity of Will comes out to play. When Gift of the Man’ari goes out, focus those players with Clarity of Will and Penance. The first two Man’aris are manageable, but it can quickly turn hectic when the second set comes out (with four on the raid) or during Apocalypse where they will be especially vulnerable. Clarity will give breathing room for the other healers to top off the Man’ari players. Use Power Infusion and pre-shield the raid before Apocalypse and dispel Shadow Word: Agony (especially if it goes on Man’ari targets).
- Holy: Like above, the first phase is simple and things ramp up in the second phase. Your burst healing will be most helpful in phase 2, especially for Apocalypse. Keep Renews on the raid and Circle of Healing/Prayer of Healing/Prayer of Mending. Dispel Shadow Word: Agony. You can help with Gift of the Man’ari, but they require a lot of single target healing and your time would be better spent on the raid unless you have a surplus of raid healers. Use Divine Hymn during Apocalypse.
Tyrant Velhari
The health cap creates interesting mechanics, as Holy’s throughput will soar while Discipline’s damage prevention (meters) will plummet, however neither spec will be unhelpful. Heal through Touch of Harm on players and only dispel if they are going to die before you can heal through the absorption.
- Discipline: Keep shields on tanks at all times. Shield Touch of Harm targets and use Penance to eat through the debuff. Pre-shield the group soaking Edict of Condemnation when it comes out. Shield the Edict target as they will be moving to stack. Shield people who will be moving, if possible, since movement causes damage from Oppression. Use Power Infusion and pre-shield to negate Infernal Tempest, and try to shield players who might be in the path of Annihilating Strike. In phase 2, shields won’t show up as throughput, but they will provide a nice buffer on players taking damage, so spam shields liberally with Power Infusion as it comes off cooldown. Keep shields on Font of Corruption and Tainted Shadows targets to prevent them from dropping too low while the health cap is out. Use Barrier when Edict comes out and there are many Font targets. In phase 3, Penance and shield at will and keep an eye on the tanks for Pain Suppression or Clarity of Will if needed.
- Holy: Keep Renews up on the raid to negate the Oppression damage and on Touch of Harm targets to chip away at the debuff. Use Circle of Healing on cooldown. Use Divine Hymn when players have to move to stack for Edict of Condemnation. In phase 2 when everyone is stacked up, lay down Holy Word: Sanctuary. There is no overhealing, so you can let your Renews tick on the raid and just keep blanketing them with Divine Star, Circle of Healing, and Prayer of Mending. Twist of Fate is very useful on this due to everyone’s reduced health. In phase 3, Divine Hymn to top the raid off, as they will be low coming out of phase 2. Keep up Renew blanketing, Circle of Healing, and Divine Star as the group moves. Use Guardian Spirit on the tank if needed due to the heavy damage.
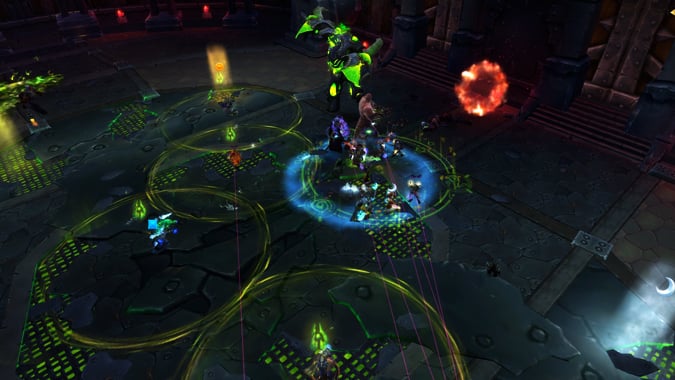
Destructor’s Rise
Fel Lord Zakuun
This fight will mainly depend on your raid’s ability to manage mechanics. Your job here is to either prevent as much damage as possible or clean up unfortunate accidents.
- Discipline: Like usual when we have a lot of debuffs, shield shield shield. Shield tanks on cooldown to negate heavy damage. Players who are soaking Wake of Destruction (usually those without the Latent Energy debuff) will require shields as well as those with Befouled to provide a buffer while the other healers top them off. Use Penance when you have a spare to help burn through Befouled’s healing absorption as well. Pre-shield the raid and use Empowered Archangel for Fel Explosions and be ready to spot heal pillar soakers with Shield and Penance when Seed of Destruction bursts.
- Holy: Spot heal Befouled with Heal/Flash Heal/Surge of Light procs. Keep Renews up on the raid and be ready to burst with Circle of Healing/Prayer of Healing if heavy damage goes out, and with a Divine Hymn when things really go south. Since there’s not constant pulsing damage, you could even switch to Serenity Chakra to spot heal, depending on your comp. Watch those with Latent Energy and be ready to pop a cooldown if they run into Wake of Destruction and explode.
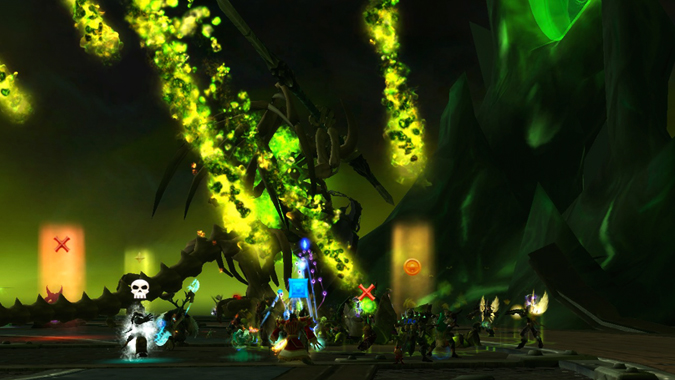
Xhul’horac
Several different phases, with damage ramping up quickly in phase 4. Don’t cross the colors!
- Discipline: Shield players targeted by Fel Surge and Void Surge so that they don’t take damage when they drop the fire off to the side. Shield players afflicted by Feltouched/Voidtouched and Felsinged/Wasting Void DOTs. Focus heal the players who will be clearing the fire. Pre-shield players who will be soaking Black Hole before it comes out. In phase 4 use Power Infusion and shield fast and at will, as Overwhelming Chaos will stack and start to wreck your raid quickly. Use Penance and Solace in between shielding, with Archangel when you get enough stacks, but prioritize shields as they will buffer the raid the most and give the other healers breathing room to top off. Barrier will be hard to utilize due to the raid spreading out, but melee might be a good option.
- Holy: Since there is very little damage in the first three phases, you can make use of Serenity Chakra to spot heal for the most part. Circle of Healing and Renew will come into play, as always, but there just isn’t much burst until the last phase when everything goes to hell. That’s where you’ll want to switch to Sanctuary and pump on Renews and Circle of Healing until the boss dies, with Divine Hymn somewhere to save the raid.
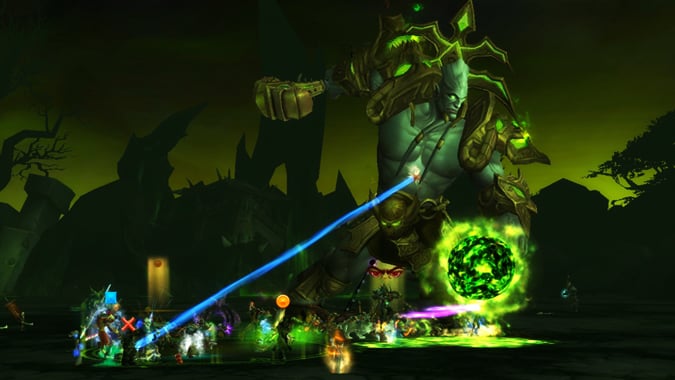
Mannoroth
If you’re quick on your feet, a well-timed Leap of Faith can prevent someone from falling or flying off the platform.
- Discipline: Phase 1 can be boring at times since there isn’t much damage going out, so I smite heal occasionally while waiting for phase 2. During phase 1, shield Curse of the Legion and Mark of Doom targets to negate the damage. In phase 2, keep shields on tanks at all times to negate heavy damage from Glaive Combo. Watch for Mannoroth’s Gaze and shield the targeted players as well as players soaking with them to keep them up while they are running. Fel Hellstorm and Felseeker will AOE, so shield players who have a tendency to stand there. Phase 3 adds Shadowforce, which will damage players as it pushes them off the platform. You guessed it: shield them too, with a Penance for those who drop low. Phase 4 adds Empowered mechanics to the mix: those with Empowered Mannoroth’s Gaze will need shields as they run back through the ice, Empowered Shadowforce will now push the entire raid off the platform with the ticking damage to make it more fun. You’ll want to pre-shield before Empowered Shadowforce to negate that. Feathers are helpful for Shadowforce if you have trouble staying on the platform, otherwise Body and Soul will give a quick speed boost to those you shield. Barrier will be helpful for Gazes, but it may be tricky to place while they move.
- Holy: Sanctuary Chakra here. There’s a lot of ticking damage where Renews and Circle of Healing will help. Everyone will always be taking damage from something, whether it be aggro from Fel Imps/Dread Infernals, AOE from Fel Hellstorm/Felseeker, or forced movement from Mannoroth’s Gaze/Shadowforce. Your Prayer of Mending will have a lot of opportunities to bounce so make sure that is always on cooldown as well. Use Feathers on yourself on Shadowforce or Body and Soul on the raid if you have time and no Discipline Priest. Save Divine Hymn for Empowered Fel Hellstorm in phase 4.
The Black Gate
Archimonde
The crowning fight. Go get ’em tiger.
- Discipline: Keep shields on tanks always. Phase 1: Shield Shadowfel Burst targets and anyone running in to soak the fall. Shield anyone who gets a Doomfire stacking debuff. Shield Doomfire Fixate for the person kiting the ball away. Phase 2: Blanket shield the raid to negate the Shackled Torment damage as the three players break their chains, use Barrier during one of the Shackled Torments. Phase 3: Shield players targeted by Wrought Chaos and Focused Chaos as they step out to direct the beam. Phase 4: Pre-shield the raid for Demonic Feedback and Rain of Chaos. If you’re part of the group going down for Nether Banish, spam shields on everyone until you go back up. Focus heal DPS players kiting Infernal Doombringers. Barrier is hard to place when it comes up again during phase 4 due to spreading out, so try to put it on melee.
- Holy: Phase 1: Renew and Circle of Healing as necessary. Keep Prayer of Mending on cooldown throughout the entire fight so that it will be bouncing during burst damage. Phase 2: When Shackled Torment goes out, use Binding Heal and Flash Heal (or Surge of Light procs) to build Serendipity stacks for Prayer of Healing so that you can burst heal the raid as the chains break. Use Circle of Healing and Divine Star in between. Save your Divine Hymn for one of the Shackled Torments in phase 2, and then again in phase 4 when the raid is taking damage from Rain of Chaos. If you are part of the Nether Banish group, switch to Serenity Chakra to single heal your group, then back to Sanctuary when you return to the top to Circle of Healing/Renew the rest of the raid.
Now all there is to do is wish you good luck!
Please consider supporting our Patreon!
Join the Discussion
Blizzard Watch is a safe space for all readers. By leaving comments on this site you agree to follow our commenting and community guidelines.


