Shadow Word: Talents and using Surrender to Madness in Emerald Nightmare
Hello, Shadow Priests! How are we feeling? Everyone settling into the Legion groove? I hope so, because it’s time to talk raiding and talent choice! As you may remember, I’m a big advocate of Surrender to Madness. It’s a very strong talent, even in light of the nerf/buff/nerf roller coaster we’ve been on.
But it’s also one that will literally kill you if you’re not careful, and there’s nothing worse than being surprised by a mechanic or phase transition and dying as a result. So today, we’re going to go over the Emerald Nightmare raid and when you should or should not use Surrender to Madness during Normal and Heroic.
A few basics before we get started
I realize plenty of people may be interested in build breakdowns for each boss in Emerald Nightmare, but the truth is, raiding talent builds are relatively static. Typically, I run the following talents on every single fight because they’re the strongest offerings:
- Tier 1: Twist of Fate
- Tier 2: Body and Soul
- Tier 3: Mind Bomb
- Tier 4: Reaper of Souls*
- Tier 5: Auspicious Spirits
- Tier 6: Power Infusion*
- Tier 7: That’s what this whole article is about!
In nearly all the fights, you’ll want to use these talents regardless of what you pick for your final tier. The primary exceptions here are the 4th and 6th tiers, which can be replaced with Void Lord and Mindbender, respectively.
Void Lord works nicely on non-Surrender fights, but you absolutely will want to take Reaper of Souls if you’re using Surrender to Madness. I prefer Power Infusion for the massive Haste you can build during your Surrender phase, but Mindbender is a solid choice that works well with any build. The only other tier that’s really questionable would be tier 5; San’layn will work here, but Auspicious Spirits is still the best for pushing out that little extra bit of DPS.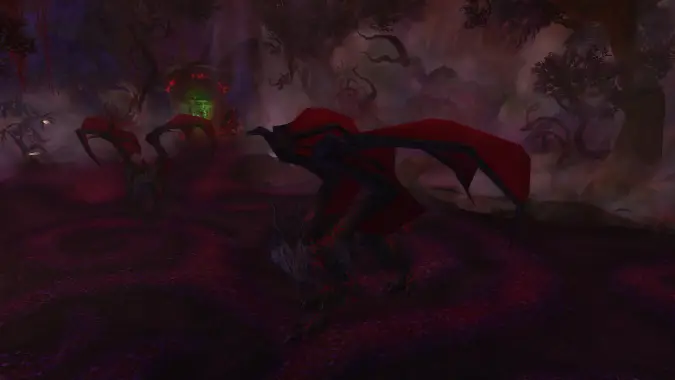
Breaking it down, boss by boss
Now that we have that out of the way, it’s time to get into the meat of this column! I will preface by saying that Legacy of the Void is a solid choice if you’re not comfortable with the Surrender to Madness playstyle. The primary goal here is to help you decide if Surrendering will work for you on each of the Emerald Nightmare fights. Sadly, Mind Spike is sort of left behind in this discussion.
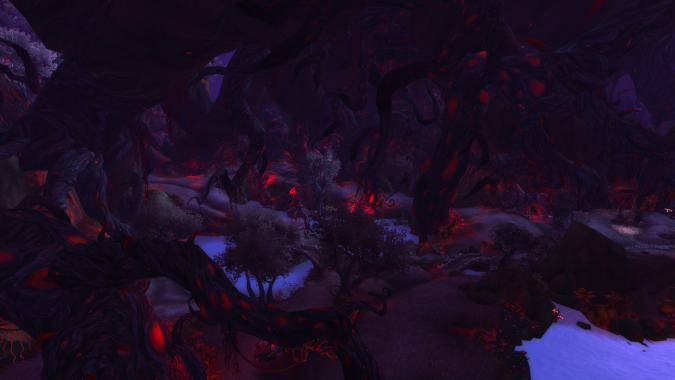
Nythendra
Should you use Surrender to Madness: Yes!
As far as Emerald Nightmare fights go, this one is pretty straightforward. As a result, it’s a near-perfect fight for Surrender to Madness. Sure, you have to dodge poison puddles and exploding bugs, but neither of those things is all too difficult if you’re comfortable with your rotation.
One precaution, though: If you’re targeted with Rot, you’ll likely need to run away toward the outside wall. There is usually plenty of time to do this and keep your rotation going, but I like to save Dispersion for Rot placement just in case anything goes wrong. Plus, using Dispersion at this point alleviates the hardest part of maintaining Surrender on this fight.
Ursoc
Should you use Surrender to Madness: Yes!
This is another very straightforward fight that requires very little on your part except for not standing where you shouldn’t be. On Heroic difficulty, you do have to rotate around the room a bit, but once you get the hang of it, it should still be pretty easy to pull off Surrendering. And since this fight ramps up its difficulty significantly in the final 35%, it’s practically custom built for Surrender.
As for things to be aware of, the knockback is the only mechanic that might interrupt your Surrender rotation. This will depend on how far back your team has the charge target run, but if there’s risk of Ursoc moving out of range, that’s when you want to use Dispersion.
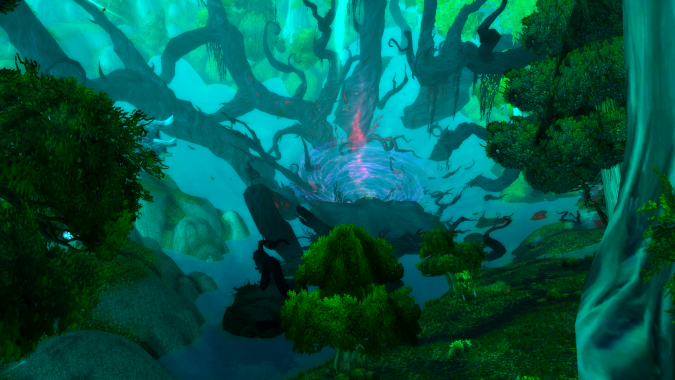
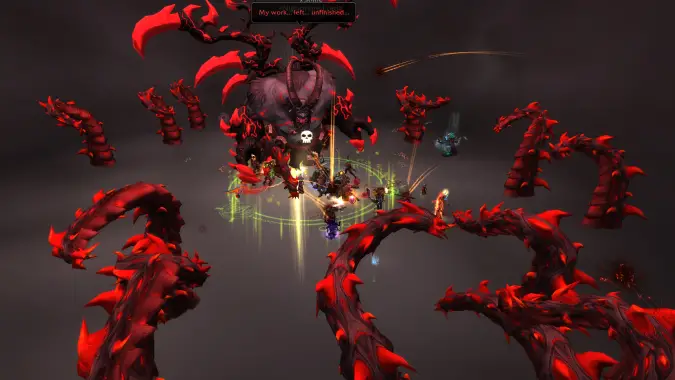
Il’gynoth
Should you use Surrender to Madness: Probably not.
Of all the fights in the Emerald Nightmare, this is the one most likely to have you re-speccing to Legacy of the Void. The fact that the fight is more about handling adds means more uptime on Voidform is going to be a mighty boon to your team’s overall success chances.
The exception here is if your raid team happens to be consistently entering Il’gynoth’s final heart phase around 35-40%. Any lower than that and you won’t be anywhere close to Surrender’s DPS potential; any higher than that and you’ll wind up dying before the boss does.
Dragons of Nightmare
Should you use Surrender to Madness: Yes! …probably.
I love this fight. You can technically stand in range of both dragons the whole fight while only incurring one debuff at a time. For fans of the classic multi-DOT playstyle, this is your fight. Which also means it’s a good fight for Surrender.
However, the reason I have that “probably” up there is because one of the dragons will cast an unbreakable fear periodically. You can Dispersion through one of them, but if that’s on cooldown or you get a second fear during late-Surrender, you’re out of luck. Barring that, it’s also pretty difficult to pull off DOT maintenance on two adds at once while also working to keep Insanity up. If you’re not entirely comfortable with keeping DOTs on both dragons, you might want to wait before speccing into Surrender.
Elerethe Renferal
Should you use Surrender to Madness: It depends.
Mechanically speaking, there’s not much in this fight that would make or break Surrender to Madness. If you need to plop green goo on the ground or take a tornado toward the edge, you can usually stay in range of the boss while doing so (or just cast Dispersion).
The part that makes this fight an iffy one will depend on your raid’s overall DPS. If your team typically kills the boss on the second platform, I say go ahead and use Surrender. But if you’re even a little at risk of transitioning to the third platform, don’t use Surrender. Popping it on the third platform will be too late, and popping it on the second will mean dying while trying to make it to the third platform on time.
Cenarius
Should you use Surrender to Madness: Yes!
I hate this fight, but that has nothing to do with the mechanics themselves — which are actually quite Surrender friendly — and everything to do with Malfurion, who is the worst.
Like Ursoc, this fight gets more intense right around the time Shadow Word: Death becomes usable. This means you especially want to be able to burn him as fast as possible. Really, this is one of the easier fights to pull off Surrender thanks to the small platform and baby-step movements in the final phase.
Xavius
Should you use Surrender to Madness: Absolutely 113% yes!
Did I say that emphatically enough? I don’t think I did. This is the only fight in the instance where I strongly feel that Legacy of the Void won’t come close to Surrender to Madness. Why? Because of the Dream phase.
At the very beginning of the fight and again at 60%, Ysera will send half the raid into a Dream state. While you are in this state, you get one freebie death and also cannot be transformed into a Creature of Madness even if you reach 100 stacks of Corruption.
For the uninitiated, 100 Corruption stacks increases your damage and healing by 150% before it expires. When it expires, you transform into a bad guy. But, thanks to the Dream phase, Shadow Priests are able to not only gain 150% increased damage, they’re also able to combine that damage with Surrender to Madness. And then you can use Surrender to Madness again at the end of the fight.
Yes, Xavius’s mechanics mean that you get two Surrender phases. There’s no other opportunity like this in the raid, and it’s honestly just downright fun.
A few final tips
Still struggling to get Surrender to Madness to work? Just need some raiding tips in general? I have a few (more) tricks left up my sleeve!
- This Weak Aura will give you an estimated time left to boss death. It helps immensely when trying to determine when to pop Surrender to Madness.
- Always always always damage the adds. Low-health adds help maintain uptime on Twist of Fate. They’re also great for a quick Shadow Word: Death or two for some easy Insanity if the boss isn’t already low enough.
- Having focus macros (e.g., /cast [@focus] Shadow Word: Pain) will make a world of difference balancing DOTs, especially on two-target fights like the Dragons of Nightmare.
With any luck, you’ll be well on your way to the #1 spot on your raid team. And as I said, Surrender is, by and large, not a requirement to remain competitive. If you’re more comfortable with a particular talent build, go for it! But if you want to push the boundaries of Shadow, take Surrender for a spin.
Until next time, always remember: No matter where you rank, you’re always #1 to me.
Please consider supporting our Patreon!
Join the Discussion
Blizzard Watch is a safe space for all readers. By leaving comments on this site you agree to follow our commenting and community guidelines.


