Totem Talk: Cake Magic, Spell Blades and Star Gazing in Nighthold
Last time we went over the first encounters in the sewers of The Nighthold. Seems every time we have to storm a citadel we start in the sewers, doesn’t it? This week we try to get some fresh air by making our way to the upper floors.
Trilliax
Trilliax is a hilarious encounter. Swapping between different personality modes, this magical robot has a penchant for making a mess. Throughout the encounter Arcane Seepage will appear at random players’ locations. This is fairly easy to avoid and simply needs to be side stepped.
Starting in The Cleaner phase he will also throw out some expired cake. Player will need to consume the Toxic Slice, which gives them a damaging debuff. For 20 seconds, players with the debuff will take nature damage every second. Just keep an eye on those that may eat a little too much spoiled cake.
The Maniac phase will bring Mana Rupture and Arcing Bonds. Rupture targets half the raid at a time and deals pulsing damage every second. Try to get players to group up and make use of Healing Rain and Chain Heal. The damage can get a bit spiky, so you may want to have Spirit Link Totem or Healing Tide ready to compensate.
Arcing Bonds will tether players to one another and they will take damage until they come together. The damage can be pretty heavy until the players stand nearby, negating the effects. I’ve seen this target players completely across the room from each other, so just keep an eye out.
The only thing to really note is Annihilation. Trilliax will leap to the center of the room and throw out a laser beam that deals quite a bit of damage if it hits a player. He will then begin to spin, forcing players to move with him. There will still be seepage on the ground so there’s still damage to contend with. Here we get to make use of Spiritwalker’s Grace to heal on the move. I’ve never loved that spell more than on this phase of the fight.
This is a fun encounter, and it isn’t overly difficult. The voice lines and personality shifts definitely keep you entertained.
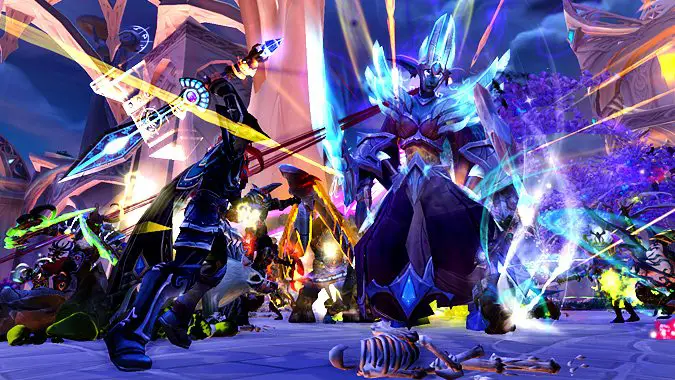
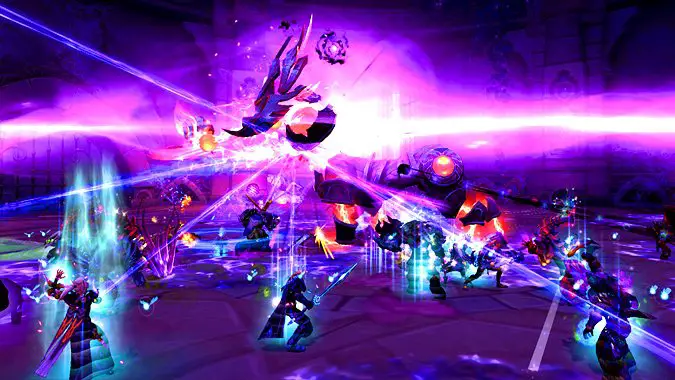
Spellblade Aluriel
Finally above ground, we make our way into the courtyard of the Nighthold. Waiting for us is an encounter that seems more hectic than it is. For the most part, it’s a fight of not standing in bad stuff. That’s not to say she doesn’t have unique mechanics.
Mark of Frost is probably the most troublesome. Players will have to bounce the mark between those affected in order to manage stacks of Frostbitten. The damage that mark deals is amplified for each stack of Frostbitten the target has. A common tactic is to group people that are bouncing the mark together off to the side. Making sure you keep Healing Rain down beneath them is usually enough if they are managing stacks properly. If players aren’t, a well placed SLT can help keep them alive long enough to pass the debuff.
Searing Brand is a source of some potentially high damage if players aren’t positioned correctly, especially when she Detonates players with the debuff. This will all result in some patches of fire on the ground that will cause damage to any who stand in them. The adds from Animate can also be a source of some fairly high damage and we just need to be aware of when they are summoned.
The only other item to really note is the unavoidable raid damage from Detonate: Arcane Orb. This is really the time to use cooldowns like Healing Tide and Ascendance. This is a fun encounter to heal, there’s always something to keep you on your toes.
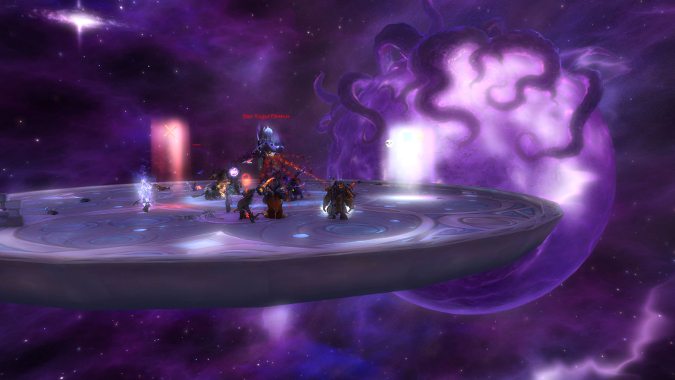
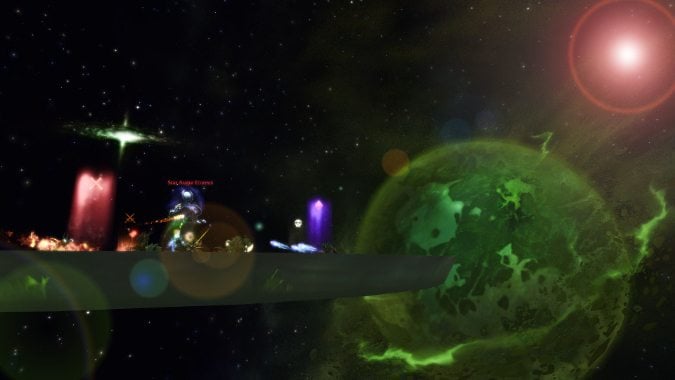
Star Augur Etraeus
From a story perspective, this is one of my favorite encounters. Not only does the fight occur in the here and now, but there are several references to things we’ve heard of in the past and some potential views of what’s to come. Visually, the room in which the encounter takes place is just stunning.
The encounter is three phases long, with the damage really coming in the second and third phases. For the first phase, it’s mostly keeping the tanks alive and moving away from everyone if you get Icy Ejection. Other than that, it’s pretty straight forward.
The second phase brings in the Fel magics. Fel Ejection and Felflame aren’t terribly complicated mechanics, but they can be bothersome. Fel Ejection, however, tends to fill the room up extremely quickly with fire. Expect to be on the move often, and expect players to take damage while they drop off their piles of flame. The damage can be surprising if players aren’t careful.
The last phase is really all about keeping the DPS alive long enough to finish the fight, and managing the damage from Witness the Void. Due to the size of the room, pretty much all of our abilities play nice here. Players are usually close enough to make great use of Cloudburst Totem for pretty much the entire encounter. It also means that we can take advantage of Deluge pretty easily as well. Surprisingly enough, I’ve also gotten some good mileage out of Earthen Shield Totem just because everyone is so close together.
These fights are a lot of fun. Visually they are stunning and each has a unique flair to it that allows it to stand out. Plus, lore beats and potential views into the future of where we may be headed is also pretty nifty. I’m quite pleased with these encounters and the Nighthold overall, and we still have so much more to go.
Please consider supporting our Patreon!
Join the Discussion
Blizzard Watch is a safe space for all readers. By leaving comments on this site you agree to follow our commenting and community guidelines.


