Tips and tricks for healing Battle of Dazar’alor as a Priest

Battle of Dazar’alor has been out for a month and it seems to be treating Priest healers pretty well. There’s a nice variety of fights where different healers can shine. We also have opportunities where our unique Priest abilities come in handy, making us useful beyond just our healing.
Let’s take a look a each fight in the raid to see just what it holds for priests.
Champion of the Light
As the first boss, Champion of the Light is predictably easy. If your tanks have good positioning, it’s very simple to put your back to the adds while facing the boss. This lets you DPS the boss and face the tank without having to constantly be turning around to avoid the daze from Blinding Faith. When your raid kills the adds and swaps back to the boss, she’ll cast Judgment: Reckoning, which is a good time to use your healing cooldowns. Damage ramps up at the end when she casts Avenging Wrath, so be prepared to put out heavy healing if needed.
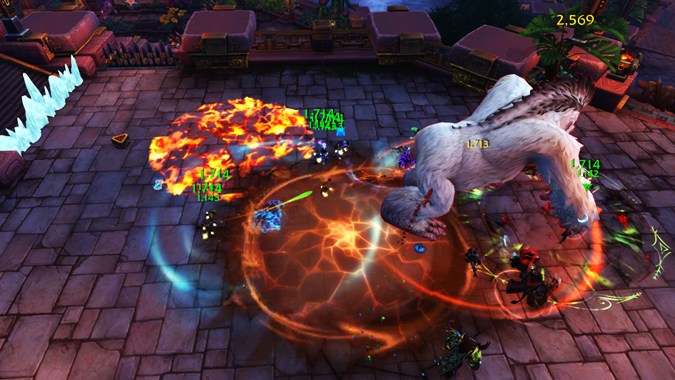
Grong
Grong can be tricky because of ability timing, and the hardest ability, Tantrum/Death Knell, is mostly player-driven. Save your cooldowns for when Tantrum goes off, especially further into the fight when Grong will cast more than one Tantrum at a time. It’s easier as Holy to pop off a reactionary cooldown, but Discipline will need their orb person to communicate so you can time Atonements before the Apetagonizer Core/Necrotic Core is thrown to trigger Tantrum/Death Knell. Targeted AOE spells are great on this fight due to melee stacking together on the boss and ranged stacking with each other further out. Power Word: Barrier is particularly useful if Tantrum is going to hurt.
Jadefire Masters
This fight is relatively straightforward, though there are some quirks. Heavy raid damage periods occur when the bosses spawn Living Bomb orbs that players must get inside and kill. The orbs spam cast Explosion which deals raid damage, and the smoke clouds deal ticking damage when you’re inside them, while smoke clouds also obscure players and break line of sight. If your raid has set groups for each orb, Discipline Priests can set up Atonements on the opposite group ahead of time before going with their own group.
If your healers aren’t quick with dispels, any undispelled Searing Embers will also cause raid-wide damage. The debuffs will have varying lengths, so those with fast reactions want to dispel the shortest one first. When Magma Traps come out, you can trigger one yourself and cast Levitate on the way down to negate any falling damage. Likewise, if you’re quick you can cast Levitate or Leap of Faith on anyone who accidentally sets them off or will die coming down. During the Flash of Hostility phase, you can grip lagging raid members through the Ring of Hostility circles, or grip anyone who accidentally steps into one and keeps getting knocked around.
Opulence
Your Opulence experience will greatly vary depending on which side of the golem gauntlet that you’re on. The right side is much easier.
Targeted heals like Holy Word: Sanctify or Ward of Envelopment are great when you’re dancing behind the golem’s Flames of Punishment in a Flame Jet room with unfortunate flame placement or if Ruby Beam is active. In times of extreme emergency — say when your Hunter accidentally dies in a previous room and gets rezzed in that same spot — you can grip them out if you’re very quick with Leap of Faith.
The two gems available for healers are Amethyst and Sapphire. You’re likely to have Amethyst for the Shadow damage reduction if you’re solo-healing a side, unless you have a larger raid group with multiple healers per side. The Haste is great for Discipline Priests anyway, and it’s very easy to blanket the raid with heals to apply the Shadow buff every minute. The mana regen is also nice. Sapphire tends to be better for Holy if you have a choice, as Holy can easily hit multiple players for Tailwinds and Soothing Breeze. When Opulence is active, save your major cooldowns for Wail of Greed (and make sure everyone has Shadow-Touched if you have Amethyst), with heavy healing when you stack for Coin Shower.
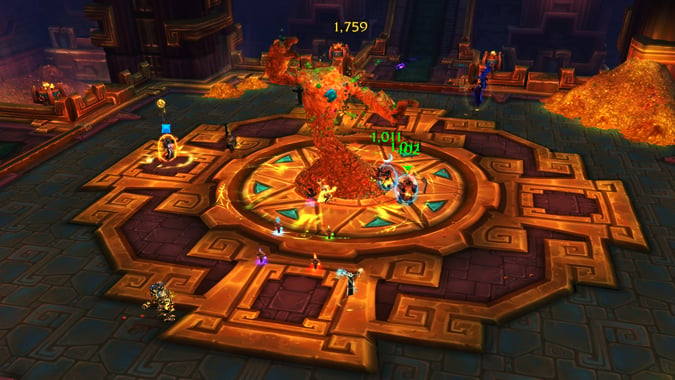
Conclave of the Chosen
This fight has fairly predictable damage, but it can also have weird overlapping of abilities based on the order of which bosses you kill and also how quickly. Stay spread out, but try to stay in the middle so you’re not the farthest player out and targeted by Krag’wa. If Mages aren’t Spellstealing Gift of Wind off the bosses, you can dispel it.
Healing cooldowns are best used during Pa’ku’s Wrath, which occurs every 1 minute 10 seconds. You can cycle through your minor healing cooldowns and two-minute cooldowns; three minute ones will be harder to use often unless you use it on the first and fourth ones. Everyone is stacked together here, so targeted spells like Holy Word: Sanctify, Power Word: Barrier, and Ward of Envelopment are great.
Also save a minor cooldown for Cry of the Fallen if needed. When the Ravenous Stalkers come out, you can use Shining Force to knock them back if they’re not enraged with the Pack Hunter buff. This is especially useful when they come out while everyone is stacked for Pa’ku’s Wrath. Shining Force will be up every time the raptors spawn. Pay attention to Mind Wipe since it sometimes doesn’t show up as a dispellable Magic debuff on healing frames. We can’t dispel the Crawling Hex curse so just stay away from the green circles on players.

King Rastakhan
Position yourself to be in range of both tanks, but make sure you don’t get too many stacks of Deathly Withering from Aura of Death. Rastakhan’s damage ramps up as the fight goes on, so save your cooldowns for phases three and four. In the Death Realm phase, Holy is ideal for the death side since the live side is more single-target focused with tanks. Discipline Priests are also useful for shielding players affected by Caress of Death to absorb damage until they can be healed again. Consistent damage will come from Withering Burst management. Keep cooldowns at the ready for this, and also for phase four when Rastakhan is the strongest.
High Tinker Mekkatorque
Mekkatorque is also relatively straight-forward, as far as healing goes. Target your healing on anyone who gets hit by Buster Cannon or Crash Down. Healing cooldowns can be used on Blast Off or if anyone misses line of sight on Gigavolt Charge, hitting the raid with Gigavolt Blast. Raid damage ramps up when the Spark Bots are up and casting Spark Pulse, especially toward the end. Keep an eye out for people hit by Sheep Shrapnel. Phase three will also have heavier damage due to Hyperdrive.
Stormwall Blockade
On Brother Joseph’s boat, you can grip players targeted by the Siren if they’re too close to the Siren or the DPS is too low to kill the Siren before the player gets to her and is tossed overboard. When you’re back on the dock, damage is pulsing and consistent. If all ranged and melee are stacking in their respective Ire of the Deep zones, the damage is easier to handle. The issue comes if few people stack, hitting those players hard (or killing them) or if no one stacks at all. Heavy damage will go out with that so you may need reactive cooldowns or heavy healing to deal with any accidentally missed orbs. We can’t knock the Energized Storm add back with Shining Force, but it still applies the movement reduction, slowing them down in order to give the DPS more time to kill it before it reaches the boss. This is especially useful if you target it on the tank who is tanking the add. Dispel Kelp-Wrapped Fists on that tank for a DPS increase.
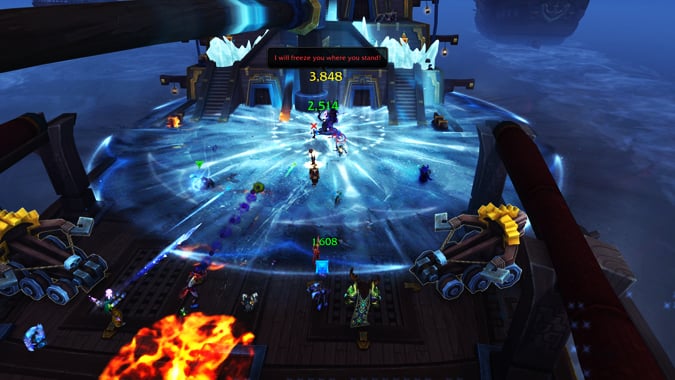
Lady Jaina Proudmoore
Our most useful ability here is Mind Control. Priests can Mind Control the adds and make them jump off the boat. If you have a Shadow Priest, they can do it too, so you can focus on healing. Use your dispels if anyone gets rooted by Grasp of Frost, and Mass Dispel if your raid is particularly unlucky. This is also useful if people aren’t able to get into the Searing Pitch fast enough during Ring of Ice.
The intermission is a game of dodging Jaina’s Glacial Shards and Blistering Tornadoes. In the second phase, healing cooldowns are very useful to mitigate player mistakes. The Broadsides can get complicated if they aren’t placed correctly, causing raid-wide damage. Keep a close eye on players who have high stacks of Chilling Touch, so you can target-heal them when they get frozen. The damage really ramps up in the last phase, since you can’t remove the Chilling Touch stacks. Get into melee when you’re about to be frozen so that melee DPS can get you out quickly.
After that it’s just managing the various ice mechanics until you can get Jaina down to 5%. Good luck and happy raiding!
Please consider supporting our Patreon!
Join the Discussion
Blizzard Watch is a safe space for all readers. By leaving comments on this site you agree to follow our commenting and community guidelines.


