Lightsworn: Navigating Light’s Breach and the Forbidden Descent as a Holy Paladin
At long last, we’re taking the fight to the Legion on their home turf. Antorus, the Burning Throne is an 11-boss raid. Let’s take a look at the first six today.
Holy Paladins in Antorus
As always, we want Critical Strike as our main secondary stat until we reach (or get near) our Crit soft cap of 50%, so that our Holy Shocks always crit. Our Tier 21 4-piece bonus is also Crit-based, so the more we have, the better. Generally, Haste and Versatility come next and are roughly equal in value, but it’s worth pointing out that some of Antorus’ encounters involve the raid stacking up extremely close together. This means our Mastery and certain talents are stronger than usual on those fights — something to keep in mind.
Ilterendi, Crown Jewel of Silvermoon, Velen’s Future Sight, Soul of the Highlord, and Prydaz, Xavaric’s Magnum Opus remain strong Legendary choices, and the consensus I’ve heard is to not break your Tier 20 4-piece set until you have the full Tier 21 4-piece set to replace it. Lastly, Sea Star of the Depthmother remains a dominant trinket choice; spreadsheet math indicates that it’s really only surpassed by Velen’s, Aman’Thul’s Vision, or an Eonar’s Compassion at least 40-45 item levels higher than your Sea Star.
If you’re after a more detailed breakdown, head over to the Holy Paladin Discord channel. It’s the best source of Holydin math out there currently, and you can plug your stats and gear into their spreadsheet to get exact stat weights and recommendations.
As usual, these won’t be full guides, but rather observations keyed toward a Holy Paladin perspective — useful times for certain cooldowns, utility spells that have unexpected value, and any noteworthy loot. I’ll assume we’re tackling these bosses on Heroic difficulty.
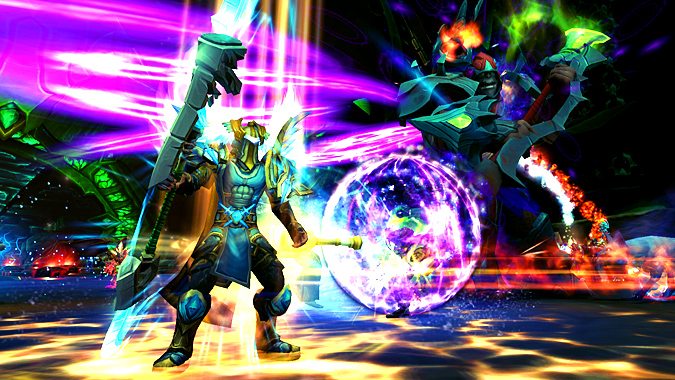
Garothi Worldbreaker
A fairly straightforward boss to start out with, the only real concern we’ll have for most of this fight is running out if targeted by Decimation and helping to soak Annihilation pools. Melee will always receive at least one Annihilation pool, so it’s not a bad fight for hanging out in melee. Just make sure you get some distance after your raid destroys one of the Worldbreaker’s weapons, so you don’t get nuked by Eradication. Even with distance, Eradication still does a good chunk of damage to the entire raid, so it’s a great time for Aura Mastery, no matter what flavor of aura you’re running with.
Stack Fight: Assuming your raid destroys the Annihilator cannon during the first Apocalypse Drive (empowering the boss’ Decimation ability), the raid will be stacked and moving together as a group from phase 2 onwards.
This big fel reaver drops a well-itemized cloak, but since only three of our tier pieces have Crit and one of those is our tier cloak, I’d wait for the tier cloak, personally. Other drops include Doomwalker Warboots, the only plate boots with Crit in Antorus, and the Garothi Feedback Conduit, one of the better healing trinkets this tier.
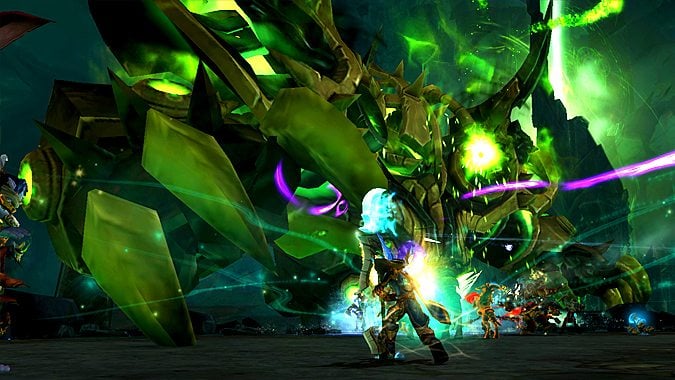
Felhounds of Sargeras
Beacon of Faith is almost always a good talent choice, but it’s particularly great on encounters like this where both tanks will be tanking their own boss for the entire fight. For most of this encounter, the damage will be predictable and easily healed through, as long as your raid is handing the mechanics properly. It does get tricky when the Felhounds’ abilities overlap, though. Be ready with throughput cooldowns to cover these rough patches.
Stack Fight: Your ranged players will be stacked between the two Felhounds or near Shatug for this entire fight, only spreading temporarily to deal with Consuming Sphere, Enflamed, or the fire swirls from Molten Touch.
The fel puppies drop some nice hands, and since our tier hands don’t have Crit, these are a worthwhile offset piece. They also drop a neck and waist, but there are better ones available — both from Portal Keeper Hasabel, oddly enough.
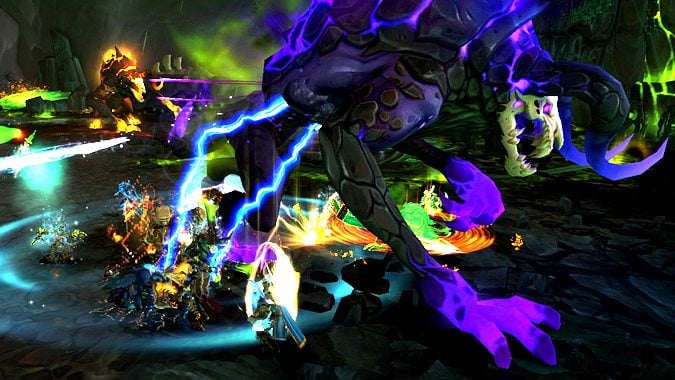
Antoran High Command
Taking down this trio of Eredar commanders is a busy, chaotic affair, with some substantial healing pressure near the end of the fight. One important warning: During the fight, players will be hopping into the command pods situated around the room, and while inside they’ll be taking ramping damage and require healing. However, when Antorus launched some healing frame addons weren’t actually showing you the health bars of players inside the pods! Needless to say, this was a major problem. Make sure you can actually heal your pod people!
This encounter is mostly about the players in the command pods using their special abilities effectively and your DPS making sure adds don’t get out of control. For us healers, there’s nothing special for us to do. That’s not to say it’s easy, mind you. Keep pod people topped up, and save some cooldowns for the end of the fight when Fusillade is dealing heavy damage even through Felshield Emitter barriers. Chaos Pulse isn’t worth dispelling early in the fight, but should be a high priority later on when raid damage is heavier.
Stack Fight: For much of this fight, at least in my guild, players tend to be running around all over the place. However, everyone will be gathered up when it matters most — under Felshield Emitter shields, to survive Fusillade. Convenient!
The High Command trio drops Lightshield Amplifier, Pauldrons of the Eternal Offensive (which you’ll likely want to use if you don’t end up using our tier shoulders), and our nicely-itemized tier cloak.
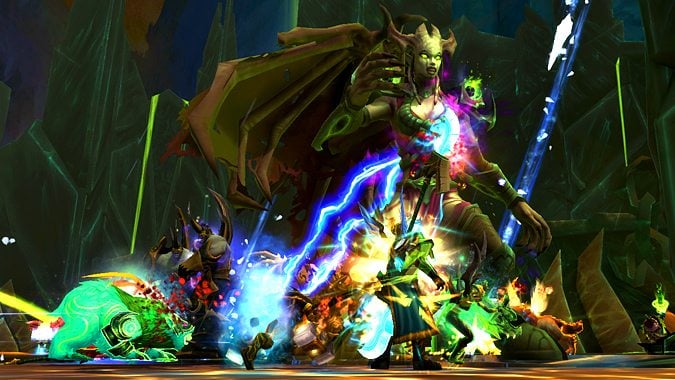
Portal Keeper Hasabel
I wonder if after a long day of conquering worlds, Hasabel portals her allies to a spot hundreds of feet in the air above a giant crater, after which they plummet to their deaths. Or is that just an us thing?
Healing starts off light on Hasabel’s main platform, with Collapsing World being the only real source of raid damage (though it is considerable). It can be helpful to have the entire raid stack up for healing temporarily after running out of Collapsing World, or at least have the ranged and melee as two separate stack groups. Ideally, no one will get hit by Felstorm Barrage, but a few slip-ups are bound to happen. The damage is survivable, but if someone gets knocked off the platform by the beam, there’s not much we can do to help that.
As the fight goes on, the raid damage will steadily increase. Hasabel’s adds are susceptible to interrupts and stuns, so throw in a Hammer of Justice, Arcane Torrent, or War Stomp whenever you get the chance. Pay particular attention to Felblaze Imps, who cast Fiery Detonation and need to be interrupted, and Hungering Stalkers, who cast Howling Shadows, which will interrupt us. Feltouched Skitterers will also root players with Acidic Web, so be ready with Blessing of Freedom.
If you end up healing the portal platforms, there’s nothing complicated with the first two, while the third has an effect limiting our vision that can be countered by simply having everyone stack on the miniboss. However, on the third platform we also receive Delusions. We don’t do any healing or absorbs while we have it, but it does restore mana. It’s best to let it sit and refill your tank until you actually need to start healing the platform team. Alternately, if you go up there with multiple healers, one healer can remove their Delusions right away and cover the group’s healing while the other healers recover mana.
Stack Fight: Everyone should be stacked up in one or two groups following the unavoidable Collapsing World damage, and all three platforms involve stacking in on the minibosses. What more could a Holydin ask for? (Spoiler: Varimathras. But we’ll get to him next time.)
Hasabel surrenders Vulcanarcore Pendant, likely the best neck we’ll be able to get until Chain of the Unmaker from Argus. She also drops Nathrezim Battle Girdle, the only Antorus plate belt with Crit, and Tarratus Keystone, one of the better healing trinkets this tier.
The Defense of Eonar
I never thought we’d have a tower defense boss, but here we are.
There’s…not a lot to say about this one? Contribute stuns and damage whenever you can, and make sure tanks always have dedicated healing when tanking Fel-Infused Destructors. You might find it useful to turn on friendly health bars (shift-V by default), as sometimes your frames might show a player as being within range, but you won’t be able to heal them because they’re on a different vertical level than you. And if you find the room spatially disorienting (which it definitely can be), request to be in the team that handles the Mid and Lower spawn locations — they’re directly adjacent to each other, and involve minimal travel.
Aggramar’s Stride can be pretty helpful on this encounter, given the rather light (and unusual) healing circumstances, and how much running around you may be doing.
Successfully defending Eonar can net us our Crit-laden tier chest, and the Mastery-heavy Loop of the Life-Binder. The Vitality Resonator healing trinket is rather weak.
Imonar the Soulhunter
Imonar’s Sleep Canisters will stun anyone nearby when cleansed, so be cautious when dispelling. Pulse Grenades aren’t a major threat, but can be later, so your raid might find it useful to carefully detonate a few in a controlled manner. Hunters using Aspect of the Turtle are probably the best candidates for this, but we can always pop Divine Protection and do it, or even use Divine Shield and clear out a few at once.
During bridge phases, do not just bubble and charge ahead! Divine Shield will not prevent you from being stunned or knocked back by the traps. Instead I suggest hanging back a bit and letting others lead the way, so we can dispel anyone who blunders into a Stasis Trap, and spot heal as needed. Don’t delay too long, though — shortly after Imonar starts his second phase, anyone on the bridge will take lethal damage from Infernal Rockets. If anyone gets run over by Conflagration balls, toss them a heal, a Blessing of Freedom, and the mandatory bad joke.
Charged Blasts are an annoying ability. Not only do they deal moderate damage and potentially hit other players behind the initial target, but visually locating where the beams are originating from can be a hassle. Expect a few extra Charged Blasts hits and top up accordingly.
Blastwires in the second bridge phase can be quite painful. Ideally your raid will navigate across flawlessly, but be ready with Aura Mastery just in case.
Imonar drops Mysterious Petrified Egg and Venerated Puresoul Idol, as well as our tier legs. These don’t have Crit, but they’re still one of our better tier options, since neither of the other two plate legs in Antorus have Crit either.
That’s the first half of Antorus down! Next time, we fight a planet.
Please consider supporting our Patreon!
Join the Discussion
Blizzard Watch is a safe space for all readers. By leaving comments on this site you agree to follow our commenting and community guidelines.


