Bosses in 5 Seconds: Blackrock Foundry LFR – Blackhand’s Crucible
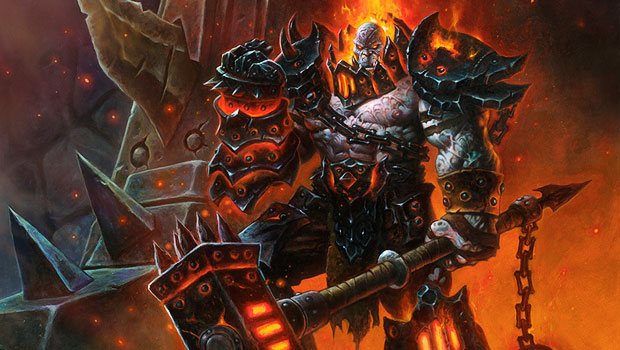
The final wing of Blackrock Foundry LFR, Blackhand’s Crucible, opens up today. It consists of a single boss: Blackhand. Our bosses in 5 seconds series focuses on the core points you need to know going into these fights. Yes, we know this is longer than 5 seconds, but “Bosses in 22 Seconds” isn’t as catchy.
Looking for the previous wings? Check out our posts for The Slagworks, The Black Forge, and Iron Assembly. Keep in mind that you’ll need a minimum item level of 635 to queue for Blackrock Foundry LFR.
Blackhand is comprised of 3 different phases on 3 different floors. During each transition, he will smash the floor and the entire raid will fall to the next level, beginning the next phase.
Phase 1 (100-70% health)
- Tanks: Move Blackhand when he drops Slag Bombs. Off-tank should stay behind Blackhand until main tank is hit by Shattering Smash, then taunt and take over.
- Melee: Don’t step on Slag Bombs. Watch for arrows pointing away from Blackhand and don’t stand in their path.
- Ranged/Healers: Keep your distance from the melee group. During Demolition, don’t stand in or near the big orange swirling circles. Demoltion leaves debris piles on the ground.
- Ranged: If targeted by Marked for Death, stand behind (line of sight) one of the debris piles to avoid being hit. Those not targeted should make sure they aren’t in the path of the marks.
Phase 2 (70-30% health)
- Tanks: Similar to phase 1, but keep Blackhand near the middle when possible.
- Melee: Avoid the same things as in phase 1. When Blackhand casts Shattering Smash there will be a red circle on the ground in front of him. Stand inside the circle to get knocked onto the balcony. Kill adds on the balcony and jump down once your health gets low (no healers will be in range unless they got knocked up with you).
- Ranged/Healers: Spread out to reduce overall raid damage. Don’t step on Slag Bombs.
- Ranged: Marked for Death will continue to happen, only now you must hide behind Siegemaker vehicles instead of debris piles.
- Siegemaker vehicles will spawn from the corner of the room farthest from Blackhand. Don’t stand in their path. They will Fixate the closest player when they spawn. Whoever is fixated needs to kite the Siegemaker over Slag Bombs until it is dead. Siegemakers also require some player damage.
Phase 3 (30% health)
- Tanks: Move Blackhand near one of the platform edges, but make sure he is facing towards the center of the platform before he has 100 energy (see final bullet point).
- Everyone: Stay near the boss and be prepared to move in one of 3 directions (left, right, or forward).*
- Those who get Attach Slag Bombs (orange circle around them) should move left, as far away from the raid as possible until the bomb is dropped.
- Those who get Marked for Death should move right, outside of the main group so that it doesn’t hit anyone else. Position yourself so it won’t knock you off the edge! You can’t hide behind anything for this one.
- Everyone else who wasn’t targeted by those abilities should get ready to stack behind the tank for Massive Shattering Smash (he casts this at 100 energy). Stand behind the tank, inside the edge of the red circle so you are knocked towards the center of the platform! Your position in the red circle determines the knockback direction. After the knockback, reposition Blackhand and repeat.
* These directions are not required, but it makes things easier. The most important thing is just getting out of the group when you have these abilities targeting you.
Please consider supporting our Patreon!
Join the Discussion
Blizzard Watch is a safe space for all readers. By leaving comments on this site you agree to follow our commenting and community guidelines.


