Lightsworn: Stirring in the Shadows for the Paladin class mount
If you’ve been dutifully plugging away and finishing all the special Broken Shore weekly quests up until now, you should have earned Breaching the Tomb for completing the Legionfall campaign. Assuming you’re Revered with the Armies of Legionfall by now, this means you’ve also unlocked something else: a questline that rewards a shiny, Paladin-only class mount! Let’s see how we can get our hands on this fancy new ride.
Pre-quest preparations
Once we receive Breaching the Tomb, we’ll be sent back to Light’s Hope Chapel to talk to Lord Grayson Shadowbreaker. Old school Alliance Paladin players may remember that way back in the day, Shadowbreaker was the guy who sent you off on the long, arduous questline to obtain your epic charger. Fortunately, it’s a much simpler process this time.
The first thing Shadowbreaker wants is a Stonehide Leather Barding. Makes sense! We want this new mount to be armored and protected, so this seems only practical. If you happen to be a leatherworker, you can just make the Stonehide Leather Barding yourself. However, most of us probably aren’t so lucky, so we’ll have to head on over to the Auction House or go find a friendly leatherworker. The Barding takes 25 Stonehide Leather to craft. Remember that we can trade a few Blood of Sargeras to Illnea Bloodthorn in Dalaran to get the materials.
(While we’re at the Auction House or cashing in Bloods, we’ll want to pick up 25 Leystone Ore too. We’ll need it soon.)
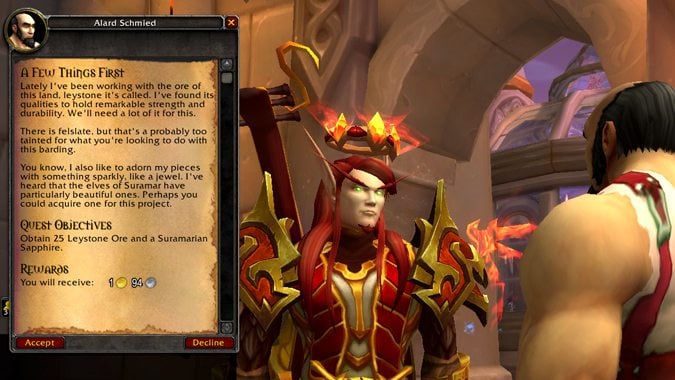
Upon handing the Barding over to Shadowbreaker, he tells us that the Barding has to be strengthened. For that, we need to seek out Alard Schmied in Dalaran’s blacksmithing shop, Tanks for Everything. Naturally, Schmied can’t do the job without some supplies, and he asks us to fetch him 25 Leystone Ore and a Suramarian Sapphire, because he “likes to adorn his pieces with something sparkly.”
Schmied, I like your style.
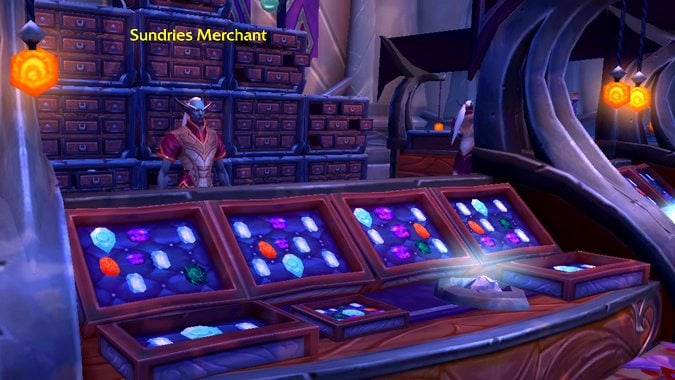
The sapphire is surprisingly easy to acquire — we can simply buy it for 500 Ancient Mana in Suramar’s Evermoon Bazaar from any Sundries Merchant. If you don’t have enough Ancient Mana, the Bazaar usually has some Leypetal Powder, Mana-Infused Gems, or Twice-Fortified Arcwine lying around.
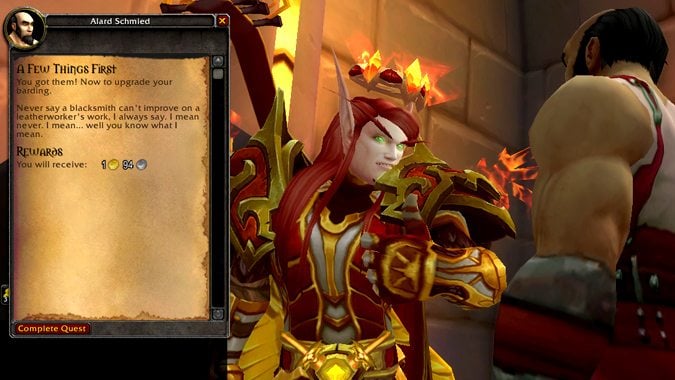
Back to Dalaran! With the Leystone Ore and the Suramarian Sapphire, Schmied is able to upgrade our Stonehide Leather Barding into Plated Barding (ooh, fancy). Once we bring this back to Shadowbreaker, he informs us that there’s just one step left: to purify it. And for that, we need to travel to Stratholme to obtain holy water — a nice touch, since Stratholme Holy Water was also required in the original vanilla epic charger questline.
Shadowbreaker then casually concludes that once we have the holy water, we simply have to imbue the Barding with enough holy power to overcome the will of Baron Rivendare’s mount, Shadowmane.
Wait, what?
That’s our new mount??
Stirring in the Shadows
So I guess we’re setting out to…redeem? Resurrect? Absolve?? an undead horse, so we can then ride it around. Well, alright! Let’s get going. This stage of the questline does involve some fighting, so if need to swap some talents around, make sure you do so before departing.
Remember that while Light’s Hope Chapel is now our Class Hall, it’s still in the Eastern Plaguelands where it always has been — just walk out the front door and we’re only a short flight away from Stratholme’s gates. I’m so used to leaving via the portal that I was already back in Dalaran before I realized my mistake.
Defender Sterius is waiting for us at the Elders’ Square Service Entrance, east of Stratholme’s main gates. Talk to Sterius to enter the scenario. Once inside, it’s like any normal scenario — we can exit through the Service Entrance Gate whenever we want, but we’ll have to start the scenario over again once we re-enter.
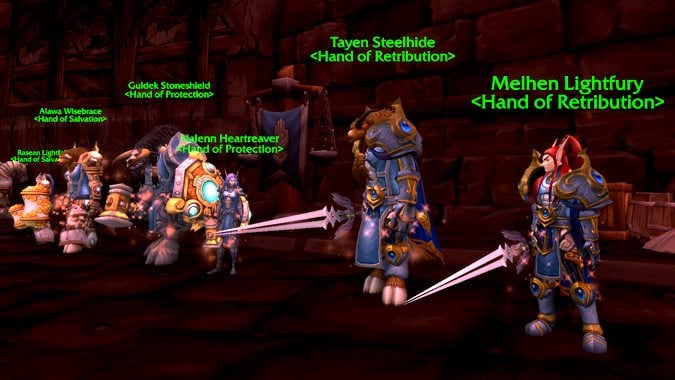
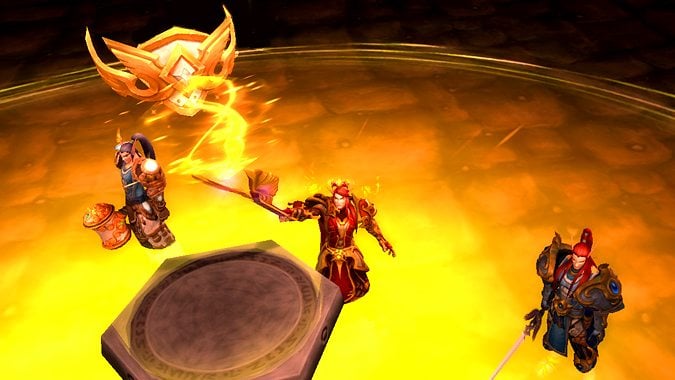
Shadowbreaker informs us that he’s already sent three Paladins in to search for the holy water, but they haven’t returned yet. Once again, it falls upon us to save the day. Before we set off into Stratholme to track down the missing Paladins and the holy water, we get to choose two Paladin NPCs to accompany us! There’s six to choose from — two Holy, two Retribution, and two Protection. For Horde Paladins, there was one Blood Elf and one Tauren NPC of each specialization, which was nice. I’m not sure how it is for Alliance, though, given their three possible Paladin races.
Logically, you’d probably assume that we would want two partners that complement our own specialization, so we had one of each spec in the group. However, I ran this scenario multiple times as both Holy and Retribution with different NPC partner combinations and I have to say: the Protection and Retribution NPCs are basically useless.
The Protection NPCs do hold threat, but take damage like they’re wearing tissue paper, while the Retribution NPCs deal next to no damage at all. The Holy NPCs do cast heals regularly, so my advice is to just grab both of them and kill everything yourself, regardless of what spec you are. (Yes, even a team of three healers will do perfectly fine.)
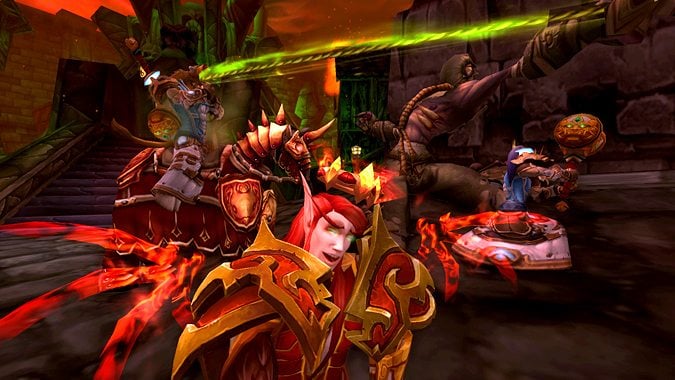
Once we’ve chosen our squadmates, it’s a relatively quick and painless jaunt through Stratholme, collecting holy water from crates, destroying gangs of weak undead, and fighting minibosses outside the three ziggurats where the missing Paladins have been imprisoned. The three minibosses (each summoned by a mysterious Shadowy Figure), don’t require any real tactics to speak of. Their abilities can be stopped with Hammer of Justice, interrupted if you’re playing as Retribution or Protection, or simply healed through.
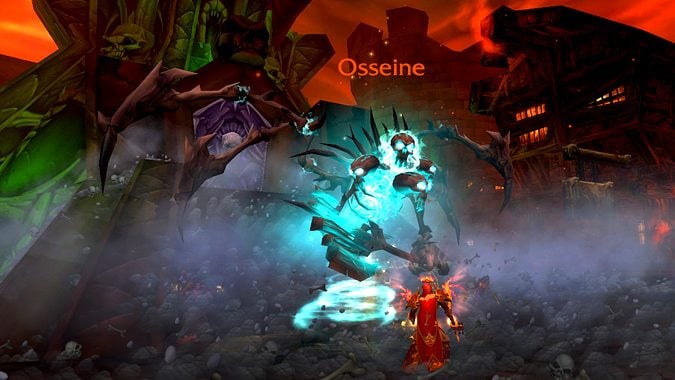
- Osseine inflicts some AOE damage with Bare Bones (which can be interrupted), while Bone Cage can be removed with Cleanse or Blessing of Freedom.
- Rotmouth hits random targets with Rotting Noose, and will occasionally go chow down on some nearby corpses with Consume Rot, which heals him. Rotting Noose can be ignored, but we should stun Rotmouth out of Consume Rot as often as possible so the fight doesn’t drag on.
- Pestulon casts Pustule Plague, a dispellable nature damage-over-time effect, and Summon Plague Zombies (which can be interrupted). The additional zombies aren’t a major threat or anything, but they shouldn’t be ignored. Either interrupt the cast or wipe them out as they spawn.
Once we’ve saved the missing Paladins and found six vials of holy water, it’s back to Shadowbreaker. He blesses the Barding, we charge it with Holy energy using our artifact weapon, and then it’s off to slap it onto the long-dead body of an evil horse.
But wait! Surprise, surprise, the horse corpse (horpse?) is missing! Who could possibly be behind this.
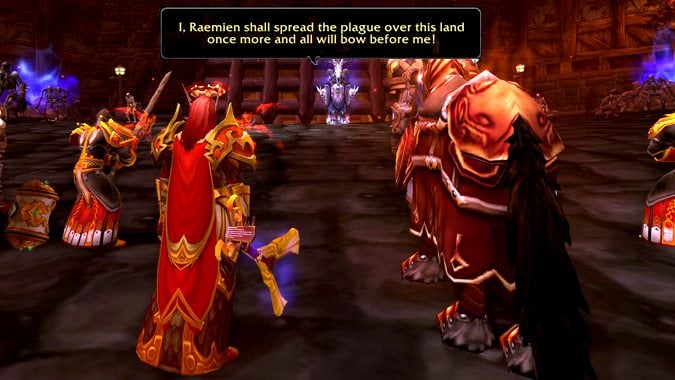
Oh, it’s…Raemien the Soultaker? Well, okay, I’ve never heard of you before, but it seems like you’re standing between us and our new horse. Big mistake, Raemien!
In actuality, this is a weird fight. Raemien has brought with him a swarm of undead that will completely overrun you if you take too long. These assorted ghouls and skeletons will also carve up any Protection NPCs in a matter of seconds, and laugh at the pathetic AOE DPS being put out by any Retribution NPCs. You’re pretty much on your own on this one.
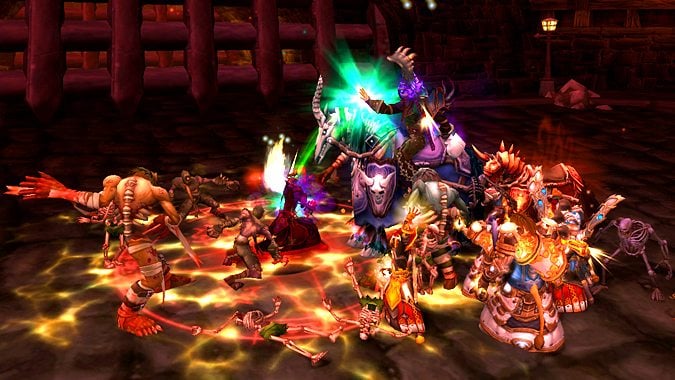
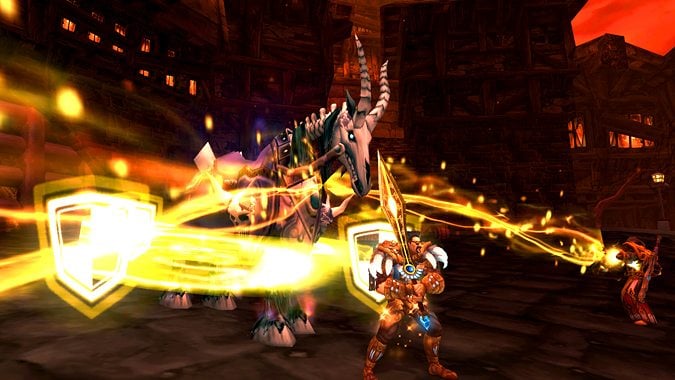
Fortunately, it’s not difficult to simply pop Avenging Wrath and burn Raemien down. He uses repeat abilities from the three earlier minibosses, but nothing you need to worry about. He also casts Shadowbolt Volley (which you can ignore), and Drain Life, which can be interrupted or dispelled. If you enlisted two Holy NPCs like suggested earlier, their healing should be more than enough to keep you topped up as you work on Raemien.
Once the Soultaker falls, you’re done! All that’s left now is to head back to Light’s Hope Chapel, enjoy a little scene, and then enjoy the hooved fruits of our labors!
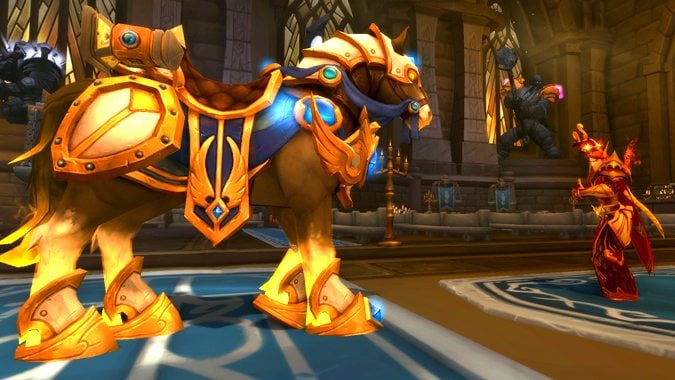
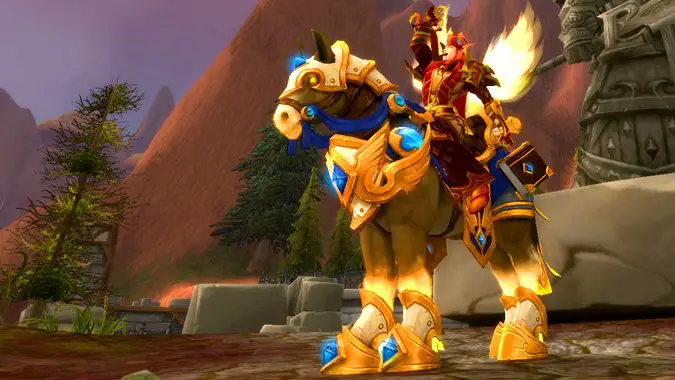
This is a very nice looking mount, and it flies, too! It also leaves glowing footprints in its wake, which is pretty sweet.
However, what if you like the model but wish the colors were a little different? Well, good news!
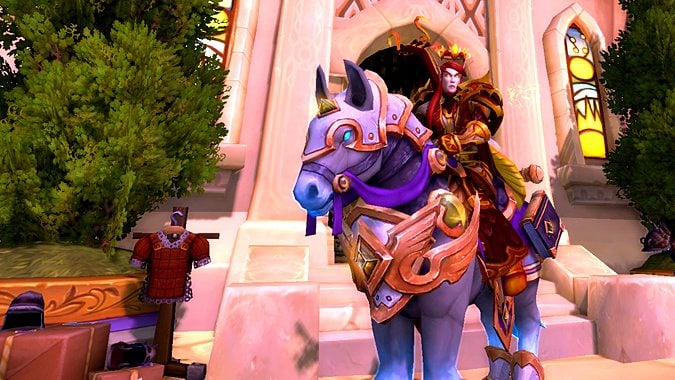
Alternate color tints aka horse transmog
As cool as our new horse is, there are also different color variations available! There’s one extra appearance for each Paladin specialization, and each requires you to have completed Power Ascended in that spec’s respective Artifact weapon. You can purchase these color variations from Crusader Lord Dalfors in Light’s Hope Chapel (he’s standing just to the left of the mission board).
As a Holy main, I’ve only maxed out The Silver Hand, so the purple-ish looking variant (pictured above) is the only one I have right now. However, you can find some great screenshots of the base version and all three color variants over at Wowhead!
Now if you’ll excuse me, I’ll be busy designing new transmogs to match this awesome new mount. Decisions, decisions.
Please consider supporting our Patreon!
Join the Discussion
Blizzard Watch is a safe space for all readers. By leaving comments on this site you agree to follow our commenting and community guidelines.


