Lightsworn: Tackling Hope’s End and Seat of the Pantheon as a Holy Paladin
With half of Antorus defeated, it’s time to finish the job and get the heck off this awful planet. Sorry Velen, but your world is a flaming fel-green garbage dump and I want off! Like before, we’ll be discussing the Heroic versions of these encounters. Ilterendi, Crown Jewel of Silvermoon, Velen’s Future Sight, Soul of the Highlord, and Prydaz, Xavaric’s Magnum Opus remain our default Legendary choices.
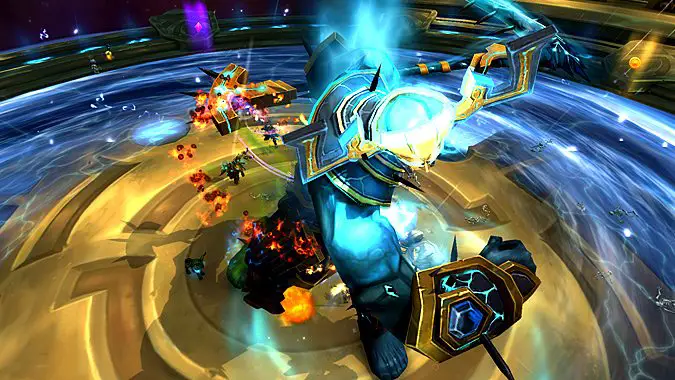
Kin’garoth
The first time my raid fought Kin’garoth, I made a Weak Aura that would shout a raid warning and play DVa’s “Nerf This!” when he began casting his giant Ruiner death laser. This would’ve been fine, except my guildmate asked if I could make it yell multiple times. I tinkered with the aura, believing I’d successfully modified it.
I was wrong. So very wrong.
Today I made a weakaura to raid yell and play DVa's NERF THIS when Kin'garoth was about to cast his laser. @stoppableforce asks, "Can you make it multiple yells?" I say, "I think so!"
Technically, I succeeded. Technically.https://t.co/5trIZOTP8H
— Rades 🐉 (@_Rades) December 5, 2017
This encounter consists of two cycling phases, one where we fight Kin’garoth, and one where we dismantle his fel reavers. There’s a lot of tank damage in this fight, with one tank taking heavy Forging Strike hits while the other is off soaking Diabolic Bombs. The platform is also quite large, so be sure to utilize Rule of Law frequently.
Ruiner will obliterate anyone it catches, so watch your timers and be very alert for when it’s laser time. If he ends up aiming at you, you have a short time to get out of the way. I’d definitely try to save Divine Steed for emergency escapes.
Kin’garoth drops a nice Life relic in the Eidolon of Life, our Tier Hands, and a perfectly-itemized ring.
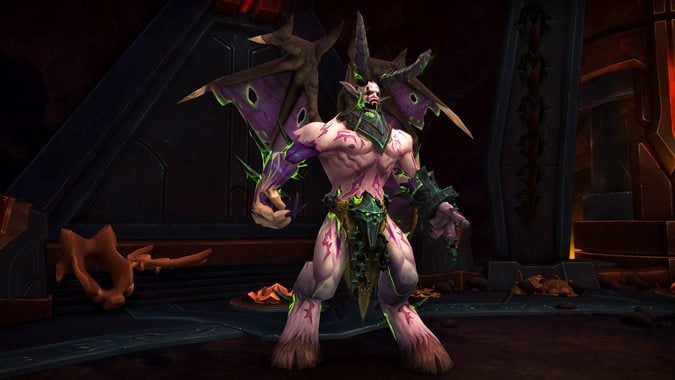
Varimathras
An old friend! Varimathras, you got real ugly. Varimathras’ Misery is pure healing negation, which is always…fun. Fortunately, it can be largely avoided if the raid plays properly.
Your raid will move together to avoid Dark Fissures, while having a designated player take the hit from Marked Prey. If someone gets hit by Dark Fissure, we won’t be able to heal them until their Misery falls off.
Pump heals into whichever tank can actually be healed. Make sure to top up whoever will be taking the Marked Prey hits, since they won’t be healable afterward. There’s also steady raid damage that gets worse as the fight proceeds. Torment of Flames does steady raid damage, while Torment of Frost inflicts raid damage and slows us. This makes Dark Fissures more problematic. Last is Torment of Fel, which amps the raid damage up considerably. Counter with healing cooldowns.
Players targeted for Necrotic Embrace should get out of the raid before they explode. It’s vital that we heal them up first. Once they leave, they’ll get hit by Alone in the Darkness (receiving Misery), then by Necrotic Embrace expiring, as well as whatever Torment damage is ticking at the time.
Beacon of Faith should be avoided on this fight. One of your tanks will always be unhealable. We can also safely dump Rule of Law for Unbreakable Spirit.
Stack Fight: The entire raid (other than tanks) will be clumped up the entire fight, meaning our Mastery will be working at maximum effectiveness. Light’s Hammer is a solid talent choice, but Crusader’s Might paired with Beacon of the Lightbringer is also strong. Maraad’s Dying Breath is also seeing some decent usage here, including on some of the top Varimathras healing parses.
Varimathras drops Varimathras’ Shattered Manacles, our best Antorus wrists, as well as Carafe of Searing Light, a strong mana trinket. Like always, its value compared to a throughput trinket will depend on your raid composition and personal healing style.
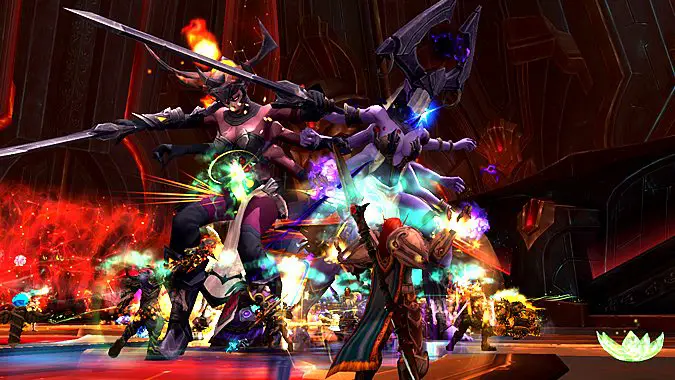
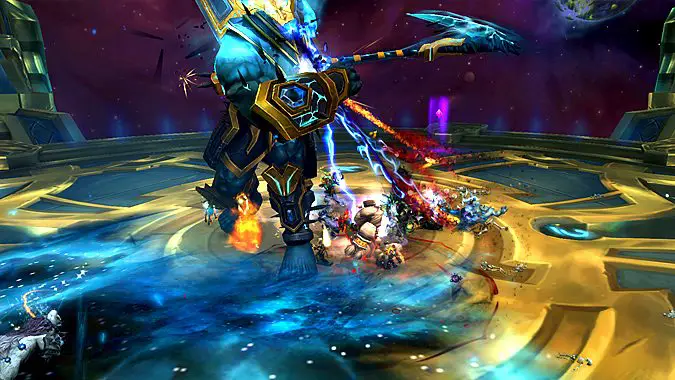
Coven of Shivarra
In this fight, it’s important to have a good method of remembering which tormented Titan does what to the raid. I personally find their names really similar and hard to tell apart, so here’s how I remember what each of them do:
- Aman’Thul: Self-healing adds. (Kill them A Man at a time.)
- Golganneth: Shocks players that stand near each other. (Go Away from each other!)
- Norgannon: Marching line of old men that must be crowd-controlled/avoided. (No Room between the old men.)
- Khaz’Goroth: Adds channel flames into the center of the room. (I actually don’t have a mnemonic for Khaz’Goroth, I just know he’s not one of the other three.)
Aman’Thul is the most important Titan as far as we’re concerned. His Machinations of Aman’Thul ramp up dangerously. I usually save Aura Mastery for him. Of the others, Golganneth and Khaz’Goroth simply require us to watch our positioning. Clearing a path through Norgannon’s marching images is best left to other players with knockbacks and similar crowd-control abilities. (We can of course chip in Hammer of Justice to lock down a Norgannon in a convenient place, if need be.)
Focus healing on any players with Chilled Blood, or anyone taking heavy damage from Fulminating Pulse or Storm of Darkness. Diima applies Flashfreeze to her tank, but we can remove this with Blessing of Freedom. Finally, stand on the outsides of the room to control where Orb of Frost spawns.
The Coven surrenders our tier shoulders, a good ring, and Highfather’s Machination, a healing trinket that is decent on paper, but is noted on the Holy Paladin spreadsheet to be very difficulty/fight-dependent.
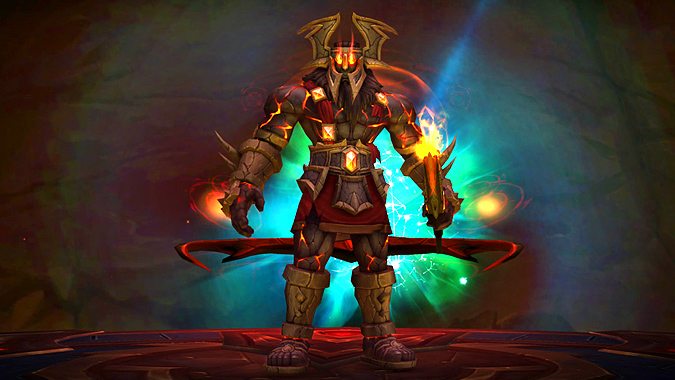
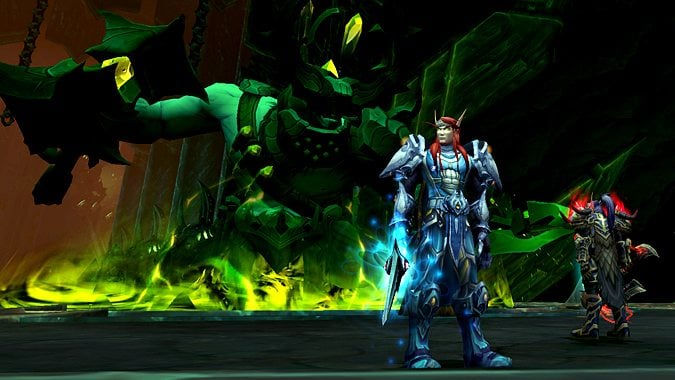
Aggramar
Defeating this ticked-off Titan is a long test of avoiding all sorts of fiery threats, while carefully and selectively killing adds.
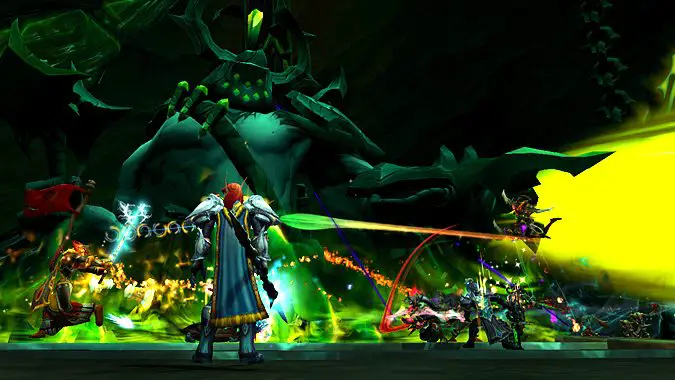
Throughout the encounter, the raid will stack up to get hit by Aggramar’s Taeshalach Technique. The tanks take heavy damage, while the raid receives two fiery cleaves in moderately rapid succession. Despite how threatening this seems, the damage from Taeshalach should be easily handled. Your entire raid will be gathered up for efficient AOE healing, so save your cooldowns.
During intermission phases, Aggramar will bubble and summon Embers of Taeshalach. These attempt to reach Aggramar and explode. There are also larger Flame of Taeshalach adds that pulse raid damage. We can stun and help DPS the Embers, but it’s more important to focus on the raid damage from the Flames of Taeshalach. Their raid damage increases as time goes on. Due to the large room and raid spread, Rule of Law will once again see a lot of use here.
The raid will selectively allow Embers to reach Aggramar and trigger Blazing Eruption. Make sure players are healed up before the detonation.
Stack Fight: Conveniently, we’ll be stacking during the heaviest periods of raid damage: Taeshalach Techniques, and while killing the Flames of Taeshalach.
Aggramar drops our tier helm, as well as a nice cloak and a decent chestpiece. If given the choice, I’d stick with our tier cloak and tier chest instead. He can also drop Taeshalach itself for transmog!
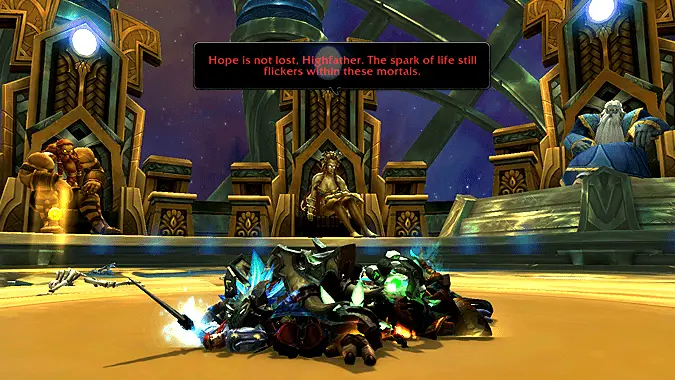
Argus the Unmaker
As far as final bosses go, I enjoy Argus. In phase one, ensure players who receive Soulblight are topped up. Respond immediately to the predictable raid damage from Tortured Rage. Spot heal players who get caught in the Cone of Death casts. When the Strength of the Sea and Strength of the Sky orbs go out, we want Strength of the Sky for its amazing Mastery/Crit buff.
Phase two is straightforward. Heal up players with Soulburst so that they can survive the explosion. Remember to get away from them before Soulburst expires. Be prepared for the Soulburst and Soulbomb raid damage. There’s also cosmic scythes flying around. These are avoidable, but will likely still catch a few people.
There’s a lot going on in phase three, but we’ll be spending our time spot healing damage from Cosmic Ray and Starblast, as well as some moderate tank damage. Each of the Constellar Designates will be weak to a different school of magic, including one weak against Holy damage. Don’t get too excited, though. It’s beneficial to throw a Judgment of Light on the different Designates, but we should focus on handling the unpredictable raid damage. Let the DPS worry about doing the killing.
After this phase ends, Argus kills the entire raid. We are then brought back by Eonar — at full mana! This means we can go absolutely buck wild with mana in phase three, since we’re getting it all back again soon. Our cooldowns, on the other hand, are not refreshed when we are resurrected. We’ll definitely need them in the final phase. In other words, if you can help it, spam Flash of Light and burn through your mana in phase three if it lets you save your cooldowns for later.
Phase four has a ton of raid damage going out from Soulburst, Soulbomb, Tortured Rage, and Reorigination Pulse. To make matters worse, our tree buddy from Eonar will eventually wither and begin to die, giving us yet another high-priority target to keep alive!
After resurrecting, remember to use another augment rune. We can also use another potion at some point. There aren’t any clever tricks to make healing this phase easier, but collecting the Motes of Titanic Power as ghosts presents some interesting choices. If we are targeted with Soulbomb, we can survive it with Divine Shield (be aware, this still causes the explosion), but sometimes it can be better to die. We can gather up Motes in the spirit realm, retaining bubble for later on. Similarly, if we happen to die during the fight, take a moment to consider how bad the healing situation is. If the raid absolutely needs you back right away, resurrect and get back in the fight. If the situation is stable, go ahead and spend a few moments grabbing Motes. It’ll benefit the entire raid as a whole.
Stack Fight: We’ll spend nearly all of this fight stacked up, but some of our most important healing will be done on players who are far away. Nonetheless, our Mastery healing will once again get a lot of mileage here.
Argus is veritable treasure trove of goodies, and can drop Aman’Thul’s Vision, Root of the Lifebinder, Chain of the Unmaker (great stats), Nascent Deathbringer’s Clutches (more great stats), Eonar’s Compassion and its corresponding upgrade item, as well as a pair of fantastic-looking scythes for transmog.
And with that, Sargeras is thwarted. Illidan has a new job, and Silithus is real messed up. After defeating Titans and imprisoning literal god figures, I guess it’s time to head on home and devote our energies to…well, fighting each other, again. Also pirates. (There’s never a bad time for pirates.)
Please consider supporting our Patreon!
Join the Discussion
Blizzard Watch is a safe space for all readers. By leaving comments on this site you agree to follow our commenting and community guidelines.


