How to craft your own Shadehound mount to ride in the Maw in just seven steps!
Riding in the Maw is one of the most sought-after features for players in Shadowlands. Thanks to BlizzConline we know that we’ll be able to ride all of our mounts in patch 9.1. However, we still don’t know when that will be, or how long we’ll have to wait after the patch for Maw mounting to be unlocked.
So what do we do until then? You’re stuck riding on one of these three mounts: The Corridor Creeper you get for completing the Twisting Corridors, the Mawsworn Soulhunter from the Shadehound Hunt, or the newly added Bound Shadehound that you craft with materials found in the Maw.
Before you’ll be able to start the process of creating your own Shadehound there are a few things you need to have first:
- To buy the Stygia Dowser, which is necessary to mine the new Stygia nodes, you’ll need to be at least Appreciated with Ve’nari
- You need about 3500 Stygia total: that’s 1500 to get the Stygia Dowser and then 2000 a little further down the line
- You’ll also need the Animated Levitating Chain (which costs 1050 Stygia and requires Tentative with Ve’nari) to reach some of the areas easily
Let’s get started!
Step 1: Start your Stygia Mining
Buy the Stygia Dowser from Ve’nari. You’ll need the aforementioned Appreciative reputation and the 1500 Stygia, but once you have the Dowser you’ve taken your first steps towards making your mount.
Now it’s time to get mining! These little green nodes have been scattered all over the Maw in hard-to-reach places. They’ll show up on your mini-map once you have the Dowser so just keep an eye out for them and be prepared to get good use out of your grappling hook. By the end of this whole process, you’ll need to make twenty Stygia Bars, which requires a total of 200 Stygia Silver and 200 Stygia Dust — which is a lot of mining.
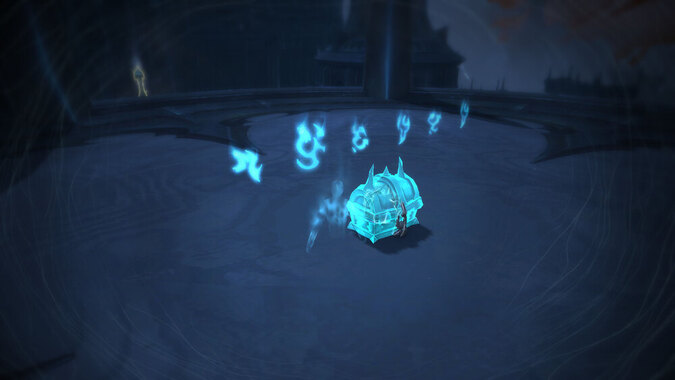
Step 2: Investigate the Stygia Delirium
Take your new Stygia Dowser to Perdition Hold. Hidden off to the side of Domination Keep at coordinates (24.0,75.5) is an eerie green cloud of Stygia. This ominous cloud is the Stygia Delirium, and you’ll get an extra action button to use your Dowser here. When you do, you’ll be phased into a shadow realm where you’ll have to solve a puzzle.
In the middle of a platform is a chest with six runes above it. You’ll need to line these runes up from left to right in the same order as the runes on the top of the pillars around the platform. Clicking any two of the runes will swap their positions, just do that until they’re all correct and you’ll get your next clue: the Crumbling Stele.
Just be careful about making mistakes. If you make too many, a Mawsworn will show up and kick you out of the phase — and you won’t be able to come back for two hours.
Step 3: Repair your Runic Codex
When you bring your Crumbling Stele back to Ve’nari she’ll have a new item for you to buy — a Partial Rune Codex for 2000 Stygia. You’d think for 2000 Stygia that she’d sell us a complete one, but alas we’ll have to track down the three missing pages in order to repair it. The pages are all located in out-of-the-way places in the Maw so get ready to trek all over it. Once you get to each area, look for tiny torn-out pages that you can interact with.
- Rune Page: Binding – Coordinates (24.6, 12.6). This page is where Anduin was kept prisoner in the Tremaculum.
- Rune Page: Souls – Coordinates (27.9, 60.6). You’ll find this page in Perdition Hold behind the rare Dolos.
- Rune Page: Forging – Coordinates (48.8, 84.7). This page is at the back of one of the Death’s Howl caves in the Beastwarrens.
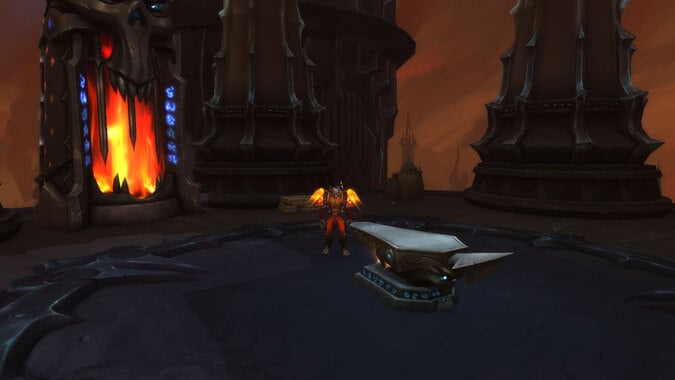
Step 4: Craft your Armored Husk
Combining the Codex with the torn pages will mean that you finally have an Intact Rune Codex. Reading the book will give you hints to the last parts of the chain, and an important Rune Order for the final step. Now that you have the knowhow to assemble a Shadehound all you’ll need is the materials.
Hopefully, you’ve been an industrious miner because it’s time for those 20 Stygia Bars. You’ll also need a pair of Soulforger’s Tools, which will drop from Soulforger Rhovus in Zovaal’s Cauldron once you’ve completed the Codex. Take them and all of your materials to the forge located up on the top of Domination Keep and you’ll be able to create the Armored Husk necessary to make your mount.
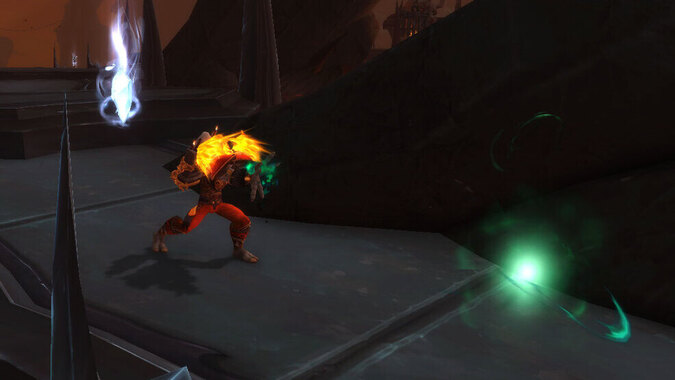
Step 5: Find a Willing Soul
Once you’ve gotten your Husk you’ll need to power it somehow, so it’s time to find an appropriate soul to stick in there. Look for a Stray Soul who walks the length of Gorgoa: the River of Souls. This soul starts at the southern end and makes its way to the northern end before despawning and starting its route over again. Finding it will award you with the Willing Wolf Soul.
Step 6: Bind the Wolf Soul to the Armored Husk
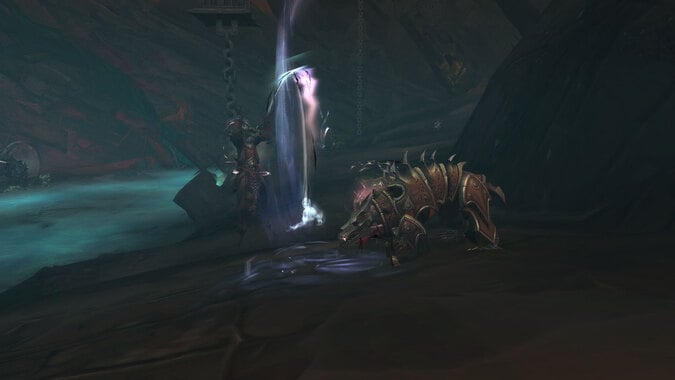
It’s time to combine the Willing Wolf Soul and the Armored Husk. You’ll need to take a trip over to a Binding Altar located south of Ve’nari at (45.1 48.3). There are a few Mawsworn around, but nothing you shouldn’t be able to handle. Here you combine the Husk and the Soul into your very own Feral Shadehound.
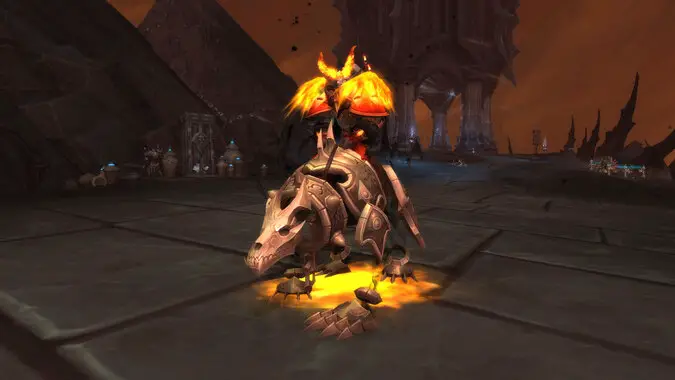
Step 7: Tame your Feral Shadehound
Now that you’ve stuffed the wolf soul into your armored husk, it’s time to bind the Feral Shadehound to yourself. Summoning your Feral Shadehound will start it running all over the place, and you’ll have to use the right sequence of runes to comple the binding. Just refer back to your Rune Codex for the right order and you’ll soon have your very own Bound Shadehound!
Once you’ve done all of that, it’s time to enjoy the fruits of your labors. Take that brand new Shadehound out for a spin! Laugh at your friends who still can’t ride anything in the Maw while you finally get to keep up with all of those Worgen, Druids, and Shaman who’ve been rubbing it in your face that you couldn’t move as quickly as them.
Originally published 3/11/2021. Updated 5/17/2021.
Please consider supporting our Patreon!
Join the Discussion
Blizzard Watch is a safe space for all readers. By leaving comments on this site you agree to follow our commenting and community guidelines.


