Learning to Paint D&D Minis — a newbie vs a Death Tyrant
The last time I painted a mini for D&D was over three decades ago, and back then the idea of painting a face so perplexed me that I would drop a glob of paint on it and pretend it was a helm instead. For the last couple years I’ve been slowly acquiring the tools to start painting again, and after some encouraging advice I finally took the plunge.
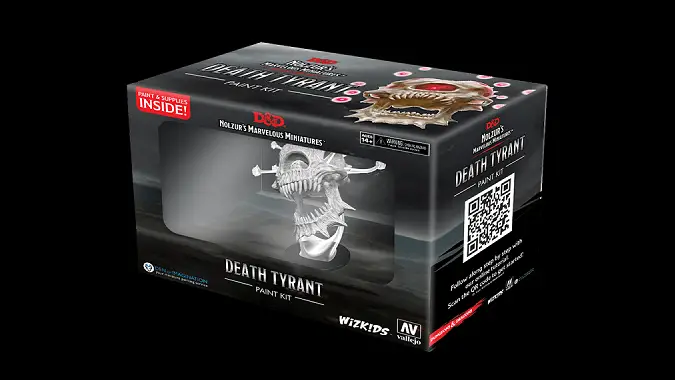
I decided to start off with a “Paint Night Kit” by WizKids, as they include brushes and paints along with the mini, so I wouldn’t need to worry about not having a needed color. I went with the Death Tyrant as it seemed pretty straightforward of a paint job — skull one color, eyes another. Of course, I should’ve realized it wouldn’t be that easy.
The first obstacle I encountered was the lack of print instructions. Instead, there’s a link to an online video, and I honestly do not understand this decision. The point of the “Paint Night Kit” is for people to gather together at their local gaming shop and have a painting night. Are they expecting us to all hang out and tell a room of like-minded strangers, no wait, I have to watch a video on my phone before getting started? Frustrated by this style of instruction, I decided to freestyle it instead (which may be foreshadowing).
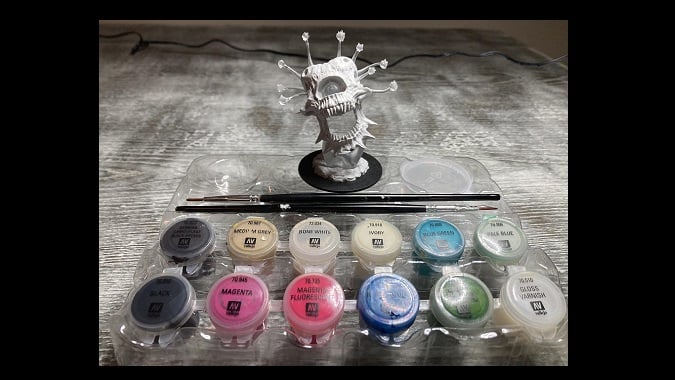
The other issue I had was that the kit wasn’t quite comprehensive enough, as I had to gather some additional accessories — water cup, paper towel, paper plate to use as a palette, etc. Again, I question how local gaming shops are to host these events with these kits, but I imagine more experienced painters are already prepared, and perhaps the shops already have these additional sundries on hand.
How did the painting part go?
While the set comes with 12 paints, I decided to go simple and only use a few of them. The mini comes pre-primed, so I didn’t need to worry about a primer. I started off easy and painted the base black-brown as I didn’t think that color would be useful elsewhere, and that aspect of it went ok although I probably should’ve painted the base later as I needed to wait for it to dry to continue, because I needed it as a spot to hold when painting the rest of the mini.
For the skull I decided I wanted to layer colors in a way to show age, but since I didn’t really know what I’m doing I went about it the wrong way. The first thing I did was paint patches of the skull with black, the idea being that some areas would show darker as a result. This doesn’t work — I was attempting something I’ve seen done with primer, but it won’t work very well when you’re layering paint of the same consistency.
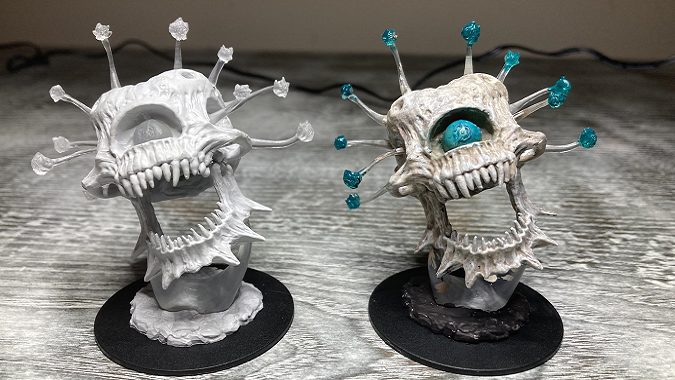
After the black had dried I painted the entire skull with a medium grey to be the base color, and immediately realized the black was a waste of time as I saw no difference in coloration based on whether I was painting over black or primer. Luckily, the grey I chose was dark enough that I didn’t lament the failure of my layering attempt. After it dried, I used a drybrushing technique to lightly apply ivory all over — the included bone white was not in a usable state, unfortunately — and this did a good job of providing a contrast to the grey while also highlighting some of the edges and teeth strongly. The finished pic below is a little washed out from the lighting so it doesn’t show it well, but I was happy with how it turned out.
The central eye was the next step, and for that I eschewed the standard magenta for a blue-green paint. My biggest concern was making sure I didn’t accidentally paint the skull around the eye, but I actually did a good job of making sure the blue-green landed only on the eye. Then I went ahead and ruined it by deliberately adding blue-green along the sides — I was thinking of trying to achieve a “glow” effect coming off the eye, but that’s something you normally achieve with light, not paint. In the end it looked like I had messed up painting the eye and had gotten the blue-green paint everywhere inside.
The final part I worked on was the floating eyes, and those were pretty straightforward. My biggest challenge was not getting paint on the clear “stalks” that supported them, and I had less success with that aspect. I did learn a trick with using a q-tip and water to wash off mistakes like that, but as you can see from the finished product I didn’t learn it in time and both blue-green and medium grey paint got on the stalks and the clear stand.
Lessons learned from a first attempt
For a first-time-in-decades attempt, I actually think it went pretty well. That said I have a long way to go before I can accomplish what others are able to do with miniature painting.
A paint night kit wasn’t a bad place to start, but there were gaps I needed to fill in — a more experienced painter would probably know all this in advance, but as a newbie it was frustrating. I don’t think I’ll a paint night kit again, but instead follow the advice to pick up the colors and brushes I need separately. That said, other suppliers have their own starter kits, so I may try one or more of those just to compare.
I also should’ve forced myself to watch the video — even if my poor hearing makes it hard to understand video instructions sometimes, seeing what was being done would’ve helped inform what I was trying to do. At the minimum, I wouldn’t have wasted time applying color that would never be seen.
Watching the video also would’ve pointed me in a different direction with the center eye, but I’m actually ok with what I did (wrong) because it helped to reinforce in my mind that I shouldn’t expect to easily replicate lighting effects with paints. The video also provided a useful tip on covering the stalks with tape to prevent accidental paint on them, but I don’t think that’s a tip I’m going to follow in the future — while I appreciate that it helps prevent mistakes, I’d rather get better at painting so I don’t need to.
The most important lesson I learned, though, was that I enjoyed painting miniatures. Sure, there was some frustration and impatience, but I imagine as time goes on those will diminish and the results will improve. While perfect may be the enemy of good, I don’t need to strive for perfection to enjoy painting — I just need to focus on getting a little better each time.
Please consider supporting our Patreon!
Join the Discussion
Blizzard Watch is a safe space for all readers. By leaving comments on this site you agree to follow our commenting and community guidelines.


