Lightsworn: Holy Paladin guide to Trial of Valor
Odyn, my dude. I get that you’re a bit peeved that Helya locked you up inside the Halls of Valor for all eternity, but what did you expect after betraying her, killing her, and turning her into the first Val’kyr against her will? Anyway, Odyn’s decided that it’s time to put an end to his imprisonment, by sending us to kill Helya for him. But first he has to test our mettle to make sure we’re worthy, in something he’s calling the Trial of Valor.
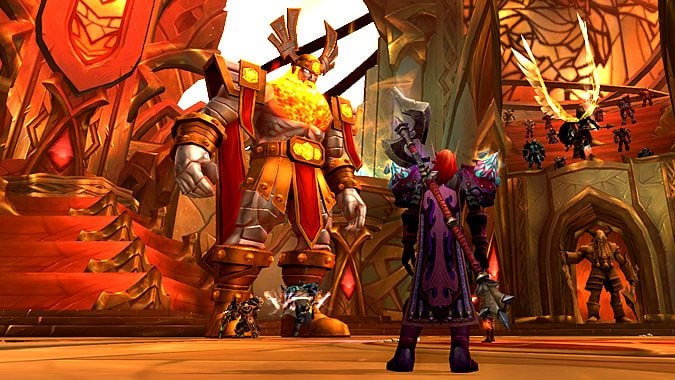
Odyn
You know, I’m getting a little tired of being Odyn’s errand boy and having to prove myself to him over and over again. Next thing you know he’ll be organizing a tournament for us or something.
In Phase One, we have a lot of freedom where we want to position ourselves. I prefer to stand near Hyrja, so I can chip in some DPS and help split her Shield of Light, following it up with a quick, full-Mastery AOE heal afterward. Standing near Hyrja does mean that a good portion of the raid will be out of our standard healing range, however, so make regular use of Rule of Law when needed. Of course, we also have the option of simply standing in the middle of the room so range isn’t an issue. We should still attempt to help soak Shield of Light, though.
Killing Valarjar Runebearers is mostly a DPS concern, but we can toss in some damage to help finish them off if need be. It’s absolutely vital they all die before Odyn empowers his Unerring Blast. Help kill Runebearers if you can, then top players up before Unerring Blast. The non-empowered version doesn’t hit that hard, but it does still damage everyone in the raid for a moderate amount.
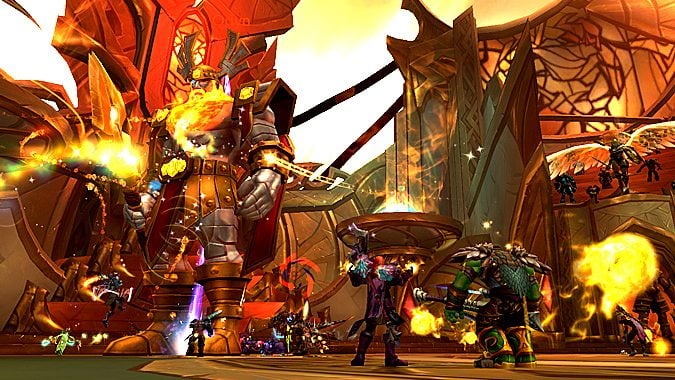
Odyn ramps things up when he enters Phase Two, giving us more raid damage to deal with in the form of Spears of Light, which he immediately Shatters into Glowing Fragments. We still have to handle Runebearers and Unerring Blast, as well. This is a simple phase mechanically, despite the increased raid damage. Try to save your cooldowns for the last phase, as things get rather hectic.
(On Heroic difficulty, Hymdall and Hyrja will keep hopping into the fight and using their abilities, but they shouldn’t be an issue as long as your DPS are switching to them and burning them down quickly.)
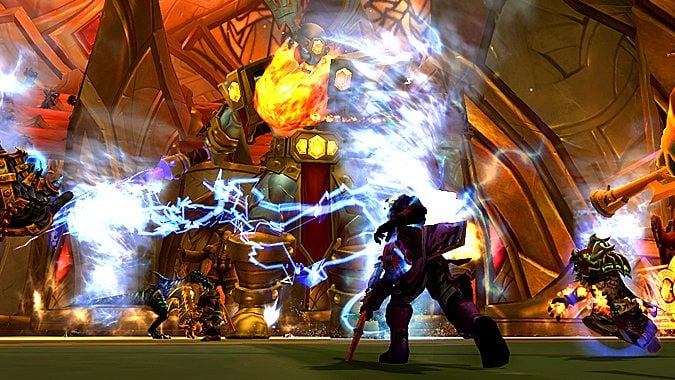
Once Odyn reaches 55% health and enters Phase Three, chaos erupts. Players will be running around all over the place, two-thirds of the room will be burning with Cleansing Flame, there’s lightning, there’s tornadoes … it’s a huge mess. I try to save Aura Mastery for this phase, since players are so spread out. If targeted for Storm of Justice, pop Divine Steed and get the heck out of Dodge. It’s crucial that we deposit tornadoes far away from the action, where they’ll do limited harm. We can also pop Divine Shield and go drop a tornado in one of the dangerous sections of the room, but be careful not to spawn a tornado somewhere the raid needs to move to later on!
Tanks will be taking brutal damage from Stormforged Spear, especially if they’re a slower class, so give them a hand with Blessing of Sacrifice. Interestingly, Stormforged Spear’s tank hit is entirely physical damage, so theoretically Blessing of Protection should negate it. I haven’t had the chance to test this for myself, though.
Once Odyn is convinced that we’re not scrubs, it’s on to Helheim!
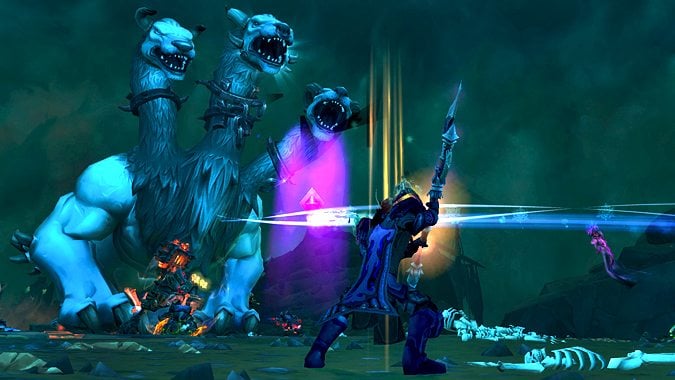
Guarm
Helya’s canine friend is a straightforward fight, but one that will push our healing limits hard. This doggy dishes out a lot of damage.
Holy Paladins can be either ranged or melee on this fight, and each comes with their own special risks. Standing in melee means you won’t accidentally wander within range of Flashing Fangs, but melee players do have to watch their proximity to other players to avoid chaining Frost Lick. (Ranged players have to spread out as well, but have much more room to do so.) Be sure to remind your raid that healers should be top dispel priority, since once freed we can then dispel others.
Guarm has a very structured ability pattern, with heavy raidwide damage during Guardian’s Breath, followed by a small lull to give us time to heal everyone up, then heavy tank damage from Flashing Fangs. Since the encounter is entirely predictable, adjust your healing priorities — tank or raid heals — appropriately based on what ability Guarm is going to use next.
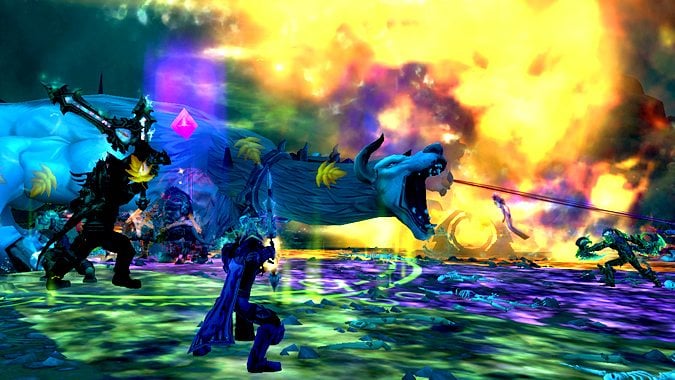
Pop Aura Mastery when Guarm decides to go for a little jog, since it’ll be working away while we’re running around, dog-dodging. Headlong Charge is pure physical damage, so you can save someone with Blessing of Protection if you see they’re about to die. Alternately, you can cast it on yourself (or use Divine Shield) to ignore Guarm’s stampede altogether.
There’s not really a bad level 100 talent on Guarm. Beacon of Faith will help offset the mauling tanks will be taking, while Beacon of the Lightbringer and Beacon of Virtue are both effective counters to the raidwide damage of Guardian’s Breath and Headlong Charge. I don’t often recommend Beacon of Virtue in raids due to how mana-intensive it is, but with the raid being loosely clumped together during both Guardian’s Breath and Headlong Charge, I think it definitely has value here.
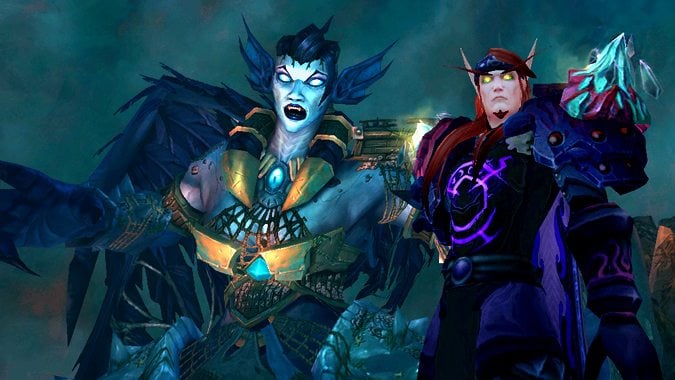
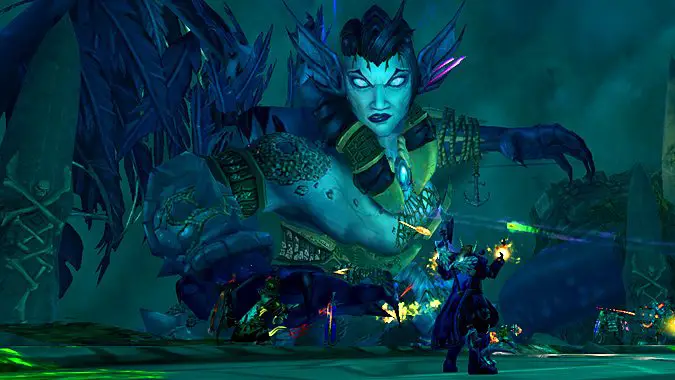
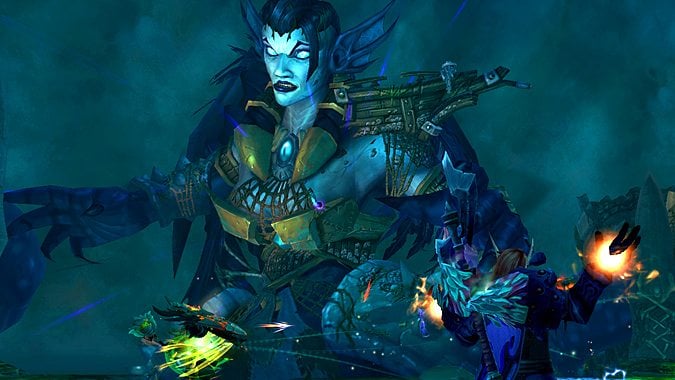
Helya
If you’ve completed the Maw of Souls dungeon, you may recall that we fought Helya there, but only managed to drive her off. Well, the gloves are off now, and Helya is mad as … Hel … that we’re here to kill her at Odyn’s behest.
This is a long and grueling fight. In Phase One, the raid will be fairly spread out, and players will often have to run various debuffs and mechanics out to the sides of the room, limiting our AOE healing efficiency. Focusing on single-target heals is just fine, however, since most of Helya’s abilities in this phase target only a few players at a time.
Unlike in Maw of Souls, we want to Cleanse Taint of the Sea immediately here, since the ticking damage is very high. We’ll also want to top up anyone who gets hit by Orb of Corruption, and help split the damage from Tentacle Slam (and follow it up with a Light of Dawn for good measure). We can also solo-soak a Tentacle Slam at the back of the room with Divine Shield.
In Phase Two, Helya retreats and sics her minions on us instead. Her initial Fury of the Maw is easily healed through, but be mindful that the wave doesn’t push you off the platform! This is mostly an add control phase, so focus on tank healing, while helping to DPS down the major adds if you can (the Night Watch Mariner, Grimelord, and the numerous tentacles). The Night Watch Mariner’s damage isn’t too bad, but the Grimelord tank will be taking moderate damage.
When Helya starts spamming Fury of the Maw, the entire raid needs to climb up onto one of the side platforms to avoid them. These waves do heavy damage, and while getting hit by one or two is survivable, any player who doesn’t make it up onto the platform is basically as good as dead. During this sprint up, the raid will be besieged with many small adds, each of whom drop decay pools when they die. If your raid executes this move properly and kills all the adds together on the stairs, the subsequent healing will be light. If, however, adds make it all the way up onto the platform and die there, leaving few safe places to stand, healers will have no choice but to simply heal through the decay damage.
Once all the tentacles are dead, Helya returns for Phase Three, which is essentially a combination of the first two phases. Continue to dispel Taint of the Sea, dodge orbs (which now drop decay on the ground) and give your tanks plenty of love, since they’ll now be tanking both Night Watch Mariners and Helya. On Heroic difficulty, Helya’s breath will also send out numerous Corrupted Axion bolts that need to be soaked. If you’re nearby, make sure you’re helping to catch them, and be ready to power through the subsequent healing absorption shields.
Loot
Unfortunately, Trial of Valor loot is rather underwhelming for Holy Paladins. Of the eleven non-relic, non-trinket pieces available to us, only five have Critical Strike, and of those, only two have more Crit than another secondary statistic. Granted, Crit isn’t everything, and higher item level gear does often win out over better secondaries, but it’s still a bit disappointing.
The two relics available to us are Favor of the Prime Designate and Swell of the Tides. Personally, I’ll stick with my Shock Treatment relics, but if these are better than what your Silver Hand currently has, power to you. Lastly, the sole healing trinket is a rather plain Intellect stat stick with a random enchantment. While I certainly wouldn’t pass up a nice Int/Crit version, it sure isn’t winning any points for creativity.
Trial of Valor Normal and Heroic difficulties are already live, while Mythic and Raid Finder difficulties unlock on November 15th.
Please consider supporting our Patreon!
Join the Discussion
Blizzard Watch is a safe space for all readers. By leaving comments on this site you agree to follow our commenting and community guidelines.


