Ready for raiding? Here’s what you need to know about Dazar’alor LFR Wing 1
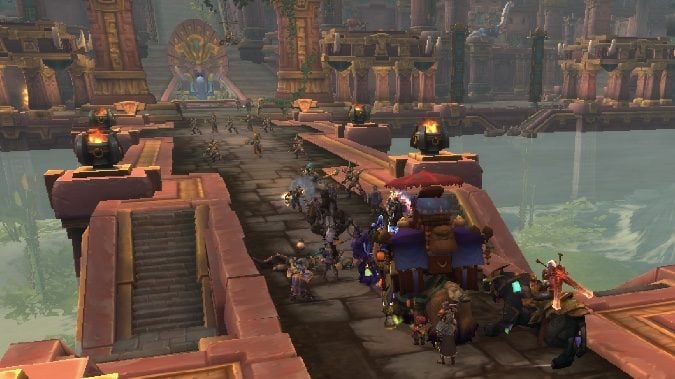
Welcome, welcome, one and all, to Dazar’alor LFR! As of today, the first three bosses are available for your raiding enjoyment — though I strongly suspect some mechanics will pose a challenge to the typical lightly organized LFR group. While there are a lot of mechanics to these fights, boss damage is significantly reduced from Normal difficulty, so you can get away without being perfectly coordinated.
My first LFR group cleared the raid in about a half hour with no wipes, but there were a few tenuous moments. As long as a portion of your LFR group knows the fights, you’ll probably be okay.
But that means you should probably know the basics of Dazar’alor before you go in. Before you jump into LFR, here’s what you need to know.
You need ilevel 350 to queue
That’s not a particularly high bar right now, but if you aren’t there yet, Warfronts are a quick way to catch up. No matter which one is active, you can get ilevel 340 to 400 by killing rares, defeating world bosses, and completing quests in Warfronts. Darkshore rewards higher level items, but Arathi can be a good boost for undergeared players, too. Completing World Quest Emissaries and doing Invasions are also a good tactics, as that gear can scale up to ilevel 385.
Even if you’re a brand new 120, it shouldn’t take too much work to gear up enough for Dazar’alor LFR.
It drops ilevel 370 gear
While all loot is good loot, wing 2 offers what I feel is the best gear in the raid: the stylish crowns from Opulence. When I get mine, I intend to wear it forever.
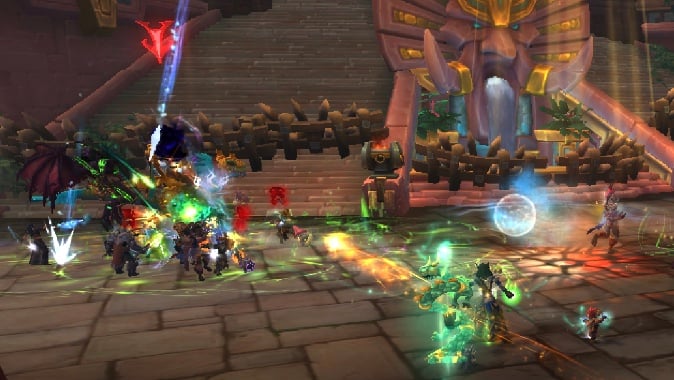
The bosses aren’t pushovers
Some of these mechanics are going to take a bit of coordination to get through, and since LFR groups don’t always excel in coordination, be prepared to be patient — and to explain the basics to your raidmates if needed. Before you zone in, be sure your DBM, BigWigs, or GTFO addons are up to date, as they’ll help you stay on top of the mechanics.
Each wing has three bosses, and wing 1 pits you against Champions of Light, Grong, and the Jadefire Masters. These fights feature different bosses depending on whether you’re Alliance or Horde, but the mechanics are the same — the boss names and, in one case, skill names are just there to add some faction flair.
Champions of the Light
I think this first fight is most likely to be the LFR killer of the lot, because it requires coordinated switching between the boss and the adds. The boss is a Paladin that switches between Seal of Retribution and Seal of Reckoning — if you hit her while she’s in Reckoning or if you kill the adds while she’s in Retribution, she will gain a stack of Zealotry, which gives her +2% Holy damage for the rest of the fight. You can imagine how this could become a problem.
The most important thing to remember
- Watch the boss’s Seal. Attack her when she’s in Retribution and attack the adds when she’s in Reckoning. If the raid doesn’t do this, she’ll eventually become unstoppable due to Zealotry stacks. When I ran LFR, she was up to 50 stacks before the end of the fight. It was still healable, but not good.
Dodge this
- Wave of Light, a giant glowing arc, will be cast between the boss and the adds. Dodge it or simply don’t stand between them in the first place.
- The boss drops a Consecration effect on the ground. Don’t stand in it.
- The adds cast Blinding Faith, which dazes you if you’re facing them. Turning around and losing some DPS is better than getting dazed.
Interrupt this
- The adds will cast Heal and Penance on the boss. Interrupt them any way you can.
Jadefire Masters
Though the characters you fight are different for Alliance and Horde, it will always be a Monk and Mage duo that uses the same abilities. There’s a lot going on in this fight, but I have faith that you can keep up with it. You can do it!
The Jadefire Masters are the second boss for the Alliance and third boss for the Horde.
The most important thing to remember
- Keep the Monk’s health lower than the Mage’s. If the Mage’s health ever drops below the Monk’s, the Monk will get a buff. The larger the health difference, the bigger the buff.
Interrupt this
- The Mage’s Pyroblast. This is tougher than it sounds because the Mage will cast Fire Shield on himself before casting Pyroblast, and you can’t interrupt him until that shield is gone.
- The Monk’s Whirling Jade Storm, an attack which causes the Monk to run from the tank and then start casting a raid-wide AOE. You can interrupt by hitting the Monk with any melee attack — tanks will (hopefully) be on top of this, but if you’re closer to the Monk, a quick kick to the shin will stop the damage.
At 30 Energy
- Living Bombs will spawn, doing raid-wide damage. The whole raid should DPS these down fast while dodging their beam attack.
At 60 Energy
- Both bosses teleport away, and you have to navigate a treacherous maze to get to them. The Monk casts Ring of Hostility (like the class talent Ring of Peace) that knocks players back if they enter it. The Mage rains down fiery death from above. Do your best to avoid all of these attacks — Warlock portals help, and Monks can set up Transcendence in advance — and get back to the bosses.
At 100 Energy
- The Monk turns into a Jade Serpent and the Mage turns into a Phoenix, which would be pretty awesome if they weren’t both trying to kill you. Avoid their frontal cone attacks and kill them! Note, however, with good DPS you may be able to kill them before they reach this phase.
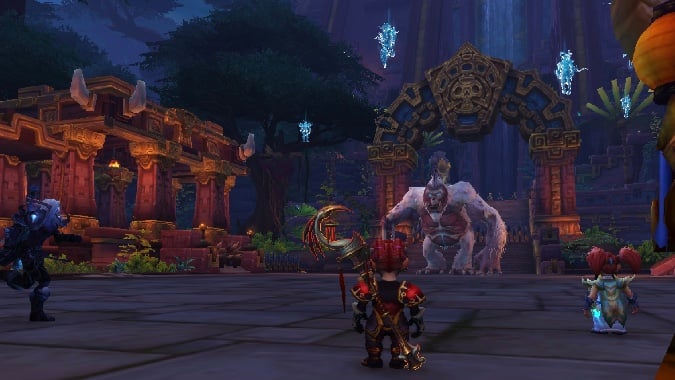
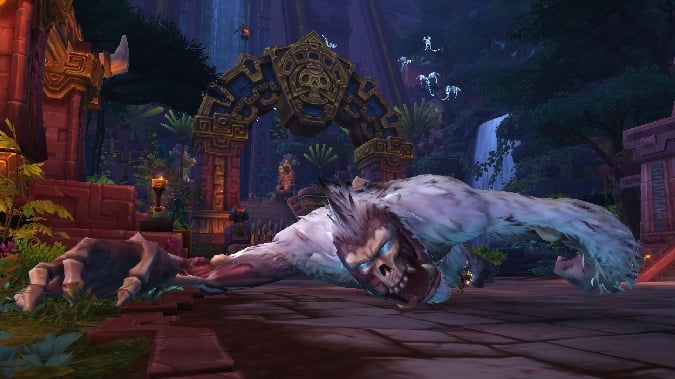
Grong
Remember how I said the bosses may have different names but the fights play out the same? I lied. When the Horde fight this boss it is a living giant monkey and when the Alliance fight this boss it is an undead giant monkey. It’s a pretty big difference in terror levels, but the fight itself plays out the same, save the abilities have different names and themes.
Grong is the second fight for the Horde, and third fight for the Alliance.
The most important thing to remember
- Trigger Grong’s Tantrum/Death Knell before he hits full Rage/Energy. This raid-wide AOE is more powerful depending on how much Rage/Energy Grong has. Prevent him from casting it at full Energy by picking up the Apetagonizer Core/Necrotic Core that the adds drop, using it, and then targeting the boss with the special action ability that pops up.
Dodge this
- Run out of Reverberating Echo/Deathly Echo before it explodes. These are big, obvious pools on the ground, so there’s no reason to stand in them.
Interrupt this
- The adds will cast Apetagonize/Death Empowerment, which causes Grong to gain Rage/Energy. Interrupt these so Grong has fewer chances to cast Tantrum/Death Knell.
For healers
- Save your healing cooldowns for Tantrum/Death Knell.
What’s next?
Are you already feeling so done with Wing 1? Wing 2 opens on February 12 and Wing 3 opens on February 26, with three bosses each. The short, two-boss Crucible of Storms raid is on the horizon, but we don’t have a release date yet.
Please consider supporting our Patreon!
Join the Discussion
Blizzard Watch is a safe space for all readers. By leaving comments on this site you agree to follow our commenting and community guidelines.