Bosses in Five Seconds: A quick guide to killing every boss in Ny’alotha wing 1
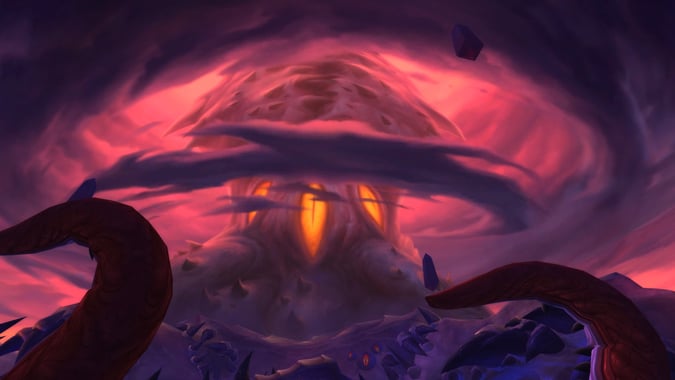
Ny’alotha is here, and if you’re venturing in to the Waking City, it pays to be prepared. Some players in LFR and LFG have done exhaustive research. They will have read strategy guides. They will have watched videos recorded by people playing their class and spec. They will have readied themselves with potions, flasks, food, and scrolls. They stand before a boss, alert and eager, ready to give their best possible performance and help guide the raid toward victory.
None of these people are going to be in your raid.
No, dear reader. The first wing of Ny’alotha opens in the Raid Finder this week, and you know what you’re going to get? You’re going to get Kevin. Kevin’s attention is about evenly divided between his computer, his pretzels, and his cat. One or more of these is probably on fire. It is not in your best interests to give Kevin a complex explanation of what is happening during a raid fight, lest he crush a beverage can against his forehead in uncomprehending agony. You just need to make sure he doesn’t get himself or anyone else killed.
It is with him in mind that we’ve resurrected our Bosses in Five Seconds series. This is generally oriented toward players who are doing the Looking For Raid or normal variants of the encounters. It also assumes that you are not asking Kevin to do the more complex mechanics, because you are not an idiot.
So here are all of the raid fights in Ny’alotha wing 1 — Wrathion, Maut, and Skitra — with explanations you can parse (and share with others) in just a few seconds each. I’ve included a few notes for tanks and healers where relevant.
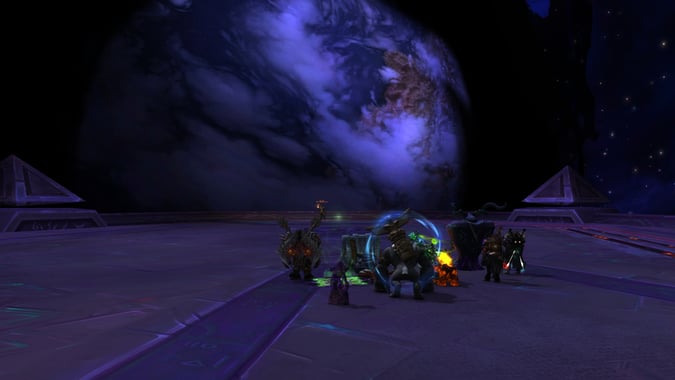
Wrathion, the Black Prince
Wrathion is a classic dragon: Stay out from in front of him (unless you’re the tank) and stay away from his tail. Park yourself on his side. If he puts Incineration on you (a big red fire circle), run away from the raid. When he casts Gale Blast (a big red fire circle on Wrathion himself), run out of it.
During phase two, run to the opposite side of the platform from Wrathion to stay out of fire on the floor. Help DPS down the Crackling Shards.
Tanks
Taunt at two or three stacks of Searing Armor. Make sure Wrathion is never facing the raid.
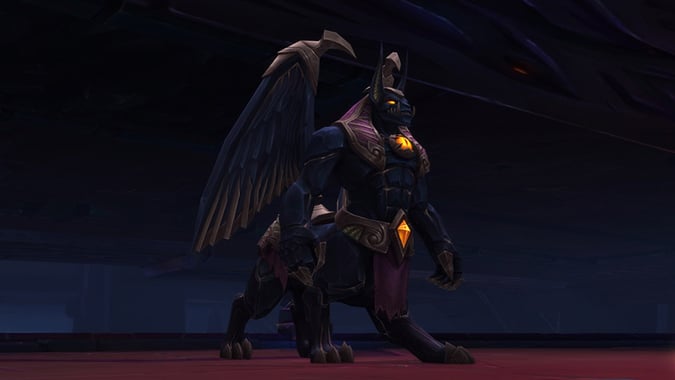
Maut
If Maut puts Devour Magic on you (a big dark circle), run away from the raid to drop it. This will leave a dark pool on the ground. When he casts Stygian Annihilation, get into one of the pools to survive the attack. Kill the adds unless your raid is focusing Maut full-time.
During phase two, stack next to the boss. Use Heroism/Bloodlust and potions to DPS down his mana shield as quickly as possible. However, because the damage you do to Maut is reflected, don’t overdo it. If you’re an Arcane Mage, make peace with your fate.
Tanks
Ideally you should taunt at two or three stacks of Shadow Wounds. The tank not on Maut should collect the adds, keep them away from the boss (he’ll absorb them and gain mana otherwise), and move them into the dark pools on the ground when they cast Dark Offering (they will follow you during the cast). In practice, the tank swap mechanic can be awkward, because it’s rare not to have at least one add up. If your raid has good DPS and a few tank cooldowns, it may be simpler for you to keep one tank on Maut and the other collecting and holding the adds while the raid focuses the boss. Some raids also employ three tanks for this reason — two to swap on Maut and one full-time on the adds. Failing that, just taunt swap when appropriate for Shadow Wounds and accept that Maut is going to phase a little faster. (On normal, our raid put some damage on the adds and just shrugged off whatever mana did wind up going to the boss. On heroic, we taunt-swapped on the first phase one with the adds at low mana, and then just held the adds on the second while the raid killed the boss.)
On phase two, both tanks should run around to get mana orbs to bring back to the group. These will spawn all around the room, so toss down raid markers in advance and assign who gets which side. Try to collect these as far from Maut as possible to reduce AOE damage from the absorption. Make sure you’re on the raid when the buff expires so you give Forbidden Mana to everyone.
Healers
Raid-wide damage ramps up over phase one and is extremely high during phase two. Save your cooldowns for this and yell at the DPS to make sure they don’t kill themselves from over-nuking. The tanks will keep bringing you the mana and healing buff.
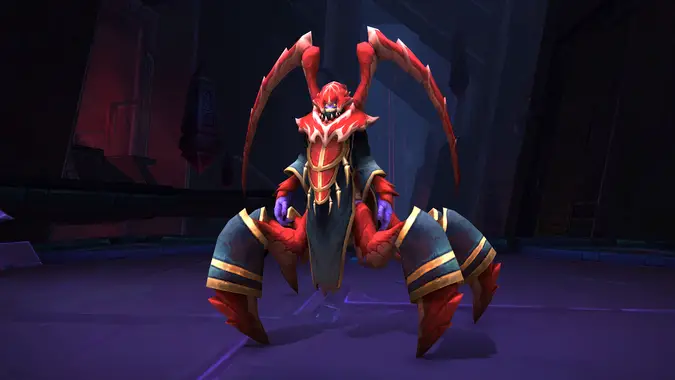
The Prophet Skitra
If you get Shred Psyche, run away from the raid and then immediately run back. Kill the add when the tanks bring it to the boss.
On phase two, kill the add that the tanks call out, and only the add that the tanks call out.
Tanks
On phase one, taunt swap at 6-8 stacks of Shadow Shock. When the add spawns, let it finish casting Psychic Outburst (it’ll just sit there, hopefully at a safe distance from the raid while doing this) and then taunt it over to the boss for cleave.
On phase two, the two tanks are always put in different realms. As a result, it’s easiest for them to handle the hunt for the real Skitra. One tank should have the ability to toss down raid markers quickly on every image of Skitra they see. (I would recommend a mod like Opie for this.) The other should call out when a marker overlaps with an image of Skitra in their phase. That is the real Skitra. The raid should DPS it down and will then re-enter phase one.
And that’s all for wing 1. Good luck and have fun out there, raiders.
Please consider supporting our Patreon!
Join the Discussion
Blizzard Watch is a safe space for all readers. By leaving comments on this site you agree to follow our commenting and community guidelines.


