How to bring a unique character to your Dungeons and Dragons tabletop (even if you’re a beginner)
If you’re interested in getting started playing Dungeons and Dragons (or indeed, any pen and paper roleplaying game) it can seem somewhat daunting, especially if you’ve never done it before. This post is specifically for newcomers to D&D, helping you come up with a character concept and then making it work as an actual, playable character. This isn’t intended to be an exhaustive guide to all things min-maxing — this is a how to guide for absolute beginners. We’ll be breaking it down into bite sized chunks to make it less daunting, and at the end, you’ll know how to create a brand new level 1 character of whatever class and race you find interesting.
Since you’re just getting started, here’s a handy Checklist for Character Creation:
- Come up with a Character Concept
- Generate Ability Scores and Assign them
- Choose a Race and Class
- Apply Background and Starting Equipment
Step One: Come up with a character concept
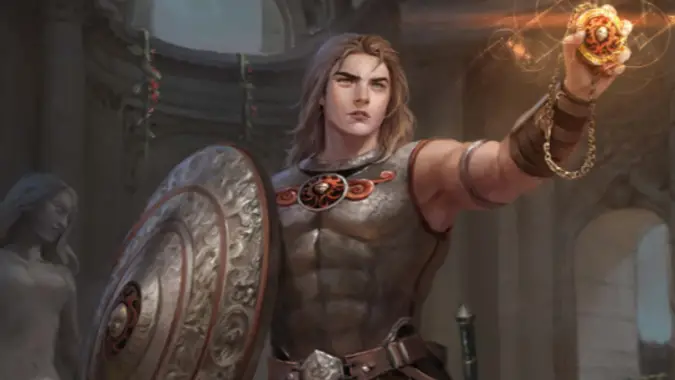
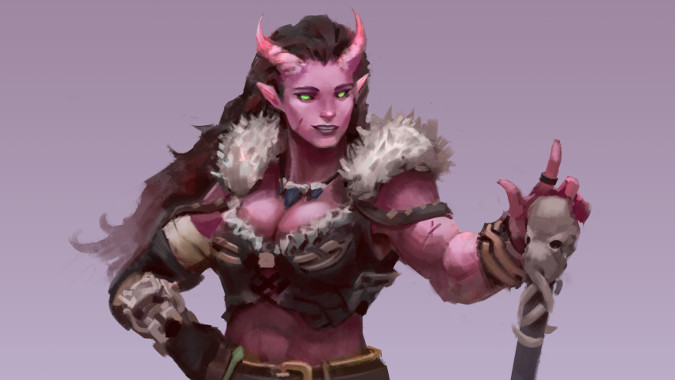
This one basically boils down to what do you want to play and it can vary tremendously depending on a lot of factors. Do you want to play a righteous knight, or a devious caster? What about a devious knight or a righteous caster? This step is just figuring out the outline of who your character is going to be. Incidentally, if you don’t have an idea in mind it’s perfectly okay to steal character concepts from even non-Fantasy books, movies, TV shows or whatever, as long as you and everyone else at the table are having fun. One of my favorite characters ever was a Hobgoblin Cleric whose parents had been killed and who swore vengeance in the name of his tribe’s god, the Lord of Bats. His name was Bruuz Wahane. I was extremely proud of how long it took the other players to realize what I’d done.
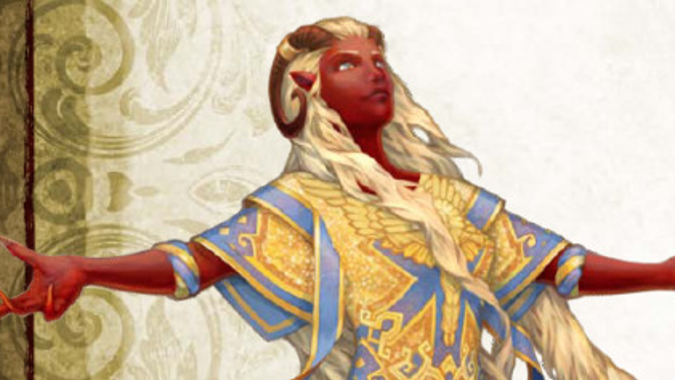
To break it down to its simplest terms, if you want to play a sneak thief who avoids combat whenever possible and uses her clever wordplay to get out of trouble, make sure to pick races and classes that work with that idea. Our Class 101 and Race 101 posts give you a starting ground to help you come up with the character you want to play. For example, maybe you really want to play a clever Tiefling who misleads people with magic as well as words, and start looking at Bards, Rogues, and Sorcerers.
Step Two: Generate Ability Scores and Assign Them
There are several systems one can use to create a character. You can find them in the first chapter of the Player’s Handbook, under ability scores. Generally, you pick the race and class you want to play, and then generate your ability scores to fit the class you want to play. The race you pick will have certain bonuses to ability scores and specific abilities unique to that race, such as the Elf’s bonus to Dexterity, Darkvision up to 60 feet allowing them to see in the dark, and the Trance ability that makes Elves immune to magical sleep. We’ll talk about that more in Step Three.
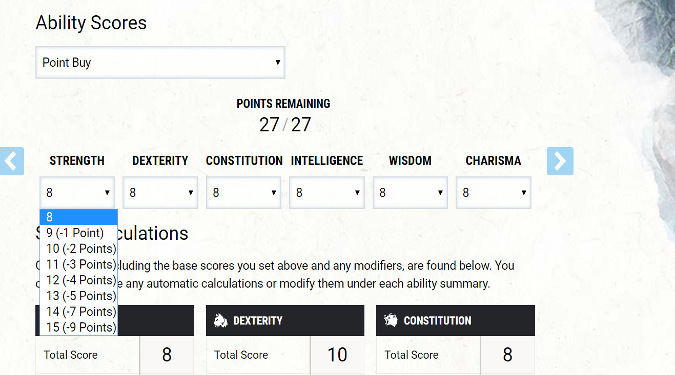
Depending on your campaign, you may use the Standard Array system (where you get six scores of 15, 14, 13, 12, 10 and 8 respectively and arrange them however you choose) the Point Buy system (you have 27 points to spend per attribute, with the costs going up until you’re spending 9 points for a 15 in a stat before you add racial bonuses) or the Manual system, which is when you roll 4d6 per ability score and drop the lowest, get six scores, and arrange them how you see fit. The upside of the Manual system is you may end up with ridiculously high scores, but the downside is, you could end up rolling absolutely terrible ones. Both the Point Buy and Standard Array will keep you from ending up too low at the cost of being more predictable. This can also help inform some smaller quirks of your character — if you got astoundingly lucky with the rolls, maybe your Barbarian has a way with words, or your Wizard secretly lifts before hitting the stacks.
Step Three: Choose a Race and Class
You can theoretically do Step Three and pick your Race and Class before you do Step Two. I just generally prefer to roll dice for my character creation, and it often helps me to decide what Class I want to play. No matter what system you use, you can always arrange your stats in the order you desire in order to make them fit more comfortably in the class you’ve chosen. So if you’re playing a Sorcerer and using the Standard Array, you can put that 15 into Charisma, then the 14 into Constitution, the 13 into Intelligence since your High Elf gets a +1 to Int giving you a 14, then the 12 into Dexterity (as an Elf, you get +2 to Dex) for a 14 again, then you can put the 10 into Wisdom and 8 into Strength. It means you’ll be physically weaker and not terribly wise, but you’ll have your highest stat in your Sorcerer’s Spellcasting Attribute and you’ll get the biggest bang out of that +2 Dex/+1 Int your High Elf gets.
Once you have you stats set up, you can apply your racial bonuses. There’s nothing wrong with choosing to play a Race that has a specific stat bonus that’s good for the class you want to play. For example, if you know you want to play a Fighter who is going to be using a big axe to hit his enemies, Strength and Constitution are your primary stats, and so picking a Half-Orc or Goliath or Mountain Dwarf will get you Strength and Constitution bonuses. There’s also nothing wrong with playing against type, if that’s how you want to do it.
When you choose a class, you’ll be picking things like your proficient skills — each class allows for you to pick two or more skills to add your Proficiency Bonus to, for example. Almost every class will gain certain class features at level 1, too. Fighters, for example, get to pick a Fighting Style while Sorcerers choose a Sorcerous Origin that affects what the source of their Sorcery is — things that can be rolled back into that character concept you created in step one.
Step Four: Apply Background and Starting Equipment
By this point you should have your character pretty solidly sketched out. You have a character concept, which you’ve fleshed out with stats, a race and a class. Now, you’ll add a Background. Backgrounds are basically a way to deal with what your character was doing with their life before the game started. You can see a list of them on page 125 of the Player’s Handbook, and these backgrounds will give you some extra skills you can use with your proficiency bonus, as well as flavor stuff like the Criminal/Spy background’s Criminal Contact Background Feature or the Folk Hero’s Rustic Hospitality.
After you’ve chosen a Background, you can decide on your starting equipment. Check with your DM how you prefer to do this — some campaigns, the DM will have you roll for starting gold using the table on page 143 in the Handbook and then have you buy whatever you want from there, while others will simply choose based on class. Either way, your level 1 starting character will not exactly be rolling in money, especially after you buy or otherwise collect your starting gear.
To give you an idea of how it can all come together, I created a sample character on D&D Beyond named Blizzard Watcher who serves as an example of a level 1 character for you to look over. I used the Standard Array rather than rolling for stats, chose a Goliath for the +2 Strength and +1 Constitution, plus Stone’s Endurance as a racial ability, and went with a Great Weapon Fighter because it’ll play well with that +3 Strength bonus and +2 Proficiency bonus for a level 1. He’s nothing special, but he’s pretty standard for a starter character and it’ll give you an idea of how it all looks put together.
And that’s how you make a starting character. It looks more complicated than it is — ultimately, once you understand the process, you’ll be able to plug in any available Race and Class and Background options, even ones from other sources like Xanathar’s Guide to Everything. Have fun making that Halfling Cleric you’ve always wanted.
Please consider supporting our Patreon!
Join the Discussion
Blizzard Watch is a safe space for all readers. By leaving comments on this site you agree to follow our commenting and community guidelines.


